📌 Must-Have Google Chrome Extension for Teachers! 🏫✨ Add to Google Classroom
Managing digital assignments just got easier with the Add to Google Classroom extension! If you're a teacher who regularly assigns resources in Google Classroom, this extension simplifies the process with just a few clicks. Best of all, it works with any site, not just Google Docs or Slides—you can quickly add articles, videos, and other online content directly to your classroom.
Getting Started
First, install the extension by selecting Add to Chrome and then Add Extension. Once installed, don’t forget to pin it for easy access. This ensures the extension stays visible on your toolbar, ready when you need it.
How It Works
Whenever you’re on a webpage, document, or resource you want to assign, the Add to Google Classroom button lets you quickly share it without navigating away from your workflow. Here’s how:
Open the webpage or document you want to assign.
Click the Add to Classroom extension.
Choose your class and select an action (e.g., create an assignment, ask a question, or post material).
Fill in assignment details, including the title, instructions, and points.
If sharing a document, select Make a copy for each student (if applicable), then hit Assign.
Once assigned, students can access the link directly from Google Classroom. The extension ensures correct sharing permissions are applied automatically, preventing access issues.
Why Use It?
Saves Time – Assignments are created in just a few clicks.
Works with Any Website – Share articles, videos, interactive tools, and more.
Seamlessly Integrates – Works with all Google Classroom features like due dates, grading, and student responses.
If you're looking for a simple way to enhance your Google Classroom workflow, this extension is a game-changer. Try it out and see how it can streamline your digital classroom!
Got questions? Feel free to reach out. Happy teaching!
How to open a Kami Assignment from Google Classroom on an iPad
How to open from either the Google Classroom app or the Google Chrome to Kami on iPad
Written by Aden Cooper Updated over a week ago
To open a file from Google Classroom to Kami on an iPad, follow these steps:
From Google Chrome Browser
Click the three vertical dots in Google Classroom (not in Chrome), and select Open in new window.
2. Next, click the three vertical dots in Google Chrome (not in Google Classroom) > Request Desktop Site.
3. Select Open with -> Kami.
Note: For Safari, it is the same process, except for step 2 you will need to press and hold the page refresh button instead of the three dots in Chrome.
From Google Classroom App
You will follow the same steps as the Google Chrome instructions above, but first you will need to open the file in a browser. To do so, click this button in the Classroom app and select Chrome if it asks which browser to use:
What if I need to open any PDF file on my iPad?
You can use Kami on your iPad by following these steps:
Use Open from Google Drive or Open from Computer to select a file.
I followed these instructions and I still have problems. What now?
There are known issues with Kami in iOS. Unfortunately, this is because Apple does not support Chrome extensions or rendering non-embedded content on PDFs. It seems also there have been some recent changes to the Drive/Classroom apps that have rendered some of the workarounds we had to overcome this that we previously had in place are now obsolete.
Email our Customer Success team at support@kamiapp.com. Please use the Share Document button to share the file with us. Send us screenshots or screencasts and tell us what isn't working. Include the URL and file name in the screenshots/screencasts. Tell us who experienced the issue, an approximate time and date when the work was made, and when you realized there was an issue. We love any detail that you can provide - they help us fix the problem as quickly as possible!
If you would like to add GIFs to your Classroom Header it can be done. In the example I will be sharing I will be showing how to add your own personal images to the header. Tomorrow's post will show how to add a GIF from a Google search to your Google Classroom Header.
Bitmoji's, personal scaled down photos, and themes are fun to add to a classroom header; however, I thought it would be more fun to make the header a little more classroom specific. Actually, my wife asked me the other day if this could be done for students in her 4th grade class. An example would be a picture of each child in your classroom.
You can also see the YouTube video (embedded below)
Embedded below is a 4 minute and 23 second YouTube tutorial I created showing how to use your GIFs and load them to Google Drawings and then load to Google Classroom.
** Please not that the images may not appear crystal clear **
You will also see the step-by-step directions for the whole process I used to create the classroom header with GIFs.
Select the photos you would like to use and create your animation / GIF
Download the animation and upload it to EZgif.com to slow down the speed as Google Photos uses a fast animation
In Google Drawings - I created a template with a blue background. To access the template click here and select File & Make a copy to make this your own Drawing.elect Insert - Image to find and insert your GIF(s)
Resize if needed
Add additional GIFs (if needed)
Open a site such as Camtasia or Screencastify (extension) to record your screen
You will need to crop / trim to show the header
Export the file as an animated GIF file
Make sure if using Screencastify you make the dimensions a bit larger than the 800x200. This is so you can trim later in Google Classroom.
Open Google Classroom and select upload file and find your file
Make sure to trim the photo
Just a reminder that your photos may not be crystal clear - but hey - it's a start!
How to Create a Rubric with Gemini in Google Classroom
Google Classroom now makes it easier for teachers to create rubrics with the help of Gemini.
Instead of starting a rubric from scratch, Gemini can generate criteria based on your assignment and the skills you want students to demonstrate. You can then review and edit the rubric before adding it to your assignment.
How to Generate a Rubric with Gemini
Open Google Classroom and select your class.
Go to Classwork.
Create a new Assignment.
Add your assignment title and instructions.
Find Rubric and select Generate new.
Choose the appropriate grade level and number of performance levels.
Describe the knowledge or skills you want students to demonstrate.
Select Generate criteria.
Review and edit the criteria Gemini creates.
Generate and save your finished rubric.
That's it!
Gemini gives you a starting point, but I recommend reviewing the criteria, descriptions, performance levels, and point values before using the rubric with students.
Example
For my example, I created a simple 8th-grade persuasive writing assignment.
I asked Gemini to create a rubric based on students' ability to:
Clearly state an opinion
Support the opinion with relevant reasons and evidence
Organize ideas logically
Use correct grammar, spelling, and punctuation
Within seconds, Gemini created rubric criteria that I could review and customize.
Watch the Video
In the video above, I walk through the entire process so you can see exactly where to find the new Gemini rubric generator and how it works.
What If I Don't See "Generate New"?
Your access to Gemini features in Google Classroom can depend on your Google Workspace for Education account and your school's settings.
If you don't see the option, check with your Google Workspace administrator to see whether Gemini in Classroom is enabled.
Have you tried Gemini in Google Classroom? What Google Classroom or Gemini feature would you like to see me cover next?
Time to Talk Tech Simple, practical technology tips and tutorials.
Screencastify Submit from a Student and Teacher Point of View
Screencastify Submit is a powerful tool for classrooms, enabling students to submit video-based responses and allowing teachers to review and provide feedback seamlessly. Let’s dive into the process from both the student and teacher perspectives, based on a walkthrough of how the tool works in real-time.
For Students: Submitting an Assignment Imagine you’re a student using Screencastify Submit for the first time. Here’s what you’ll experience:
Accessing the Assignment
Head to Google Classroom and select the assignment that requires Screencastify.
Click the provided link to Screencastify Submit.
Signing In
Use your Google account to sign in. Make sure to click “Continue” and grant permissions by selecting “Allow.”
You’ll need to connect to Google Classroom twice to set up permissions fully. Don’t worry—this is only required the first time you use it.
Setting Up the Recording
Choose to enable your microphone and webcam. Select "Allow while visiting the site" to grant the necessary permissions.
Once everything is set up, start recording by clicking “Share.”
Recording and Reviewing
Record your response, whether it’s explaining your work, presenting a project, or sharing your thoughts.
After recording, you can preview the video to ensure it’s what you want.
If necessary, you can re-record. When satisfied, click “Submit.”
Submission Options
Once submitted, you’ll have the option to download your video for personal records or view it in Google Classroom.
For Teachers: Reviewing and Providing Feedback From the teacher’s perspective, Screencastify Submit streamlines the process of collecting and assessing student submissions. Here’s how it works:
Finding Submissions
Log into Google Classroom and locate the assignment to see student submissions.
Viewing Videos
Select a student’s submission. The video will load—sometimes it may take a moment, so be patient.
Play the video to review the content.
Providing Feedback
Use the “Private Comments” feature in Google Classroom to give detailed and constructive feedback.
If necessary, you can return the assignment for revision.
Why Use Screencastify Submit? Screencastify Submit empowers students to express their learning in a dynamic way, moving beyond traditional pen-and-paper assignments. For teachers, it’s an intuitive platform to assess understanding, encourage creativity, and offer meaningful feedback.
Final Thoughts Whether you’re a student sharing your ideas or a teacher evaluating assignments, Screencastify Submit bridges the gap between communication and technology in the classroom. Ready to explore this tool? Jump in and see the difference it can make in your teaching and learning journey!
If you have any questions or need further guidance, don’t hesitate to ask. Happy screencasting!
Google Classroom has made available a few updates prior to the start of the 2018 school year. If you would like to see these updates please click on the link below.
Classroom now has a section called "classwork" that will now appear at the top of your Google Classroom page. The Classwork section is where you'll place assignments and reference resources for your students. Teachers can organize materials according to a unit of study or topic. This is a great feature for organization!
** Not available yet** I am pretty excited about this one! The second update is the option to create and post Google Forms quizzes directly within Google Classroom. When you select "Create" in the new Classwork section you'll now see an option to make a quiz. Teachers will be able to lock them into the quiz until they submit their final responses (if using school managed Chromebooks).
Settings for editing the class description, class code, and controls over student postings will be found in one menu (select the gear).
The classwork section is streamlined and easier for students to see and post on postings.
There are also new themes available as well.
Embedded below is a 2 minute 17 second YouTube tutorial.
A Flipgrid Alternative: Empower Student Voices with Screencastify Submit
A New Tool for Amplifying Student Voice
Are you looking for an alternative to Flipgrid (now known as Flip) to give your students a platform to express their voices? Screencastify Submit is a fantastic option for creating video-based assignments seamlessly integrated into your classroom workflow. Whether you are using Google Classroom or other platforms, Screencastify Submit allows students to record their screen, webcam, or both to complete assignments creatively.
Let’s dive into how you can start using Screencastify Submit to empower your students.
What is Screencastify Submit?
Screencastify Submit is a feature within Screencastify that enables teachers to create assignments where students record videos in response. It’s similar to Flipgrid but offers a streamlined approach, particularly for classrooms already familiar with Screencastify or Google Classroom.
Students can record their thoughts, presentations, reflections, or even demonstrate processes, all without needing to download extensions or sign into separate accounts.
Getting Started with Screencastify Submit
Here’s a step-by-step guide to creating a video-based assignment:
1. Enable Screencastify Submit
First, ensure that Submit is enabled in your Screencastify account.
Navigate to the "Assessments" tab in Screencastify.
If you don’t see Submit, enable it in your account settings.
2. Create a New Assignment
Start by selecting "Create Assignment."
Choose from available templates, or create your assignment from scratch.
Write clear and concise instructions for your students.
Example: "Record a 1-minute video explaining your favorite book character and why you connect with them."
3. Choose the Recording Type
Decide how students will record their response:
Screen and Webcam (for presentations or demonstrations)
Webcam Only (for reflections or discussions)
Screen Recording Only (for screencasts or tutorials)
4. Share the Assignment
Screencastify Submit integrates seamlessly with Google Classroom:
Select the appropriate class and students.
Add a topic, assign a due date, and schedule the post if needed.
If you’re not using Google Classroom, you can still generate a link to share directly with students.
Why Use Screencastify Submit?
Here’s what makes Screencastify Submit a standout alternative:
Ease of Use: Students simply click the link and start recording. No downloads, logins, or extensions required.
Flexible Recording Options: Students can showcase learning in the way that works best for them.
Google Classroom Integration: Teachers can manage and assign video tasks seamlessly.
Perfect for Assessments: Use videos for formative or summative assessments aligned with learning standards.
Student and Teacher Perspectives
Curious about what this looks like in action?
In future videos, we’ll explore Screencastify Submit from both a student and teacher point of view to see how easy it is to submit and review responses.
Final Thoughts
Screencastify Submit is a versatile tool that helps students showcase their voice and learning in creative, personalized ways. If you’re already familiar with Screencastify, this tool will seamlessly fit into your existing workflow.
Ready to try it? Dive in, create your first assignment, and watch your students shine!
If you have questions or need support, feel free to reach out. Stay tuned for our next post, where we’ll take a deeper look into what the process looks like for students and teachers.
Remove the unwanted columns and rows (see how in video)
**Make sure to select all columns you do not want your students to see and right-click and hide the columns.**
This is key as your students will only see the column to place their words in.
Please know your students could right-click and un-hide the columns - I doubt their would - but wanted you to know.
Once you have the test ready in Google Sheets go into Google Classroom and create an assignment and force a copy. They will only see the 1 column to enter in their words.
They will then need to submit their work in Google Classroom.
Once submitted you can then go into the assignment in Classroom and choose the folder.
You can then open the student's submission, right-click on un-hide columns and voila! You will see the test is automatically graded.
For a step-by-step tutorial please watch the 3 minute YouTube video below.
Edpuzzle has become an essential tool for educators looking to enhance their teaching methods through interactive video content. In this blog, we will explore how to effectively find, edit, and assign videos on Edpuzzle, ensuring that your students receive the best possible learning experience.
Getting Started with Edpuzzle
Before you can assign a video to your class, you need to get familiar with the Edpuzzle interface. After creating your first class, the next step is to find a suitable video to assign. This process involves a few straightforward steps, which we will break down below.
Searching for the Right Video
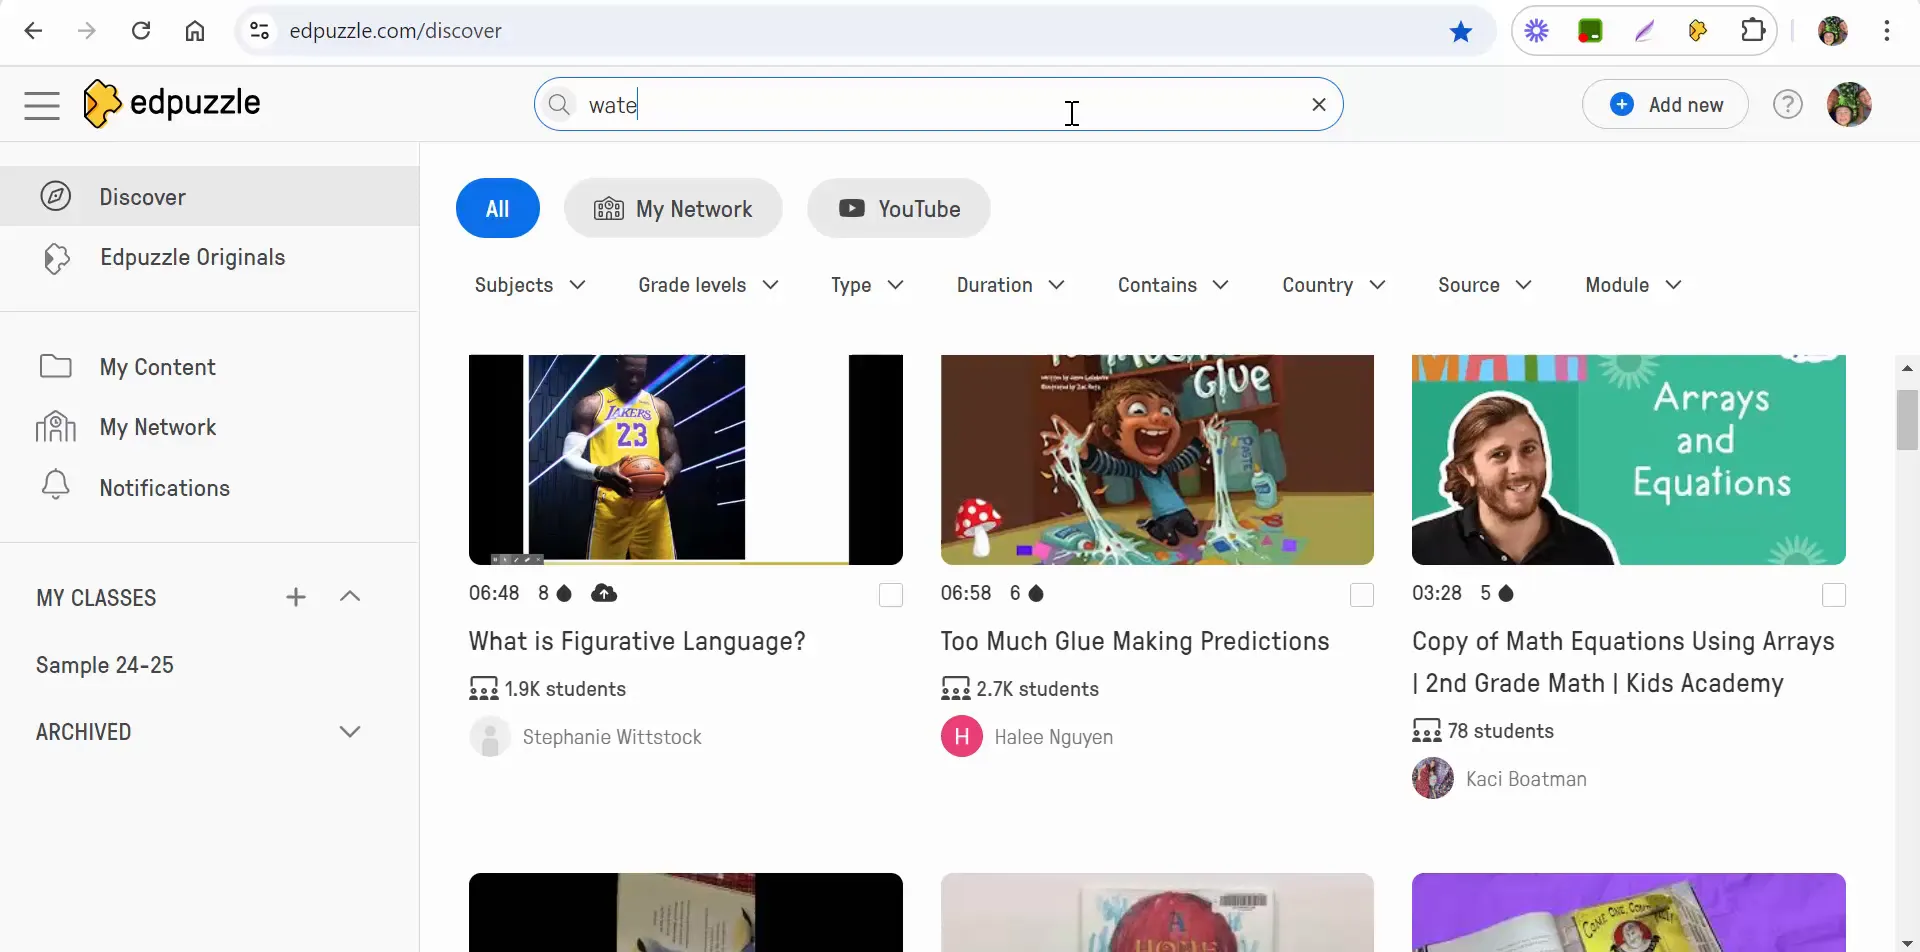
To begin, you will need to search for a video that fits your lesson criteria. For this example, we’ll look for a video on the water cycle.
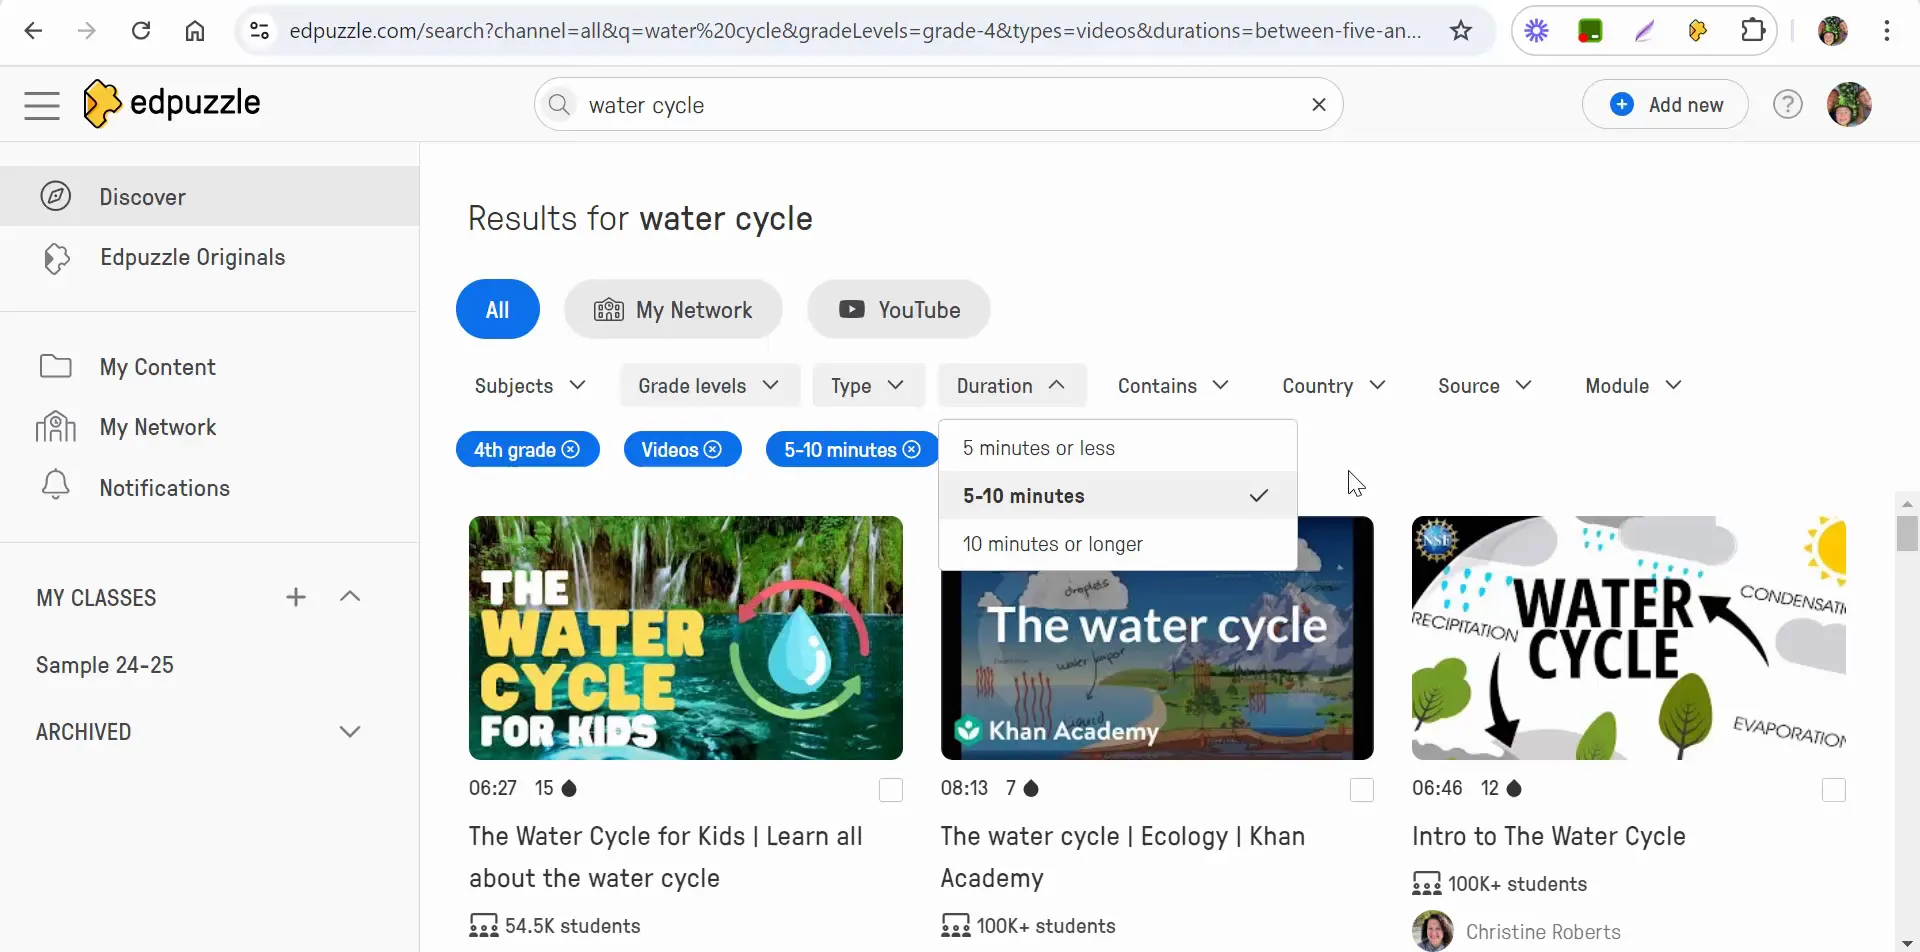
When you start typing “water cycle” into the search bar, you will notice that there are no default filters applied initially. To narrow down your results, you can select specific options for subjects and grade levels. For this instance, let’s choose fourth grade.
Narrowing Down Your Search
Edpuzzle allows users to filter search results based on various criteria, such as grade level and video length. You can select options like “5 minutes or less,” but remember that you cannot combine multiple time filters. The platform recommends videos that are roughly six minutes long for optimal engagement.
Once you have set your preferences, you can begin browsing the available videos. Look for content that matches your educational goals while also keeping your students’ attention.
Editing Your Selected Video
After finding a suitable video, the next step is to edit it to fit your teaching needs. Edpuzzle provides a variety of editing tools that allow you to customize the video before assigning it to your class.
Accessing the Editing Tools
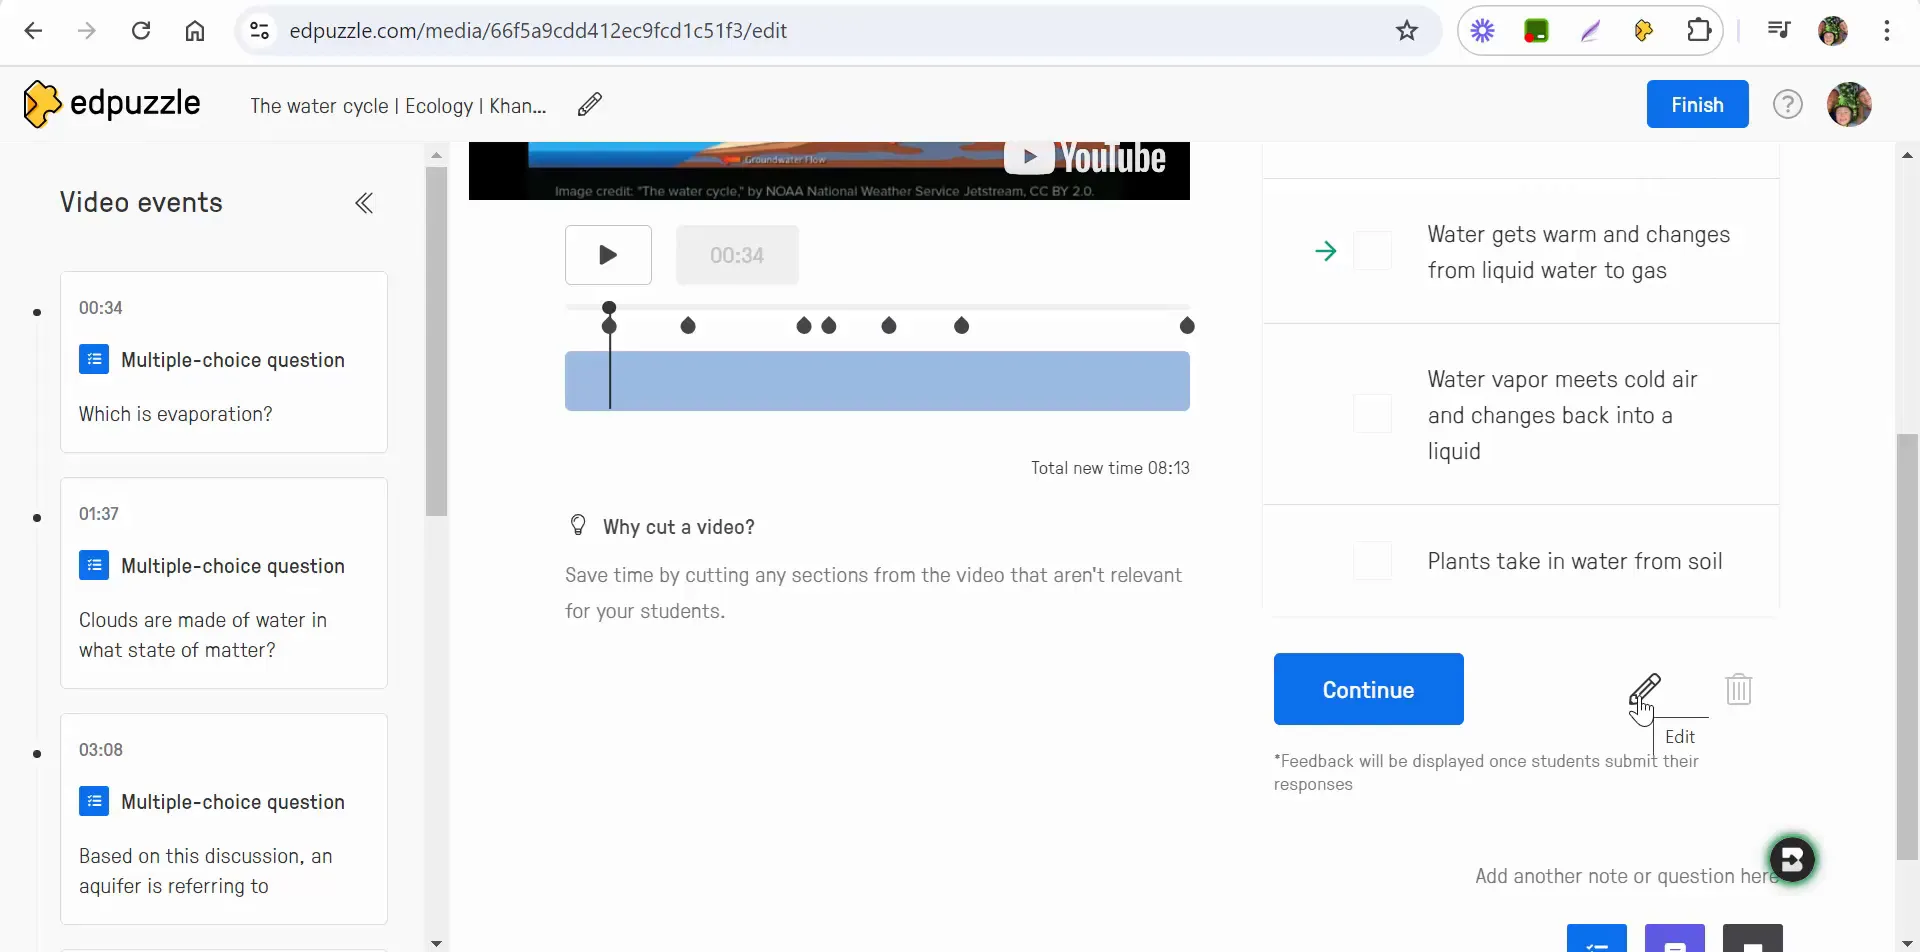
To edit the video, simply select the edit button. This will open the editing interface where you can make changes to the video title, add questions, and include notes.
As you scroll through the video, you will see existing questions and the option to add new ones. You can edit the wording of the questions or create entirely new ones to ensure they align with your lesson objectives.
Creating Questions
Incorporating questions into your video is crucial for maintaining student engagement and assessing understanding. You can choose to add multiple-choice questions or open-ended questions, depending on your preference.
When editing a specific question, you can listen to the video segment to ensure that your question is relevant and timed appropriately. After making any necessary changes, be sure to save your edits.
Assigning the Video to Your Class
Once your video is edited and ready to go, it’s time to assign it to your class. This process is simple and allows you to set parameters for how students will interact with the video.
Assigning the Video
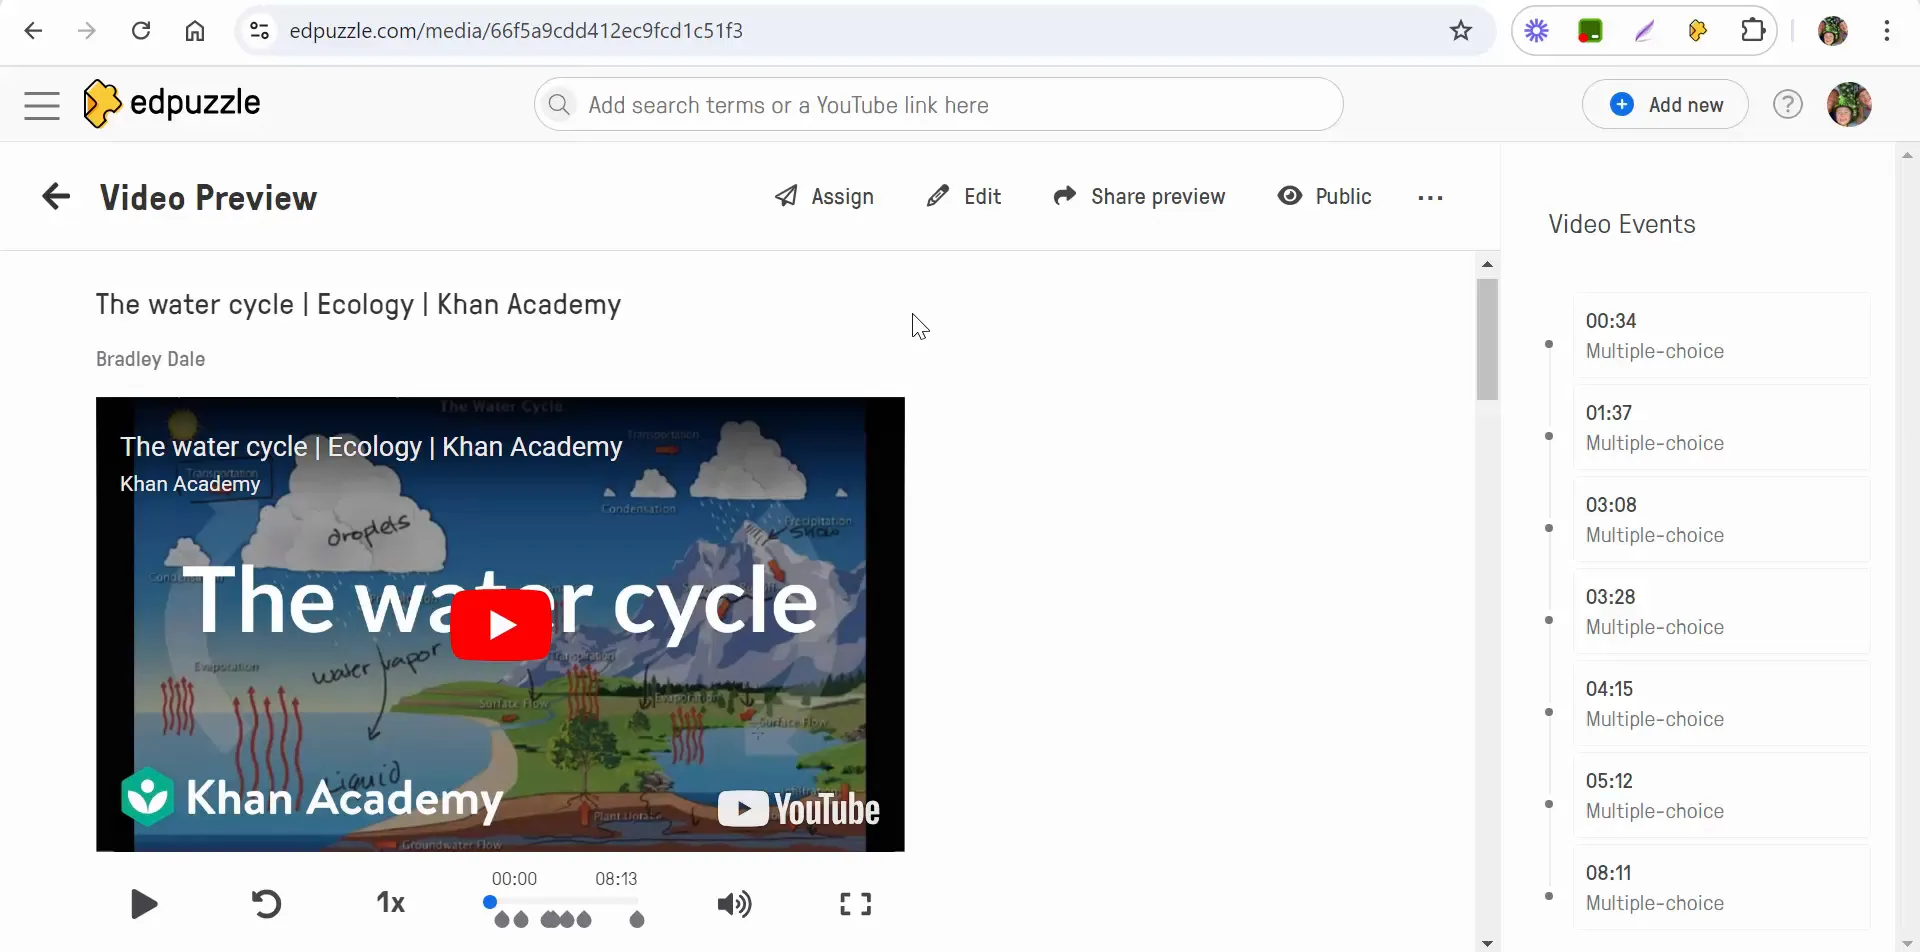
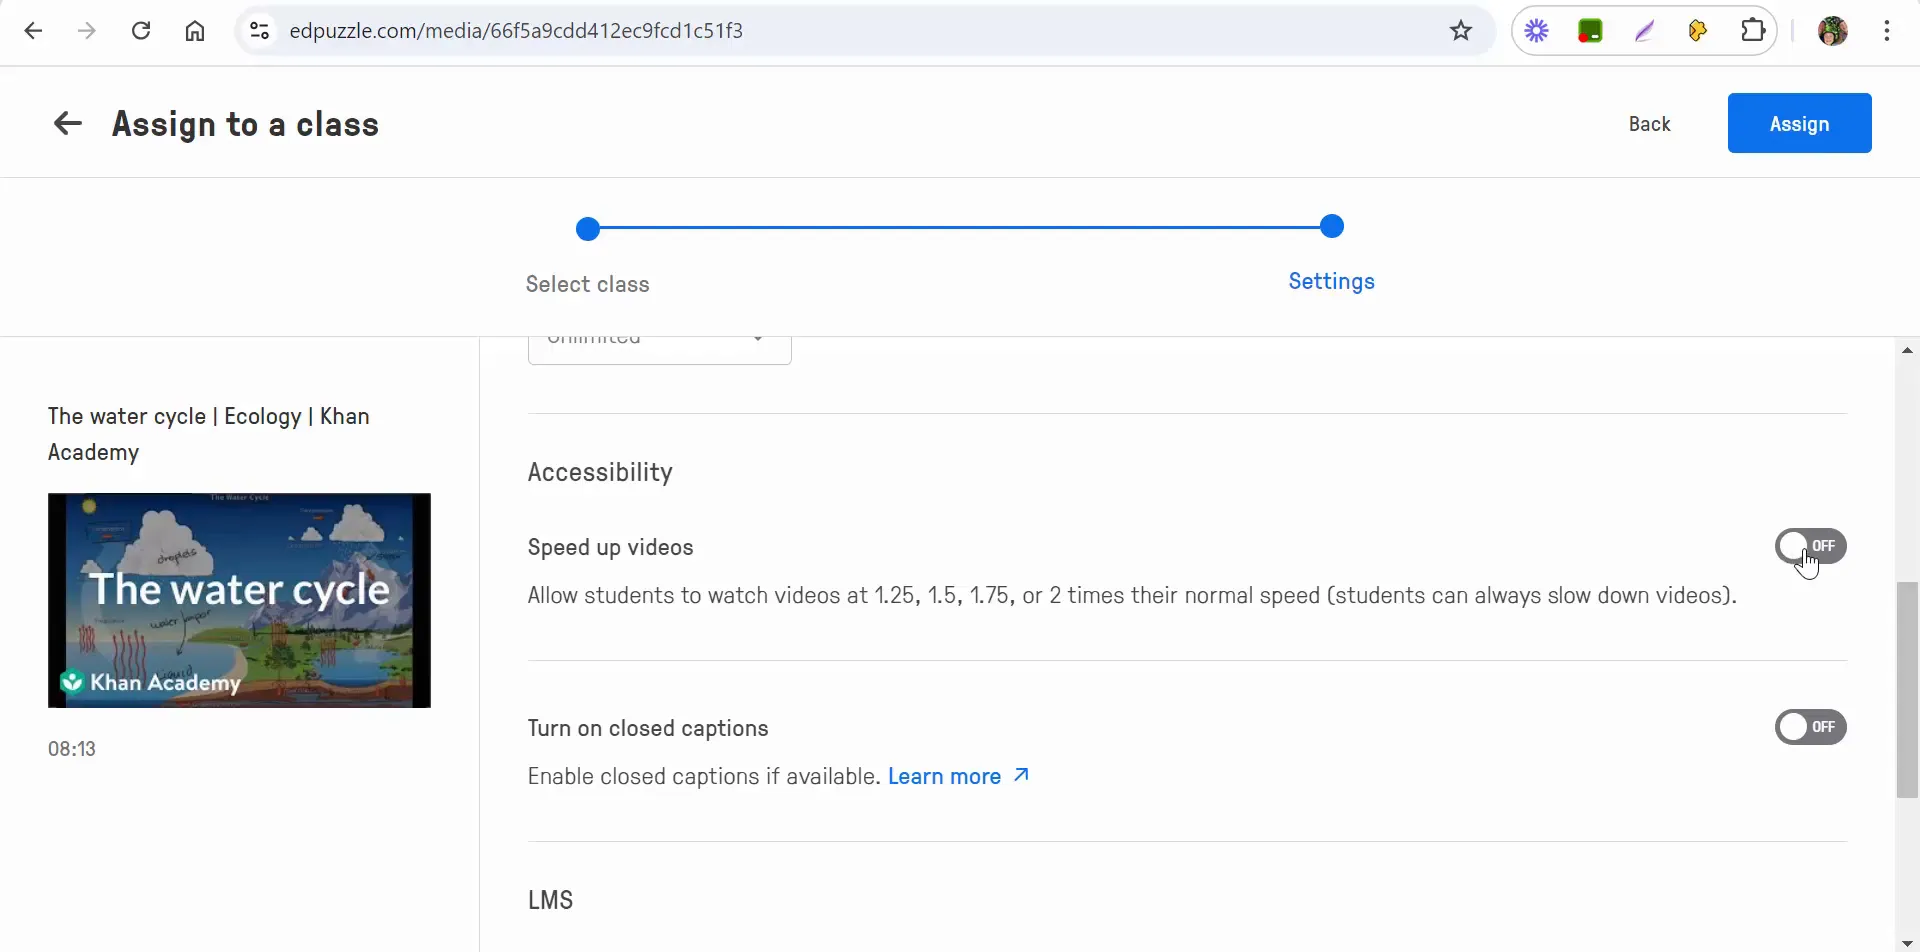
To assign the video, select the “Assign” button and choose the appropriate class. You’ll then be prompted to set a start date and a due date for the assignment. If you prefer, you can leave it as “no due date” for flexibility.
One important feature to consider is the option to prevent students from skipping ahead in the video. This can be beneficial for ensuring they engage fully with the content.
Setting Assignment Parameters
Decide how many times students can attempt the assignment. If it’s a quiz, you might want to limit it to one attempt. Alternatively, if it’s a learning tool, you might allow multiple attempts for mastery.
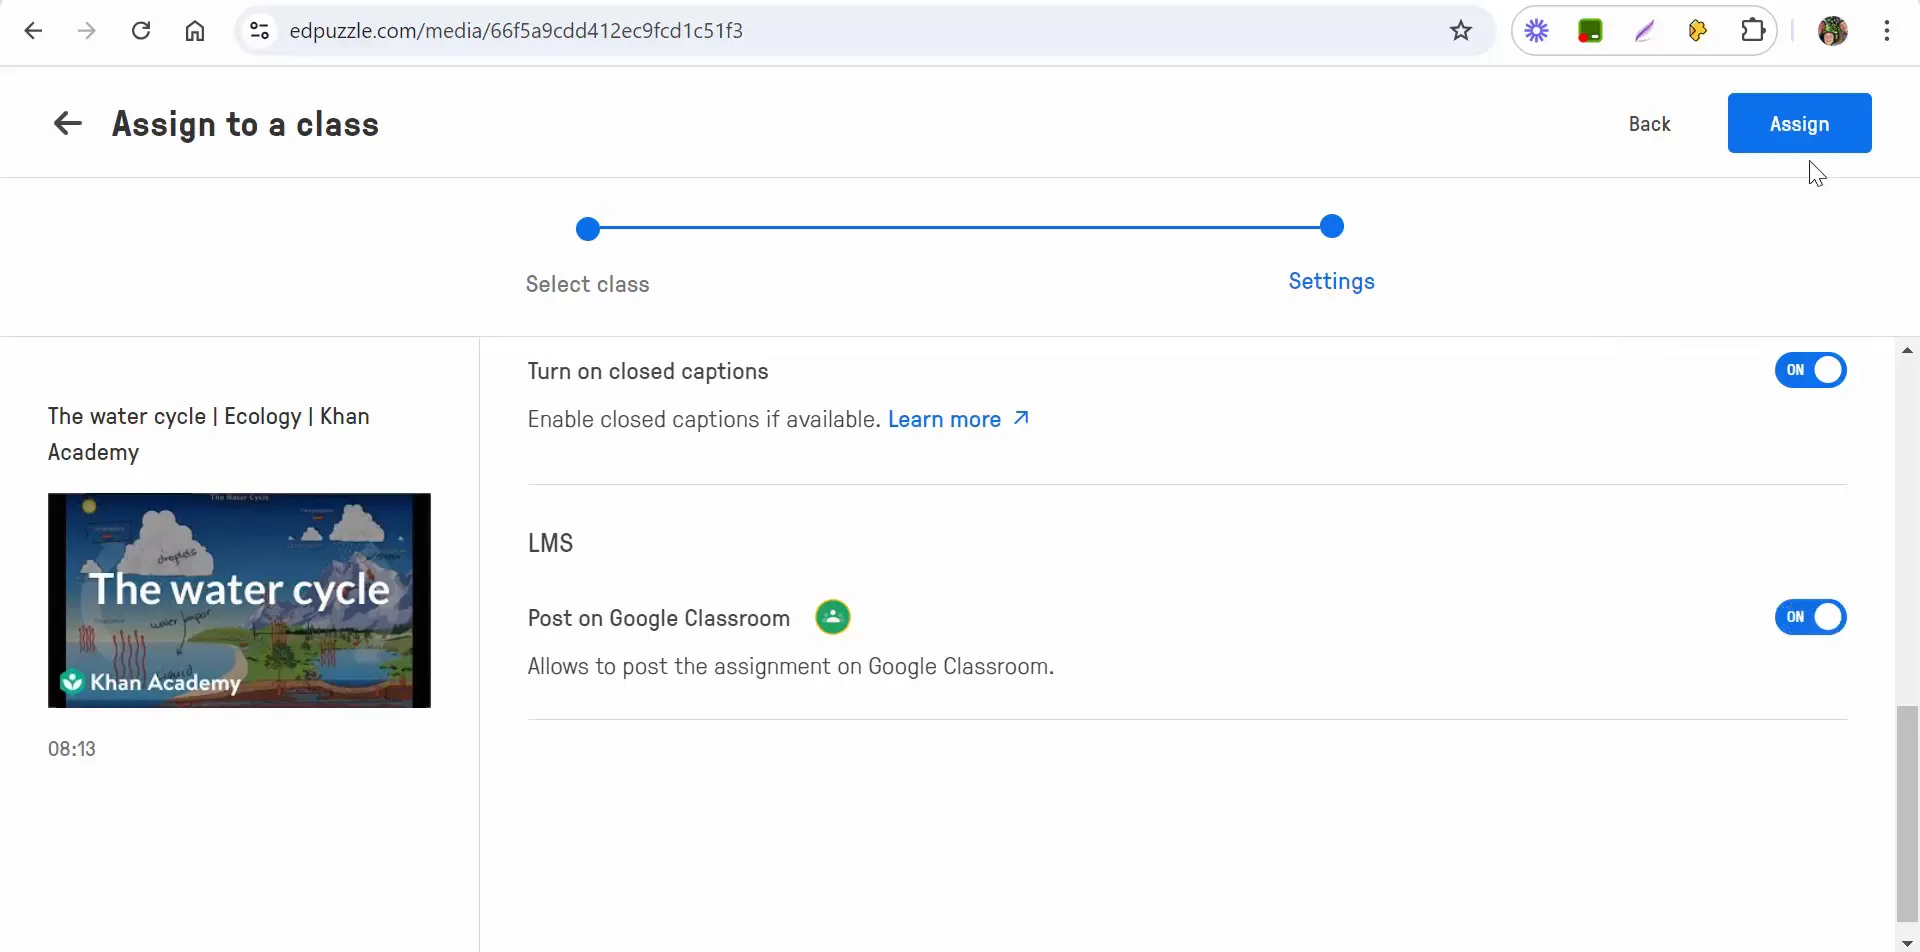
Additionally, you can enable closed captions if they are available, which can enhance understanding for some students.
Integrating with Google Classroom
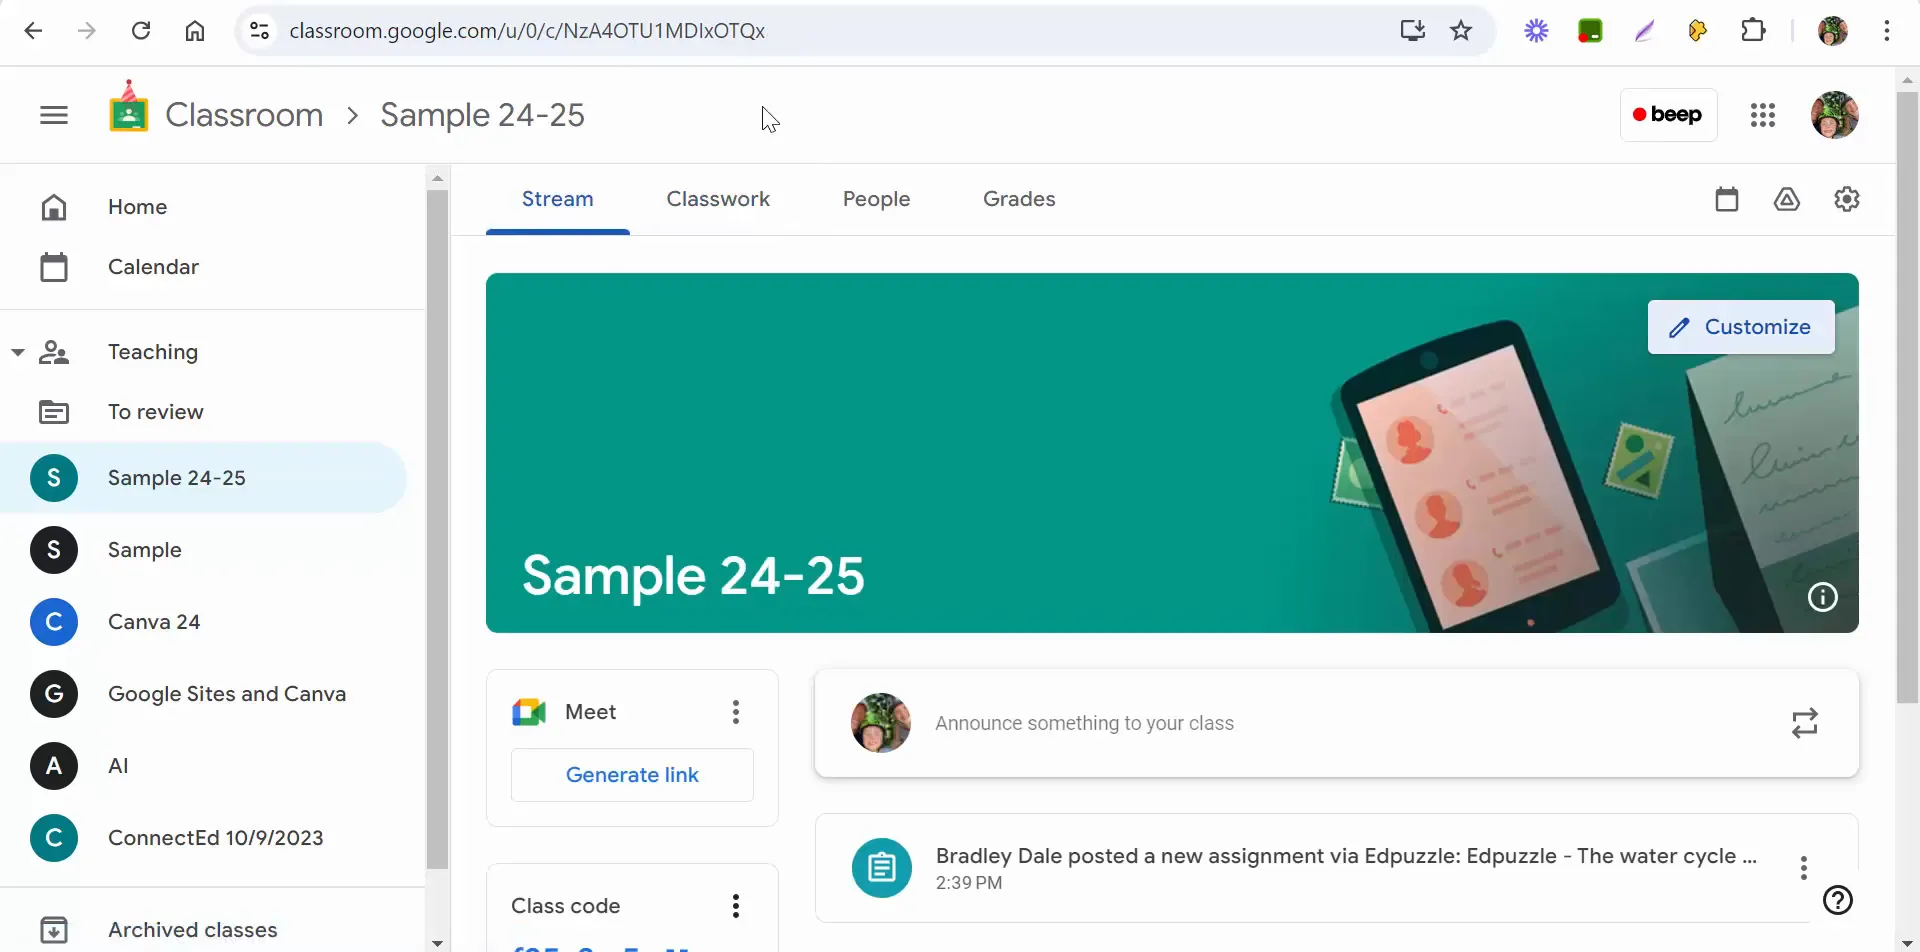
Edpuzzle seamlessly integrates with Google Classroom, making it easy to share assignments with your students. Once you have assigned the video, you can post it directly to Google Classroom.
Students will see the assignment appear in their Google Classroom stream and can access it from their classwork section as well.
Monitoring Student Engagement
After posting the assignment, you can monitor student progress through Edpuzzle's analytics dashboard. This feature allows you to track how many students have watched the video and their performance on the embedded questions.
This data is valuable for understanding which concepts students grasped and which ones may need further review.
Conclusion
Using Edpuzzle to find, edit, and assign videos makes it easier to create engaging and interactive lessons for your students. By following the steps outlined in this guide, you can effectively integrate video content into your teaching strategy, enhancing student learning outcomes.
If you have any questions or need assistance, feel free to reach out. Happy teaching!
If you are interested in printing out work that students have turned in from an assignment in Google Classroom (i.e. a Google Doc) and would like to print them all out without having to open each one individually, follow the steps below.
Enter into the assignment in Google Classroom and choose View Instructions
Choose Student Work at the top and then choose the folder icon
note you can also find the folder in Drive under Classroom
Select the documents you would like to print and then choose to download the files
This will create a Zip file
Create a new folder on your desktop
Open the Zip file
Choose the files you would like to Extract
Choose Extract at the top of the page (in pink)
then choose extract all
Choose the newly created folder
Select all the documents again and print them out
If the above steps look like a lot - please view the 1 minute and 56 second YouTube tutorial below. I think it will save you a lot of time.
Take care,
Brad
How to print out a number of documents students have turned in using Google Classroom.
Also works for how to print out a batch of Google Docs without having to open each individual doc.
If you are interested in creating your own classroom in Google Classroom you will need to click on the + in the upper right corner and select Create Class.
At this time you will then need to submit a request to Google (you will be prompted).
It took less than 24 hours and I received confirmation in an e-mail.
When you go create your first class you will have to check that you read and understand that you will not be using Google Classroom at a school with students.
If you would like to assign something to a particular student (or students) you can now do that very easily in Google Classroom. For Google's Help webpage for Google Classroom - please click here.
Once you have clicked on the + to create an announcement, assignment, or question - to the right of what class you are in - you will see where it says all students. Select the all students and you will see where the default is all students. You can then click where it says all students and then select the specific student (students) you would like to send it to.
The 2nd new feature is an e-mail notification when a student submits work past the due date. To make sure this is active in your Google Classroom...
1. Select the "hamburger" - the three lines at the top left of your home classroom page.
2. Select settings at the bottom.
3. Make sure the box is checked for email notifications.
Once you have your Grid and topic created you can add some extra information to your topic to include a video, GIFs, photos, as well as a Google Doc. When completed you can share the code with students, or send the topic easily through Google Classroom or Remind.
In order to edit your topic:
Find your Grid (select My Grids at the top)
Under the Grid find the topic and select the actions button to the right and select Edit topic.
Under Topic Resources is where you can add a GIF, video, photo, etc.
Under Topic Resources you can include an external link (Google Docs, OneNote, Dropbox)
Once your topic has been updated you can then select the Share Topic icon and share as a URL, embed code, QR code, as well as share to Remind and Google Classroom.
Embedded below is a 1 minute and 52 second YouTube tutorial.
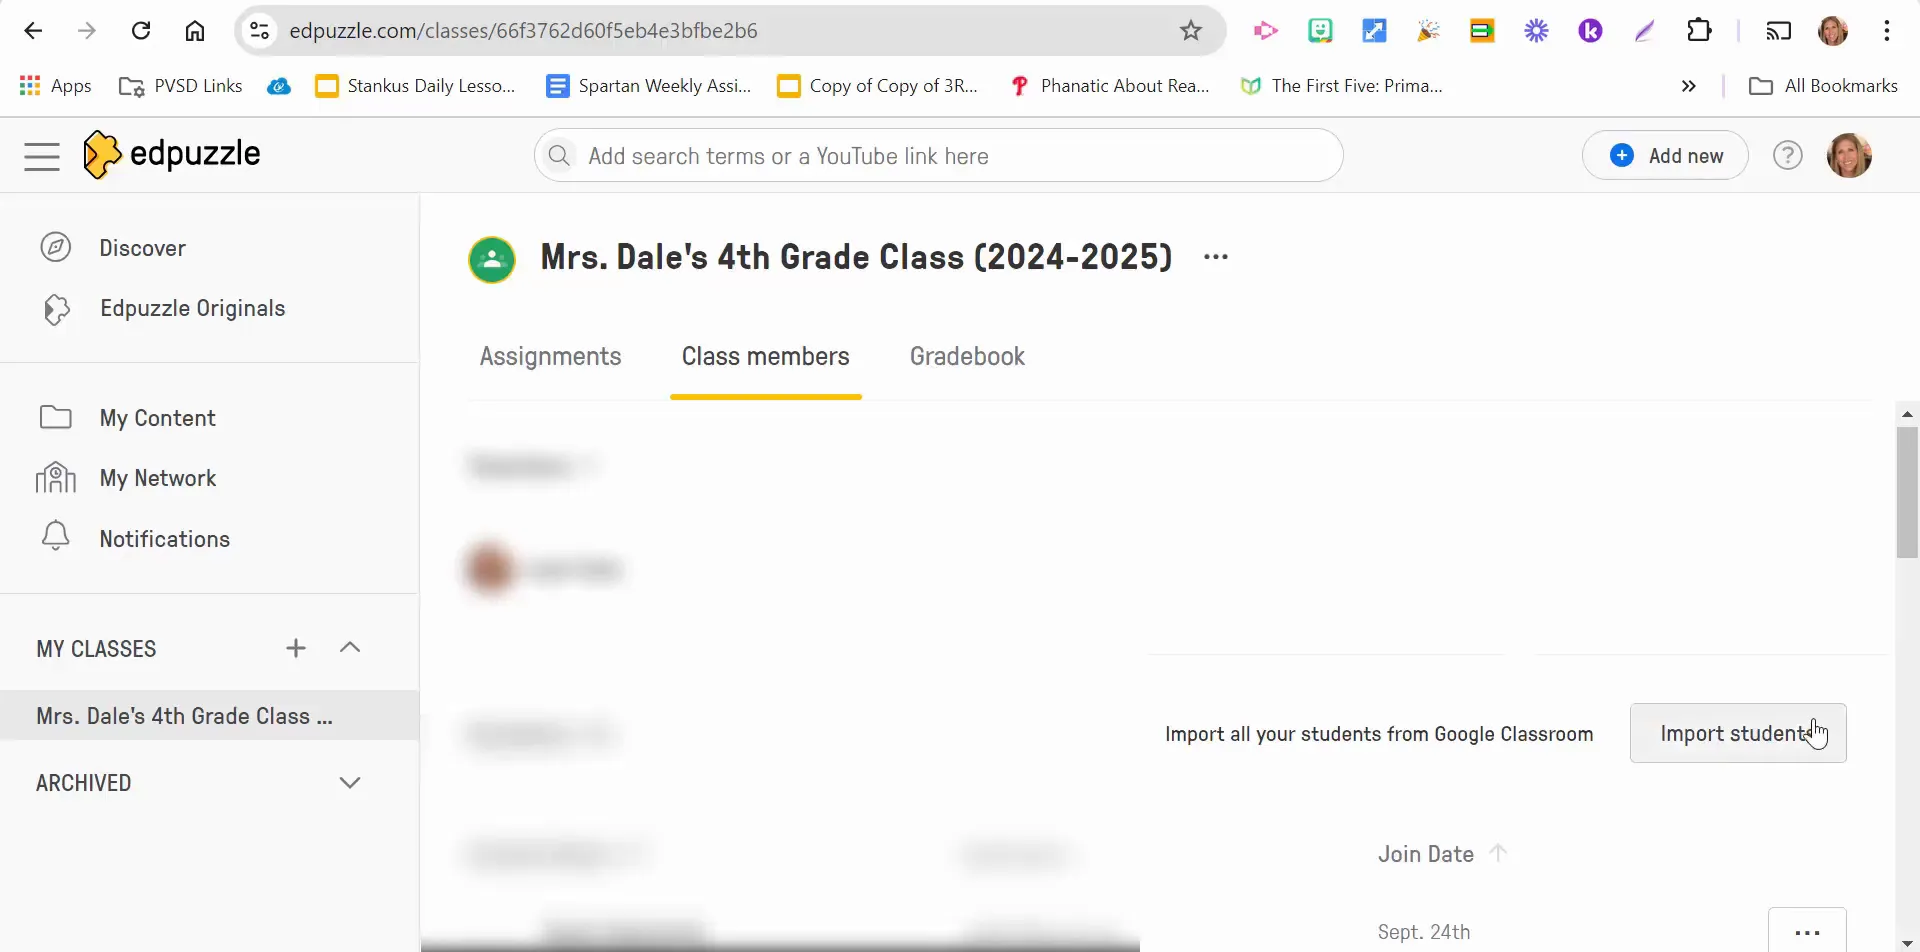
Edpuzzle is a powerful tool for educators looking to enhance their teaching with engaging video content. In this blog post, we will explore how to manage class members and utilize the Gradebook feature effectively. By the end, you'll have a clear understanding of how to incorporate these tools into your teaching strategy.
Understanding Class Members in Edpuzzle
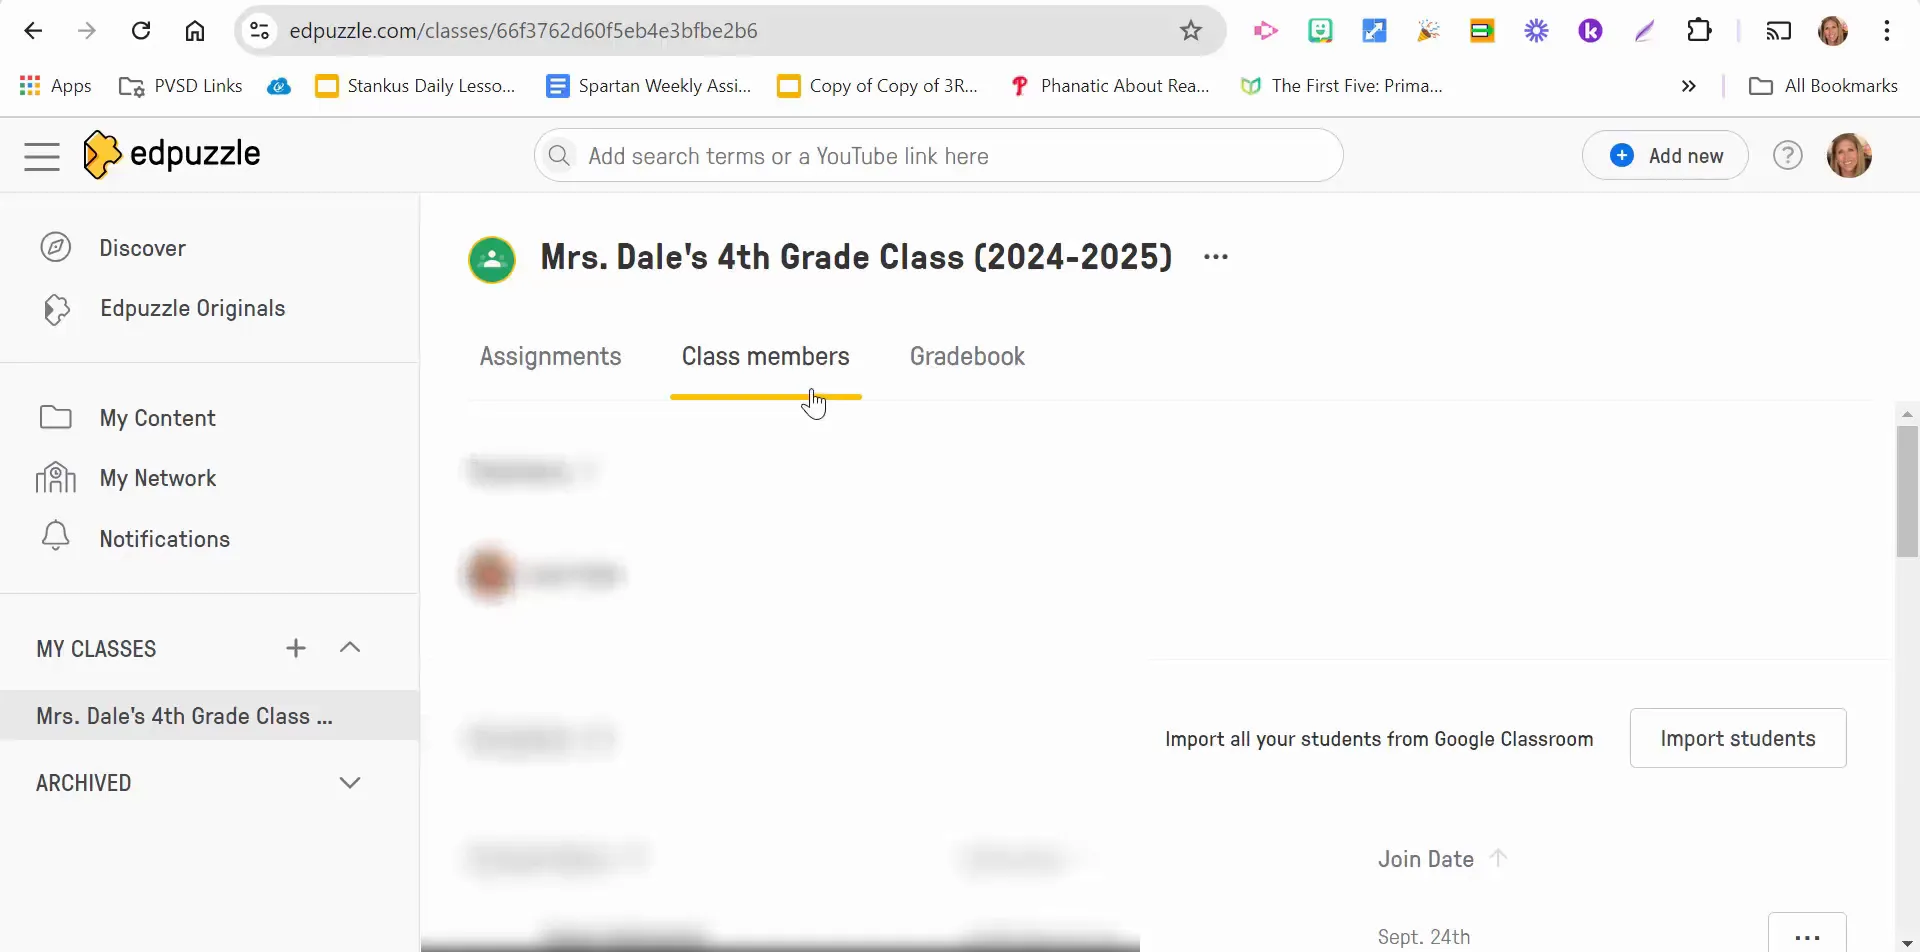
When you start using Edpuzzle, one of the first things you will need to do is manage your class members. This section is crucial for keeping track of your students and ensuring they have access to the materials they need.
Viewing Class Members
Once you navigate to the class members section, you can scroll through a list of all the students enrolled in your class. This feature enables you to quickly see who is participating and who might need a little extra attention.
Importing Students from Google Classroom
If you've recently added students to your Google Classroom, integrating them into Edpuzzle is a breeze. Simply select the option to import students, choose the specific classroom, and Edpuzzle will import those new students automatically.
This seamless integration saves you time and helps ensure that all your students are accounted for in Edpuzzle. It’s an efficient way to keep your rosters up to date without manual entry.
Exploring the Gradebook Feature
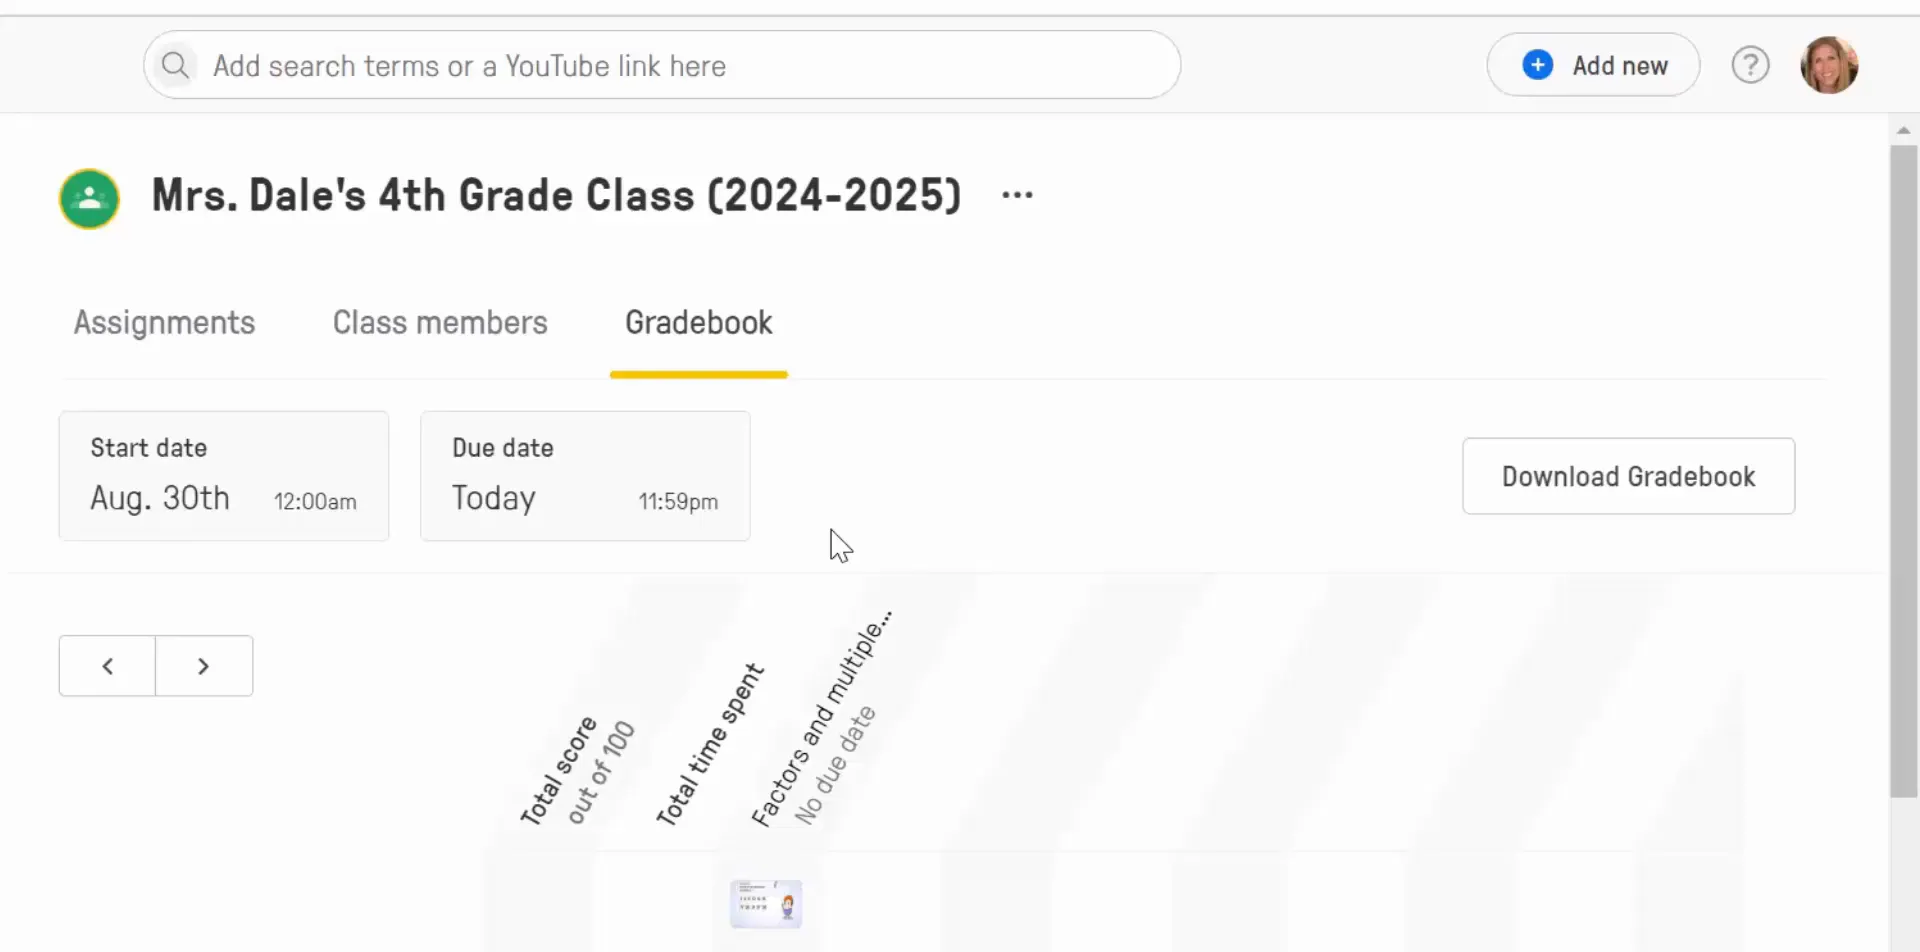
The Gradebook in Edpuzzle is a valuable resource for tracking student performance and assignment completion. It provides a comprehensive overview of how each student is doing in your class.
Accessing the Gradebook
To access the Gradebook, simply select the Gradebook option within Edpuzzle. Here, you will find an overview of all the assignments you have assigned to your students. This includes their total scores, the time they spent on each assignment, and how they performed overall.
This feature is particularly useful for identifying which students may need additional support or which assignments may need to be revisited in class.
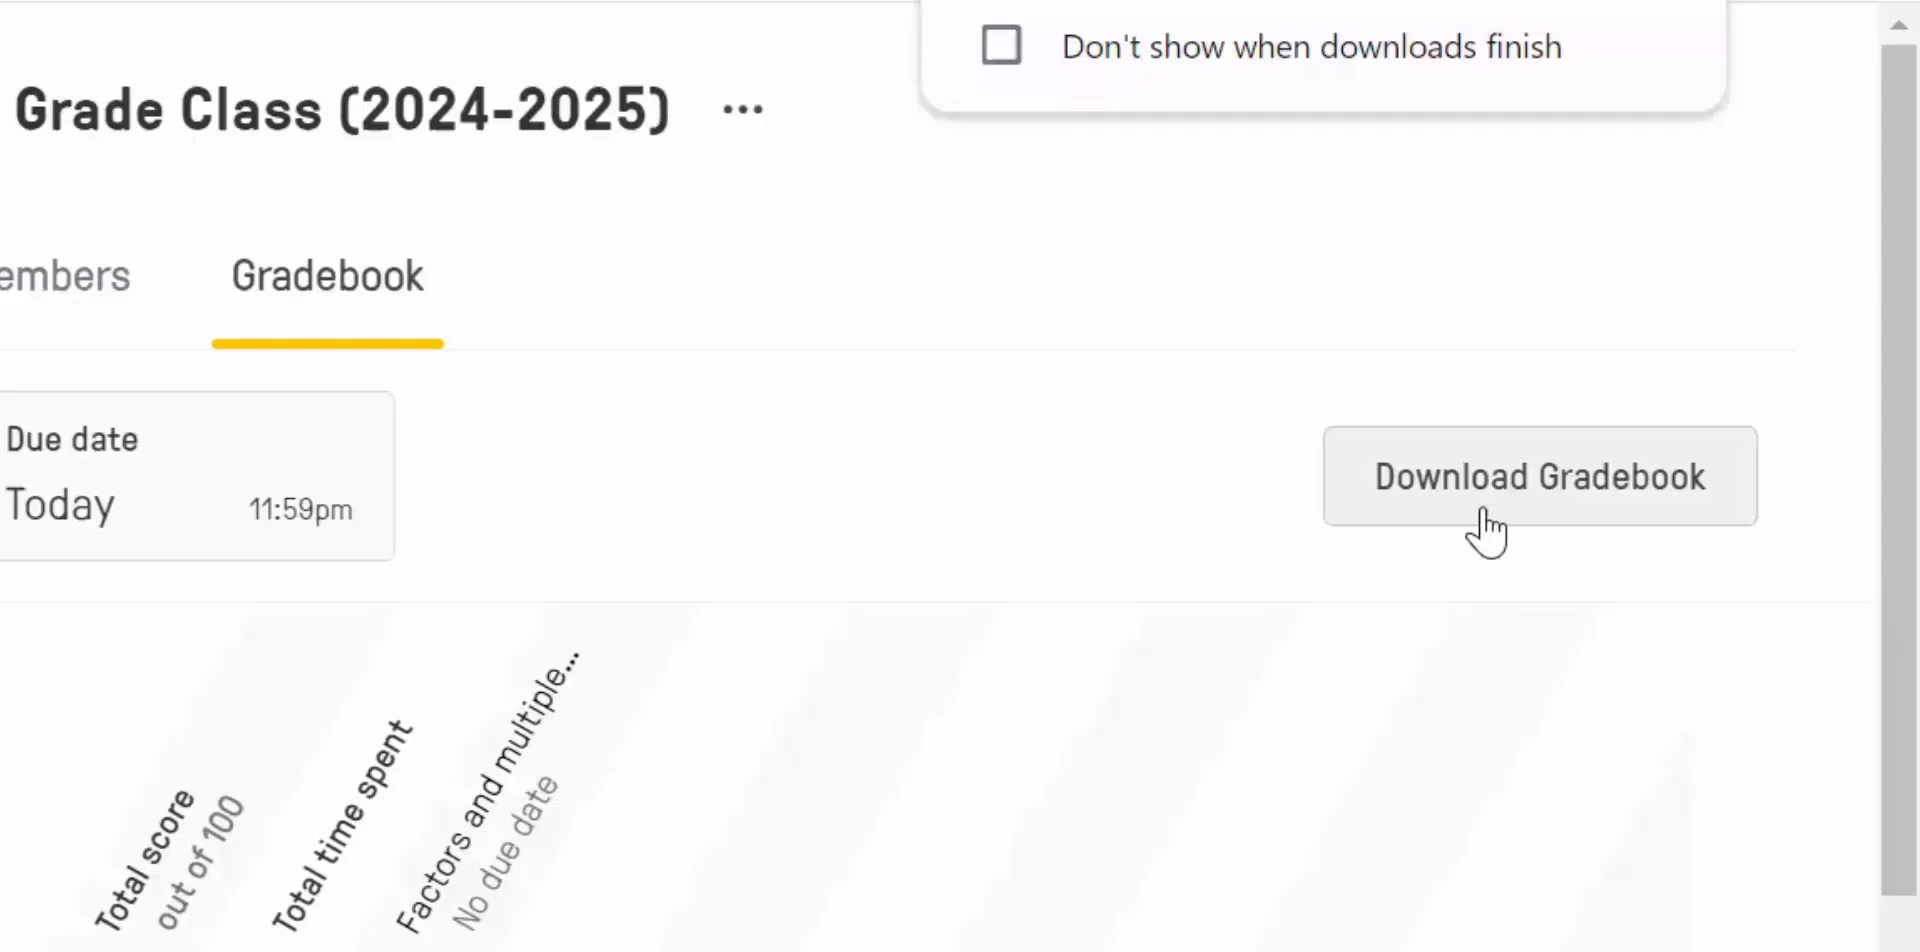
Downloading Your Gradebook
One of the best features of the Gradebook is the ability to download your data. You can export the Gradebook in Excel format, allowing you to manipulate the data as needed. This can be incredibly useful for generating reports or for keeping a record of student progress outside of the Edpuzzle environment.
Downloading your Gradebook also provides a way to maintain a backup of your student’s performance data, ensuring you have access to it whenever you need it.
Conclusion
Managing class members and utilizing the Gradebook in Edpuzzle is essential for any educator looking to enhance their teaching with video content. By understanding how to import students from Google Classroom and effectively track their performance, you can create a more engaging and organized learning environment.
If you have any questions or need further assistance with Edpuzzle, feel free to reach out! Happy teaching!
If you use Google Classroom and have a student or students who work with another adult, it can be at times difficult to assist that student remotely.
One solution is to try the following:
Create the assignment as you typically would (with a copy for each student)
To have the adult who is working with the student be able to see the document and assist make sure to do the following:
In Classroom select the Class Drive Folder (available in the Classwork section in Google Classroom
Find the assignment folder and open it
Find the student's document and open it up
Select share in the upper right and add the adult's email
Now both the student and the adult can talk (in a breakout room in Zoom or Meet) and work together on the same document
The student still has the ability to turn in directly from the open document
Embedded below is a 2 minute and 40 second YouTube tutorial showing from the teacher point of view, student point of view, as well as the adult assisting's point of view.
Another solution is below:
create your document for the assignment and make a copy of the document as well
be sure to keep them separate
share the original assignment with your class except the one child (you will be sharing the same document with the student in the next step
with the copied document add the adult who works with the child directly from the sharing settings
create an assignment in Google Classroom and share with that specific student
now when students go into breakout rooms the student and the adult providing assistance can both work on the assignment together as they talk it over
note that there is no blue Turn In button on the top right of the doc
the student would need to go back into the assignment and select Mark as Done
the teacher would then need to go into the document in Drive (since they created it) and see the assignment that way
Embedded below is a 2 minute and 18 second YouTube tutorial.
Khan Academy offers the ability to learn about math, art, computer programming, grammar, etc all for free.
The example video I have embedded below goes through the process of creating a teacher account (Google account) as well as using Google Classroom to import your class(es).
If you select Teachers, start here, then select Continue with Google, and then you can add your class. If you do not see the option, select your name in the upper right and then select Coach Dashboard.
When ready select Add new class and a pop-up window will appear. If using Google Classroom make sure to select the Import from Google Classroom button and then select your class.
Once you have selected your class, select the grade (you can skip this but I think you will want to select it), then you can assign the content you would like to.
Make sure to check out the tabs across the top for Content, Assignments, Progress, Activity, Roster, and Settings.
Embedded below is a 1 minute and 53 second YouTube tutorial I created.
Starting today Google Classroom now allows parents/guardians to subscribe to a daily or weekly summary of activities in your Google Classroom.
After reading about it - here are some key points
- The school's teachers and administrators must choose who can invite parents and guardians.
- The families only need to be invited once regardless of # of teachers the student has (important in later grades).
- Teachers have the option to send e-mails from Google Classroom to the families.
For the link from Google - click here.
You can also click here to see what is new.
Take care,
Brad
You can make the video available to students (when you do this it shows up in your Classroom header)
This is great for simplicity.
Make sure to check with your admin as in the admin console, the ability for students to create meetings needs to be turned off. This will prevent them from joining ahead of you and becoming owners of the meetings/recordings
Personal thing - I would only make this link available to students at the time you want to have the meeting.
When the meeting is over, make sure to be the last one in the meeting (you can remove students). Make sure to then remove the ability for students to see the link.
The meeting is still open between 30 seconds and 1 minute even after you leave the meeting so students could still rejoin and invite their classmates back in.
I would recommend going back into the meeting 1 minute later on - just to be sure no-one jumped back on.
Thank you for taking the time to read this blog. I will do my best to keep my posts short and to the point.
In this post you will find information that you can hopefully use in your classroom - QR codes (how to create, store, and organize) as well as a new feature in Google Classroom - polling!
1. Click here to access the information on QR codes (along with some helpful short videos)
** The link will ask you to make a copy into your google drive.
2. Click here to access the 45 second video tutorial on the new polling feature in Google Classroom.