Have you ever faced the frustrating situation where you want to make a copy of a Google Document, but it just won’t let you? This is a common issue that can arise, especially in collaborative environments like schools or workplaces. In this post, we’ll dive into a specific scenario and provide you with a solution to ensure you can create that copy when needed.
The Scenario
Let’s set the scene. Imagine you’re at school, and a colleague has created a Google Document inside a shared folder. They’ve shared this document with someone else and given them editing rights. You might think that making a copy of this document would be straightforward, but that’s not always the case.
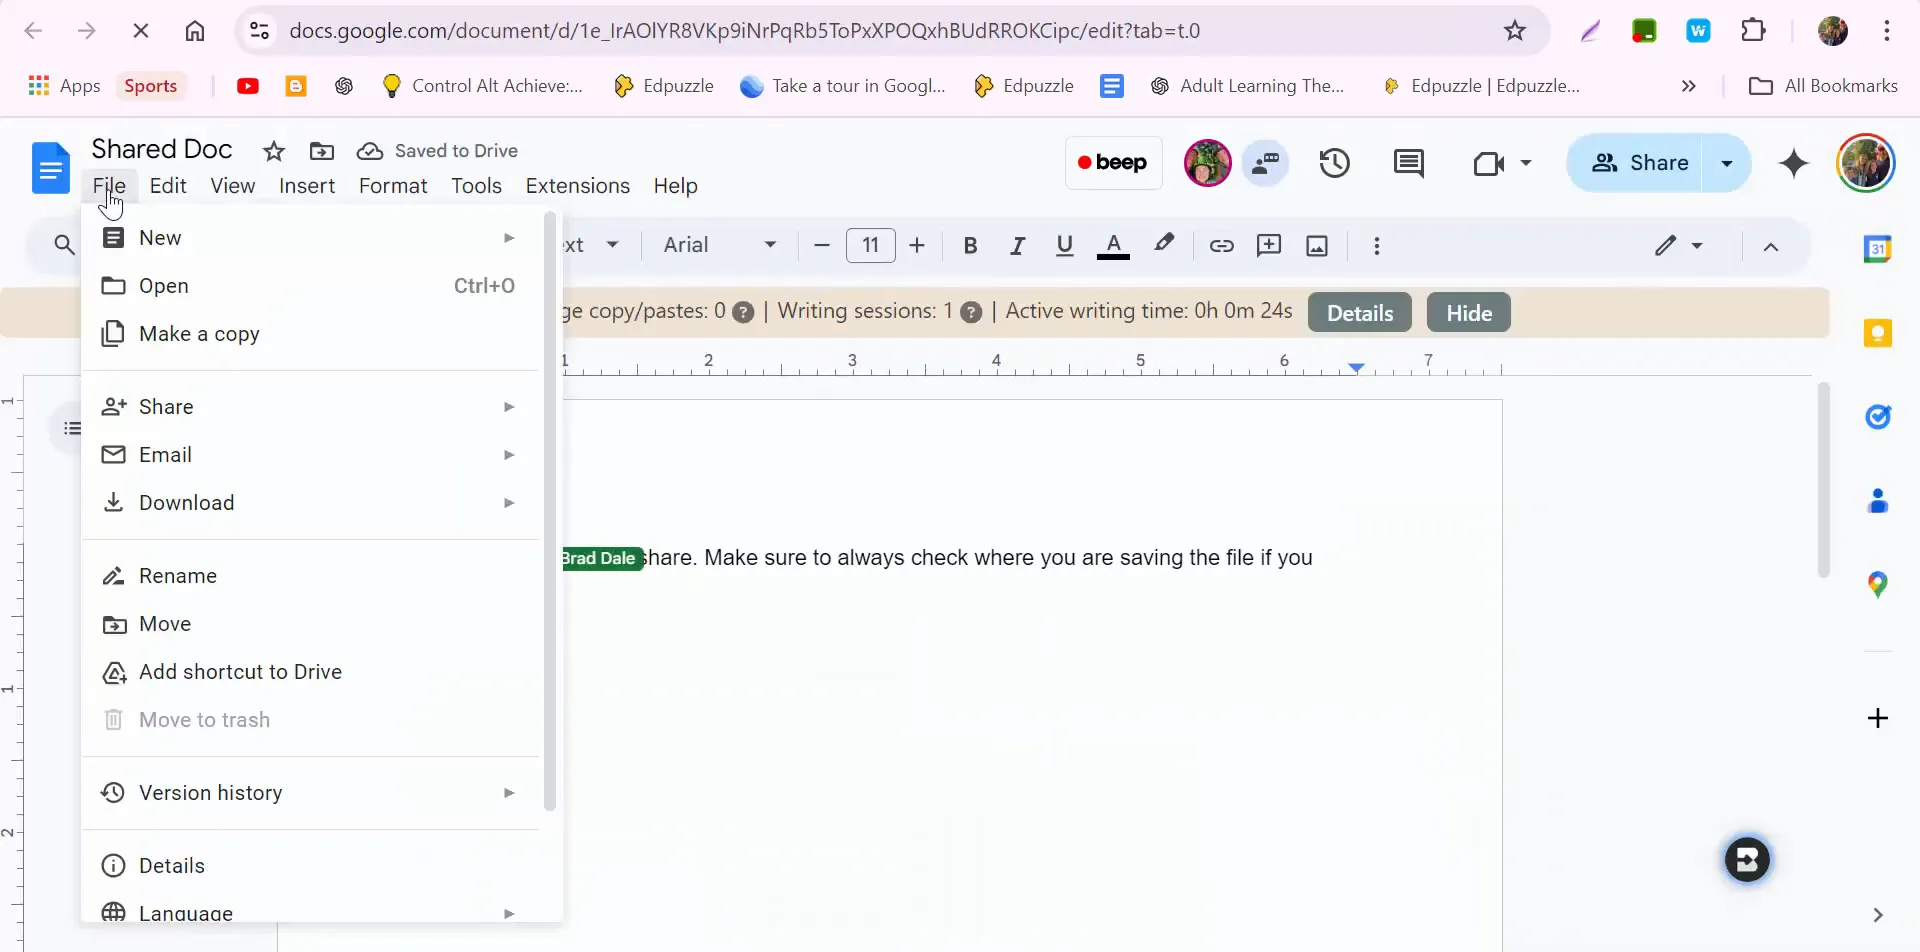
Here's what happened: a person opened the document, just like they typically would, and navigated to the File menu to select Make a Copy. But, when they tried to make that copy, something unexpected occurred.
Understanding the Issue
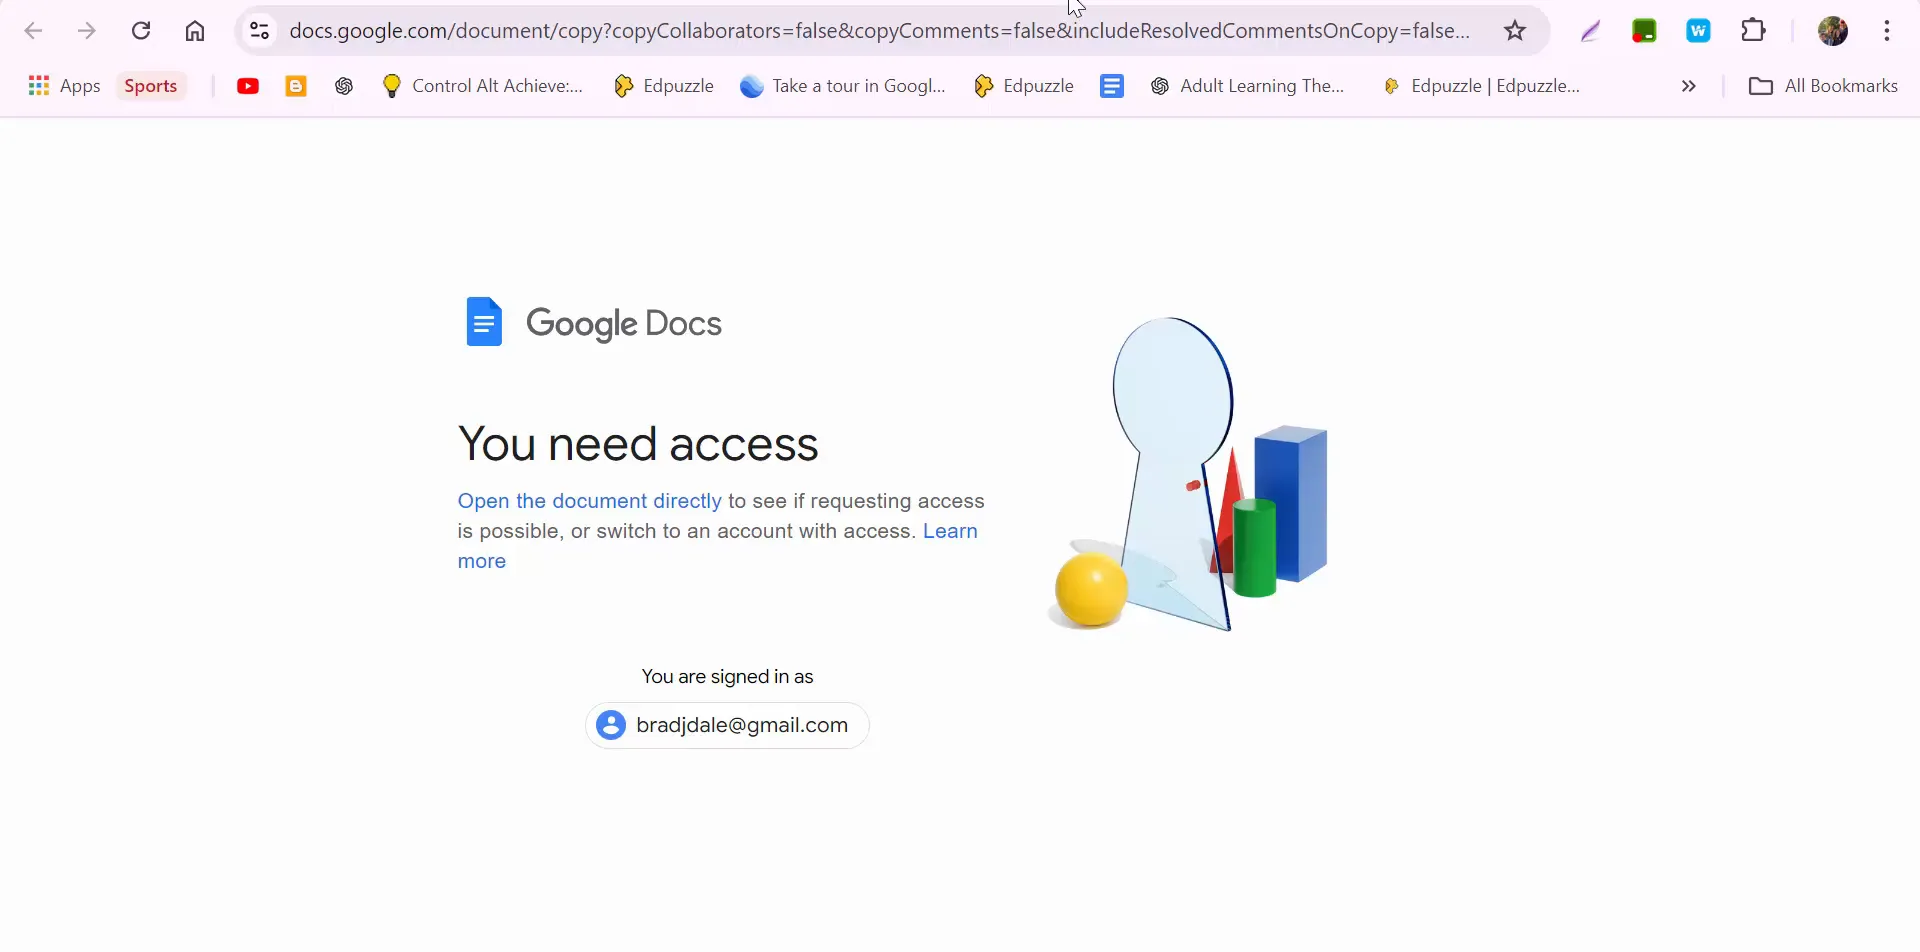
When the user attempted to make a copy, they discovered that the folder the document was in was shared differently than they expected. This can happen if the original document is shared in a way that restricts copying permissions. For instance, if you have viewer access to a folder, and you try to make a copy of a document within that folder, you might encounter issues.
In our scenario, the user was trying to copy a document from a folder where they only had viewer access. The result was a message indicating that the copy couldn’t be made because of the folder's sharing settings.
Solution: Moving the Copy to Your Drive
So, how do you resolve this? The solution lies in changing where you want to save the copy. Instead of trying to save it back into the original folder, which may have restrictive sharing settings, you can choose to save it in your own Google Drive. Here’s how:
When you select Make a Copy, look for the option to change the destination.
Select My Drive as the location for the copy.
Once you’ve made this selection, proceed with making the copy.
This simple change in destination allows you to bypass the sharing restrictions of the original folder. Now, you’ll have your very own copy in your Drive that you can edit freely.
Conclusion
In conclusion, when you encounter issues making a copy of a Google Document due to sharing restrictions, remember to check the folder's sharing settings. If you find yourself just a viewer, simply redirect the copy to your Google Drive. This will ensure you have access to the document without any restrictions.
If you have any questions or need further assistance, feel free to reach out. I hope this helps you navigate the challenges of Google Docs and improves your collaborative experience!
In today's digital communication, emojis play a crucial role in expressing emotions and ideas. For Chromebook users, accessing emojis quickly and efficiently can enhance your messaging experience. This blog post explores various methods to access emojis on a Chromebook, ensuring you have all the tools you need at your fingertips.
Using the Insert Emoji Option
The first method to access emojis is through the built-in "Insert Emoji" feature. This is particularly useful when you're working on documents or presentations. Here’s how to do it:
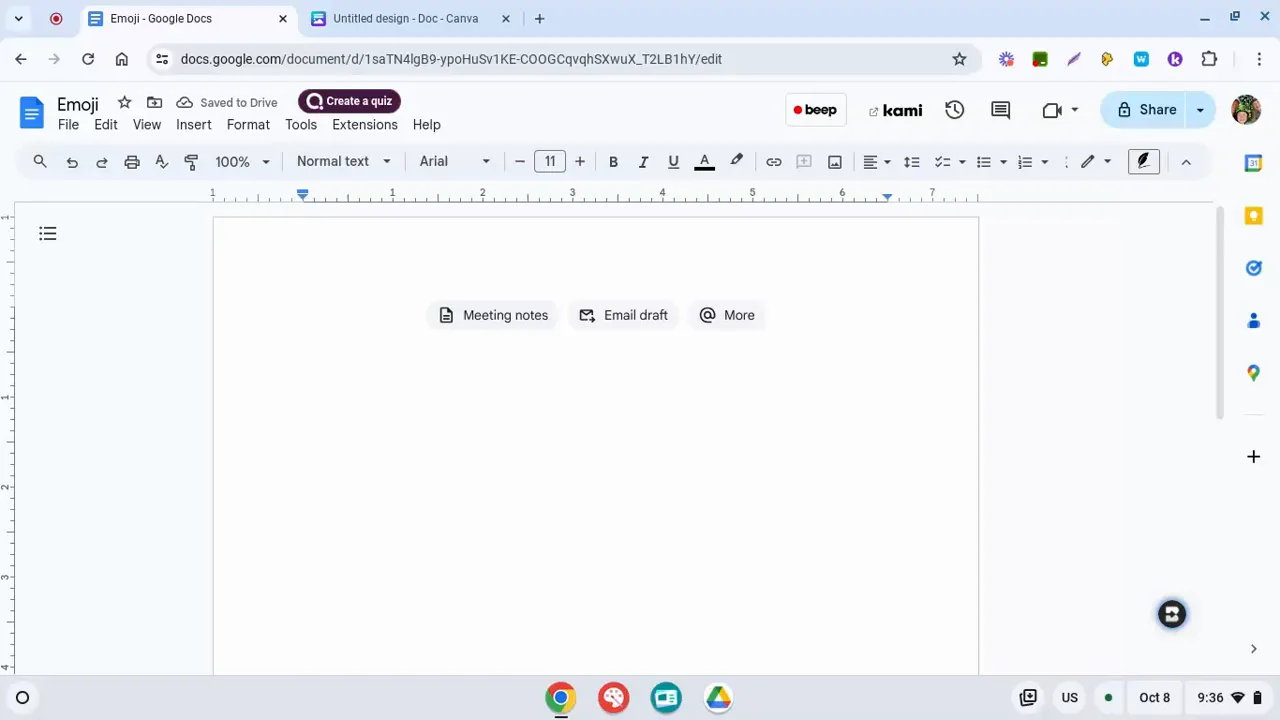
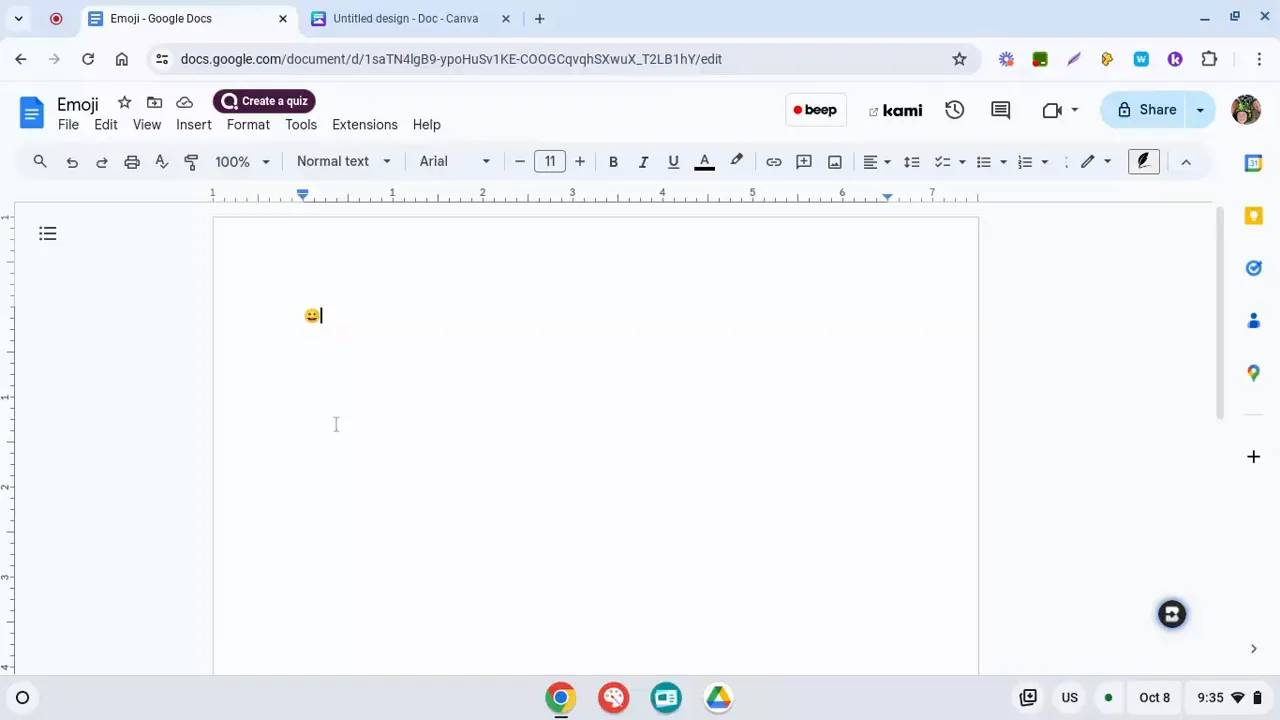
Navigate to the location in your document where you want to insert an emoji.
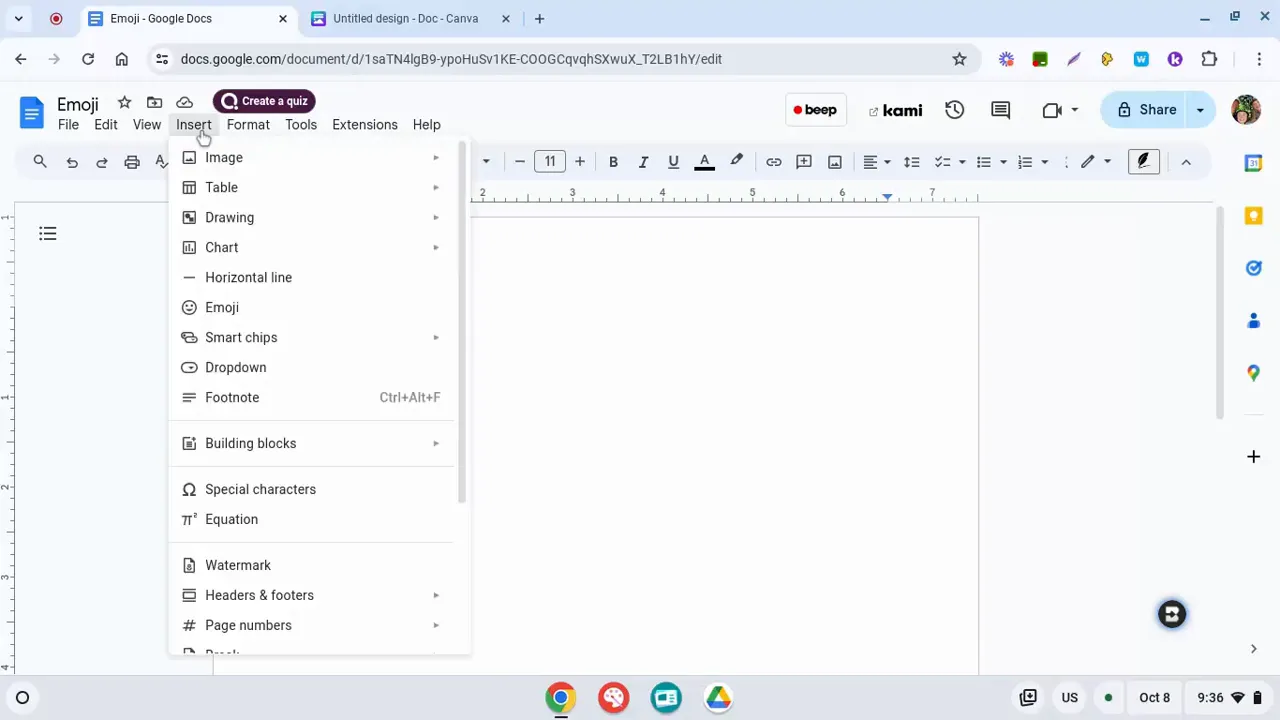
Click on the Insert menu at the top of your screen.
Select Emoji from the dropdown options.
You will see a pop-up window with a variety of emojis to choose from.
This method allows you to browse through the available emojis or use the search function to find a specific one. Simply click on the emoji to insert it into your document.
Search Bar Shortcut
Another effective way to access emojis is by using the search bar. Here’s a quick guide:
While in the emoji menu, look for the search icon that resembles a magnifying glass.
Click on it and type in a keyword related to the emoji you want.
Once you find the emoji, click it to insert it into your document.
This method is efficient if you know the name or meaning of the emoji you want to use.
Keyboard Shortcut for Emojis
For those who prefer using keyboard shortcuts, there’s a convenient option available as well. Follow these steps:
Position your cursor in the text field where you want the emoji.
Press Shift + Space simultaneously.
This will bring up the emoji selection window for you to choose from.
Using keyboard shortcuts can speed up your workflow significantly, especially if you're frequently inserting emojis.
Right-Click to Access Emojis
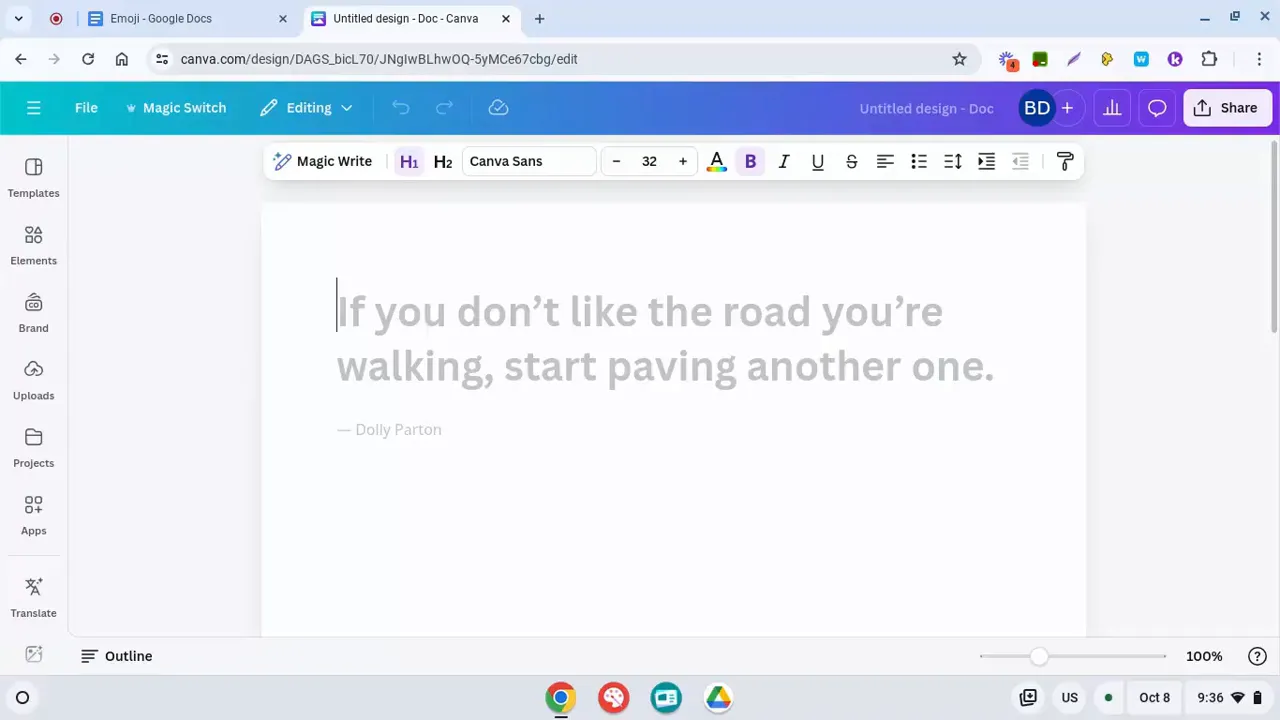
Another handy method to access emojis is through the right-click context menu. This can be especially useful when using various applications, such as Canva. Here’s how to do it:
Right-click in the text area where you want to insert the emoji.
In the context menu that appears, select the Emoji option.
You will then see the emoji selection window pop up.
This method is straightforward and allows you to insert emojis without navigating away from your current task.
Exploring More Options
As Brad pointed out, there are multiple ways to access emojis on a Chromebook, each suited for different applications and user preferences. Here’s a quick recap:
Insert Emoji Menu: Best for documents and presentations.
Search Bar: Quick access when you know what you’re looking for.
Keyboard Shortcut: Fast and efficient for frequent users.
Right-Click: Convenient for various applications.
Each of these methods provides a unique way to enhance your communication by adding emojis, making your messages more engaging and expressive.
Conclusion
Incorporating emojis into your Chromebook experience can greatly enhance your digital communication. Whether you're drafting a document, creating a presentation, or simply chatting with friends, these methods will ensure you can access emojis quickly and easily. If you have any questions or need further assistance, feel free to reach out. Happy emoji-ing!
Emojis have become an essential part of digital communication, allowing users to express emotions and ideas visually. For Chromebook users, accessing emojis can be done quickly and easily through various methods. In this blog, we’ll explore several ways to access emojis on a Chromebook, ensuring you can add a bit of fun and expression to your texts, emails, and projects.
Using the Insert Emoji Feature
One of the simplest ways to access emojis on a Chromebook is through the Insert Emoji feature. This method is straightforward and allows you to browse through different emojis.
Step 1: Navigate to the area where you want to insert an emoji.
Step 2: Click on Insert in the menu bar.
Step 3: Select Emoji from the dropdown options.
Once you do this, a window will pop up showing a variety of emojis to choose from. You can scroll through the options or use the search feature to find a specific emoji.
Using Keyboard Shortcuts
For those who prefer keyboard shortcuts, there's a quick way to bring up the emoji picker using a combination of keys. This method can save you time and make the process more efficient.
Step 1: Position your cursor in the text field where you want to insert the emoji.
Step 2: Press Search + Shift + Space simultaneously.
This shortcut will display the emoji picker right on your screen, allowing you to choose your desired emoji quickly.
Right-Clicking for Emoji Access
If you are using applications like Canva or any text field that supports right-click options, you can access emojis directly through the right-click menu.
Step 1: Right-click on the text area where you want to insert an emoji.
Step 2: Look for the Emoji option in the context menu.
Step 3: Click on it to open the emoji selection window.
This method is especially handy when you are working on creative projects and need to insert emojis without interrupting your workflow.
Searching for Emojis
Sometimes, you might have a specific emoji in mind but don't know where to find it. Using the search function can help you locate emojis quickly.
Step 1: Open the emoji picker using any of the methods mentioned above.
Step 2: Look for the search bar at the top of the emoji window.
Step 3: Type in a keyword related to the emoji you are looking for.
For example, if you type "smile," all smiley emojis will appear, making it easy to find the right one.
Combining Methods for Efficiency
While there are multiple ways to access emojis, combining these methods can enhance your efficiency. For instance, you can use keyboard shortcuts to quickly bring up the emoji picker, then use the search bar to find a specific emoji you want to use.
This combination of techniques allows you to streamline your emoji usage, making your communication more expressive without wasting time.
Final Thoughts
Accessing emojis on a Chromebook is both easy and versatile. Whether you choose to use the Insert Emoji feature, keyboard shortcuts, right-click options, or search functions, you have several ways to express yourself visually. Incorporating emojis into your communication can add a personal touch and make your messages more engaging.
If you have any questions or need further assistance with using emojis on your Chromebook, feel free to reach out. Happy emoji-ing!


 In today's digital communication, emojis play a crucial role in expressing emotions and ideas. For Chromebook users, accessing emojis quickly and efficiently can enhance your messaging experience. This blog post explores various methods to access emojis on a Chromebook, ensuring you have all the tools you need at your fingertips.
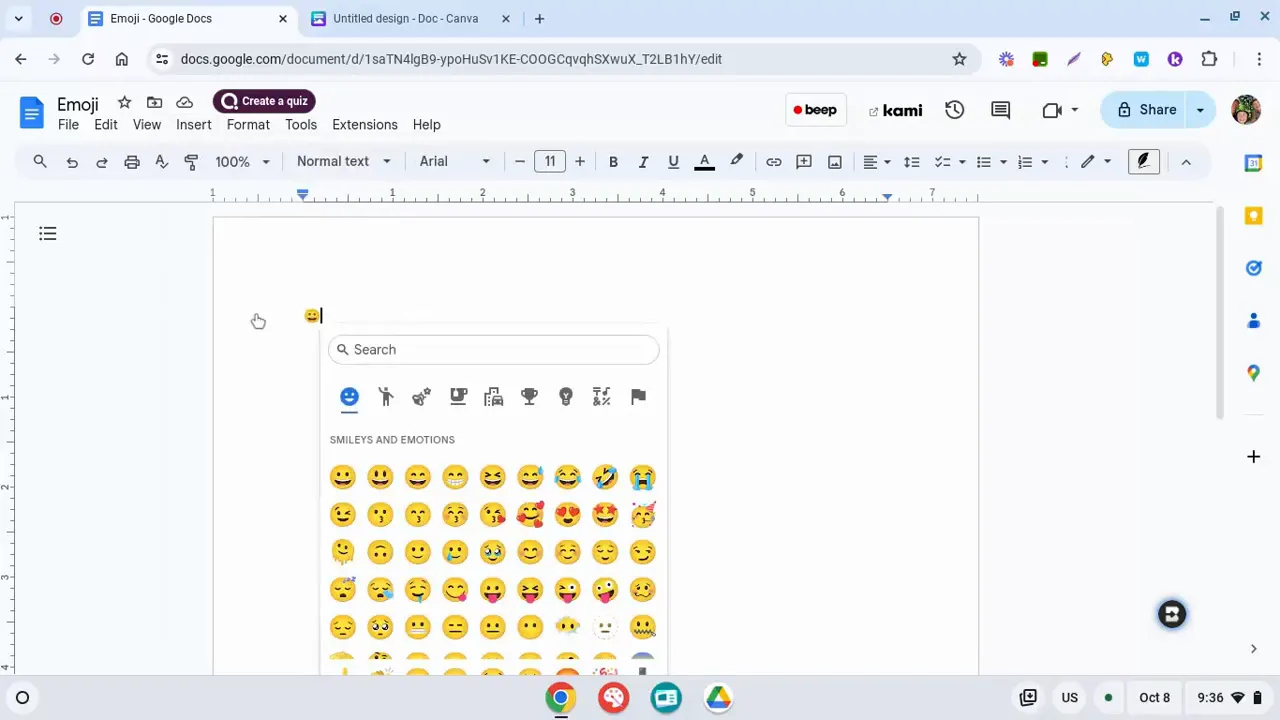 This method allows you to browse through the available emojis or use the search function to find a specific one. Simply click on the emoji to insert it into your document.
 Using keyboard shortcuts can speed up your workflow significantly, especially if you're frequently inserting emojis.
 This method is straightforward and allows you to insert emojis without navigating away from your current task.