Mastering the Art of AI Collaboration with Gemini for Google Workspace
Generative AI is revolutionizing the way we work, and Google Workspace's Gemini brings this power directly into your favorite apps like Gmail, Google Docs, and Google Sheets. But how do you make the most of it? The Gemini for Google Workspace: Prompting 101 Guide simplifies the art of creating effective prompts, offering strategies to improve productivity and creativity without sacrificing privacy.
Key Features of Gemini
Gemini integrates seamlessly across Workspace, enabling you to:
- Summarize information and surface insights.
- Generate personalized emails or presentations.
- Organize and analyze data effectively.
- Brainstorm creative ideas and draft professional documents.
Four Pillars of Prompt Design
Creating effective prompts is crucial for meaningful collaboration with AI. The guide emphasizes:
- Persona: Define who the AI is acting as.
- Task: Clearly state what you need.
- Context: Provide relevant background details.
- Format: Specify how you want the output to look.
For instance, you can prompt:
"You are a project manager. Draft a concise email summarizing the attached meeting notes for the team, highlighting key action items in bullet points."
Tips for Prompting Success
- Use natural language and clear instructions.
- Be concise but specific.
- Iterate with follow-up prompts to refine results.
- Integrate your own files to provide context.
Why Gemini?
With Gemini, your data remains secure within the Workspace environment, ensuring your privacy while enhancing productivity. Whether you're crafting a press release, managing schedules, or brainstorming marketing strategies, Gemini adapts to your needs.
Start exploring the limitless possibilities of AI collaboration with Gemini and transform your daily workflows into seamless and creative endeavors.


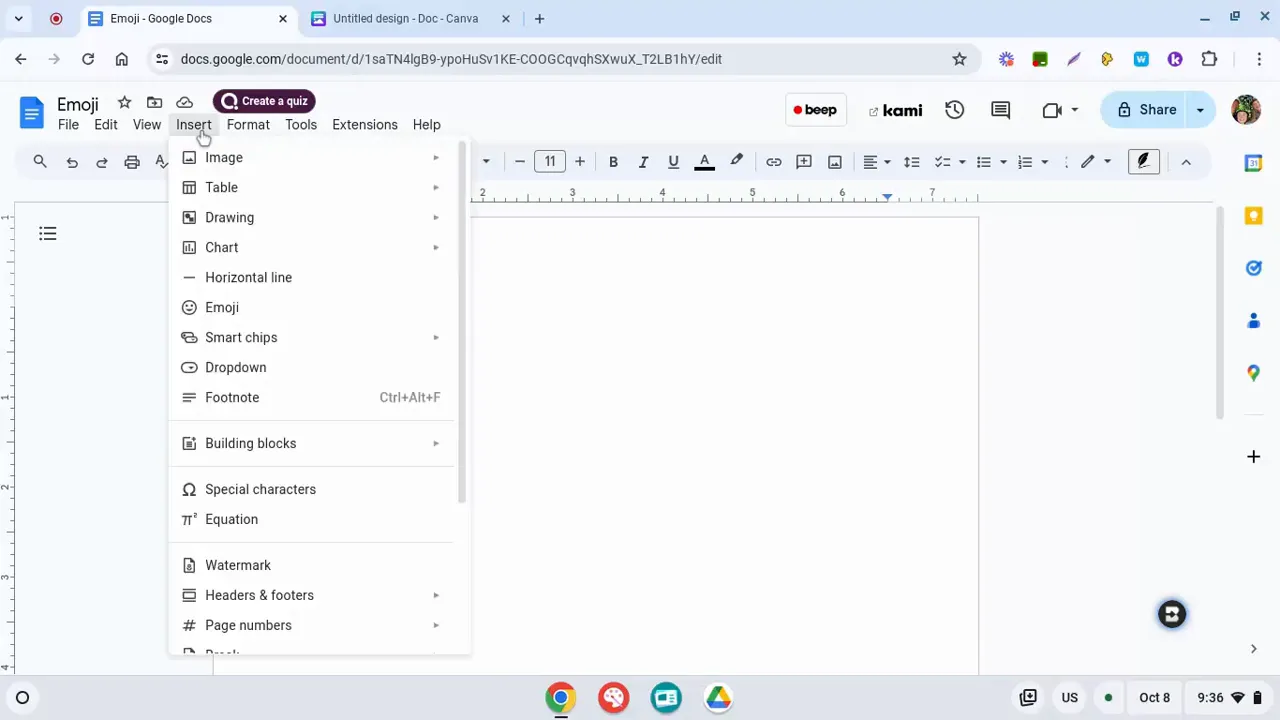
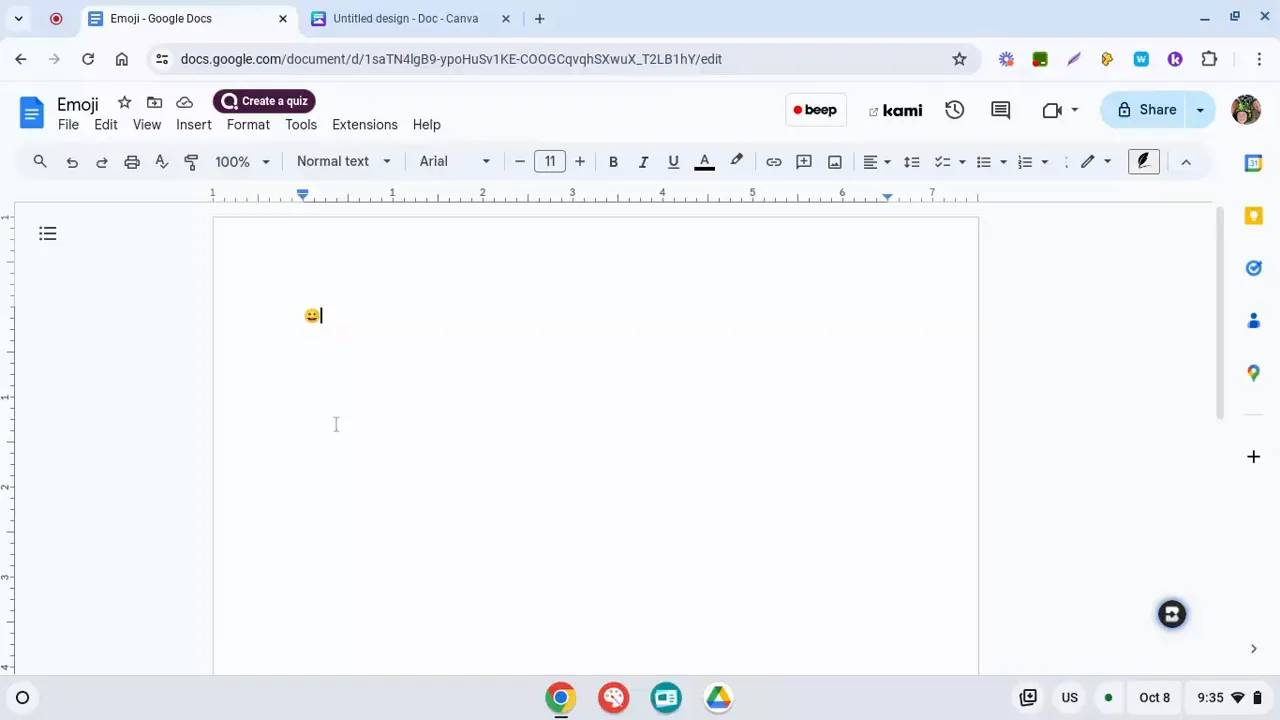 In today's digital communication, emojis play a crucial role in expressing emotions and ideas. For Chromebook users, accessing emojis quickly and efficiently can enhance your messaging experience. This blog post explores various methods to access emojis on a Chromebook, ensuring you have all the tools you need at your fingertips.
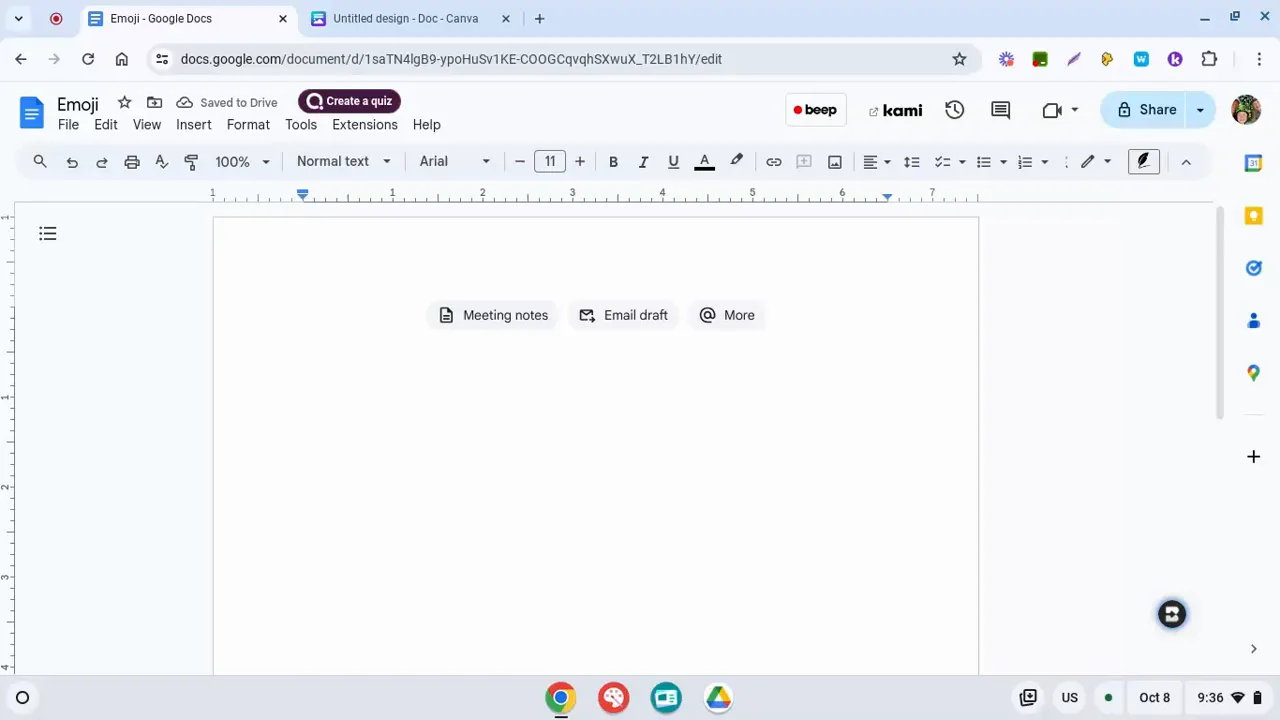
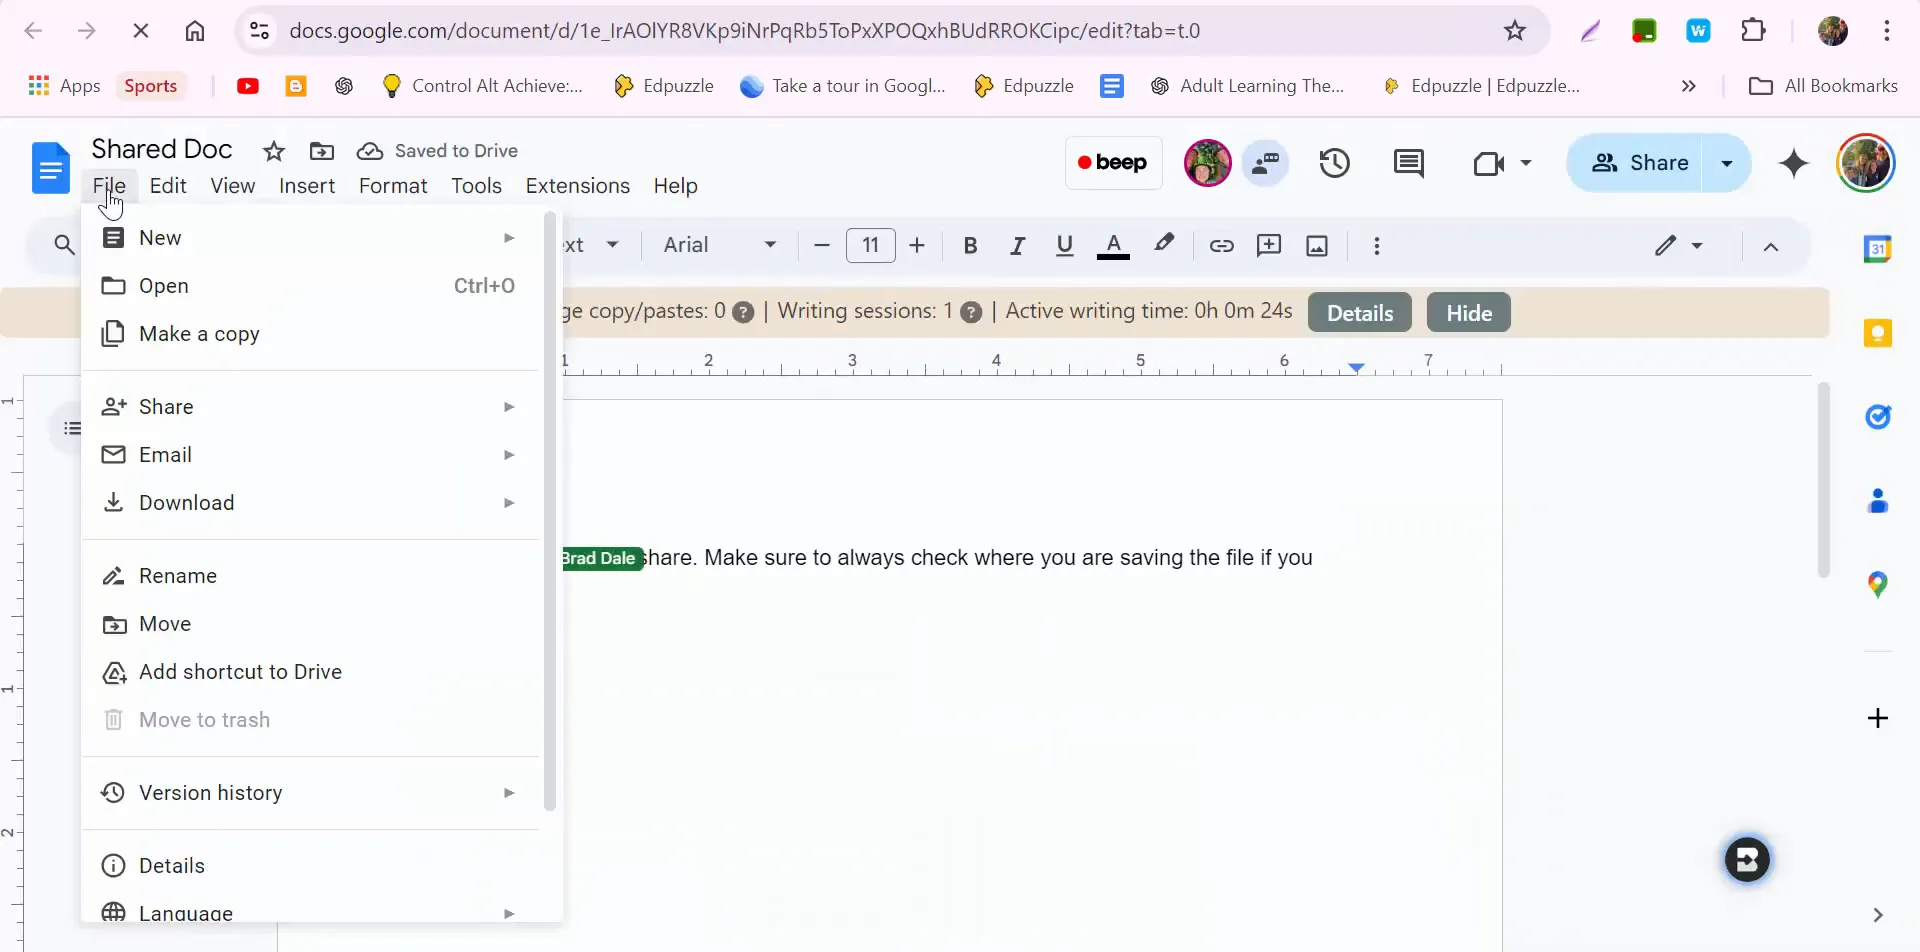
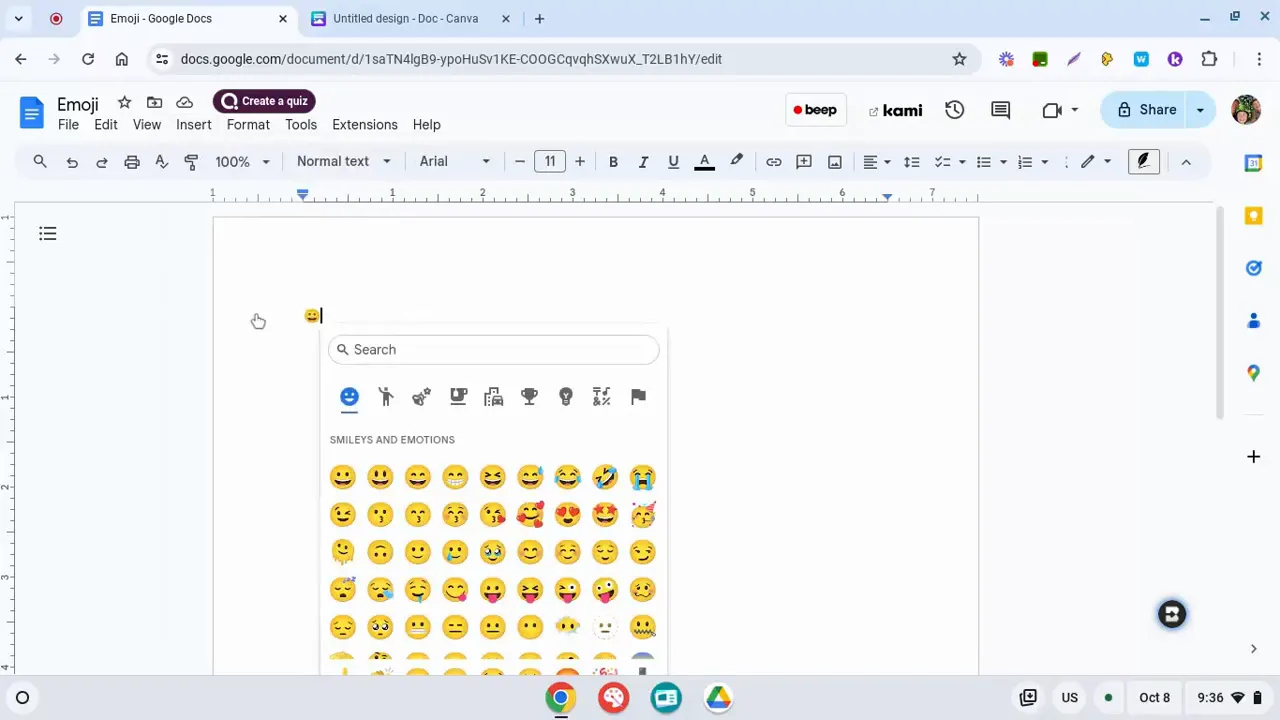 This method allows you to browse through the available emojis or use the search function to find a specific one. Simply click on the emoji to insert it into your document.
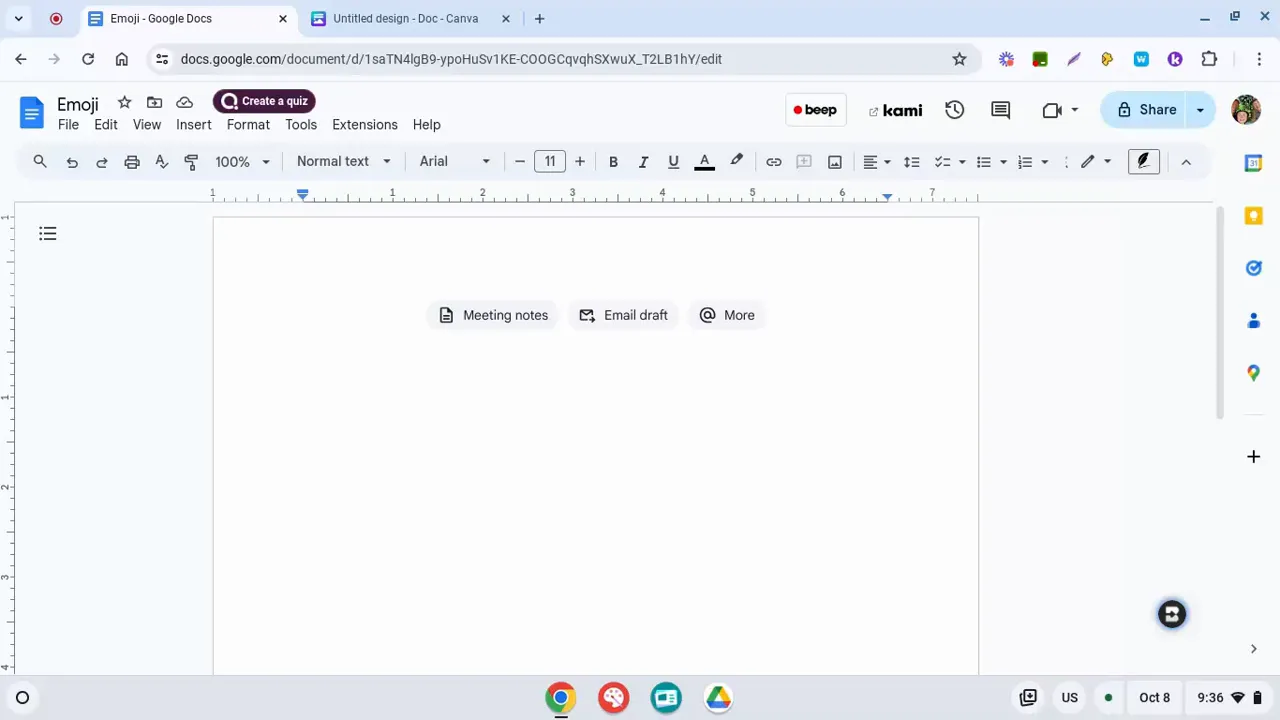 Using keyboard shortcuts can speed up your workflow significantly, especially if you're frequently inserting emojis.
 This method is straightforward and allows you to insert emojis without navigating away from your current task.