


Mastering Custom Cursors: A Comprehensive Guide
In the digital world, the small details often make a big difference. One such detail is the cursor. Custom cursors can enhance user experience, making interactions more engaging and fun. In this guide, we will explore how to add, adjust, and remove custom cursors, with practical examples and tips to get you started.
Understanding Custom Cursors
Custom cursors allow users to replace the default mouse pointer with something more visually appealing or functional. This is especially useful in educational settings where teachers want to keep students engaged or create a unique browsing experience. But how do you implement these cursors effectively?
Getting Started with Custom Cursors
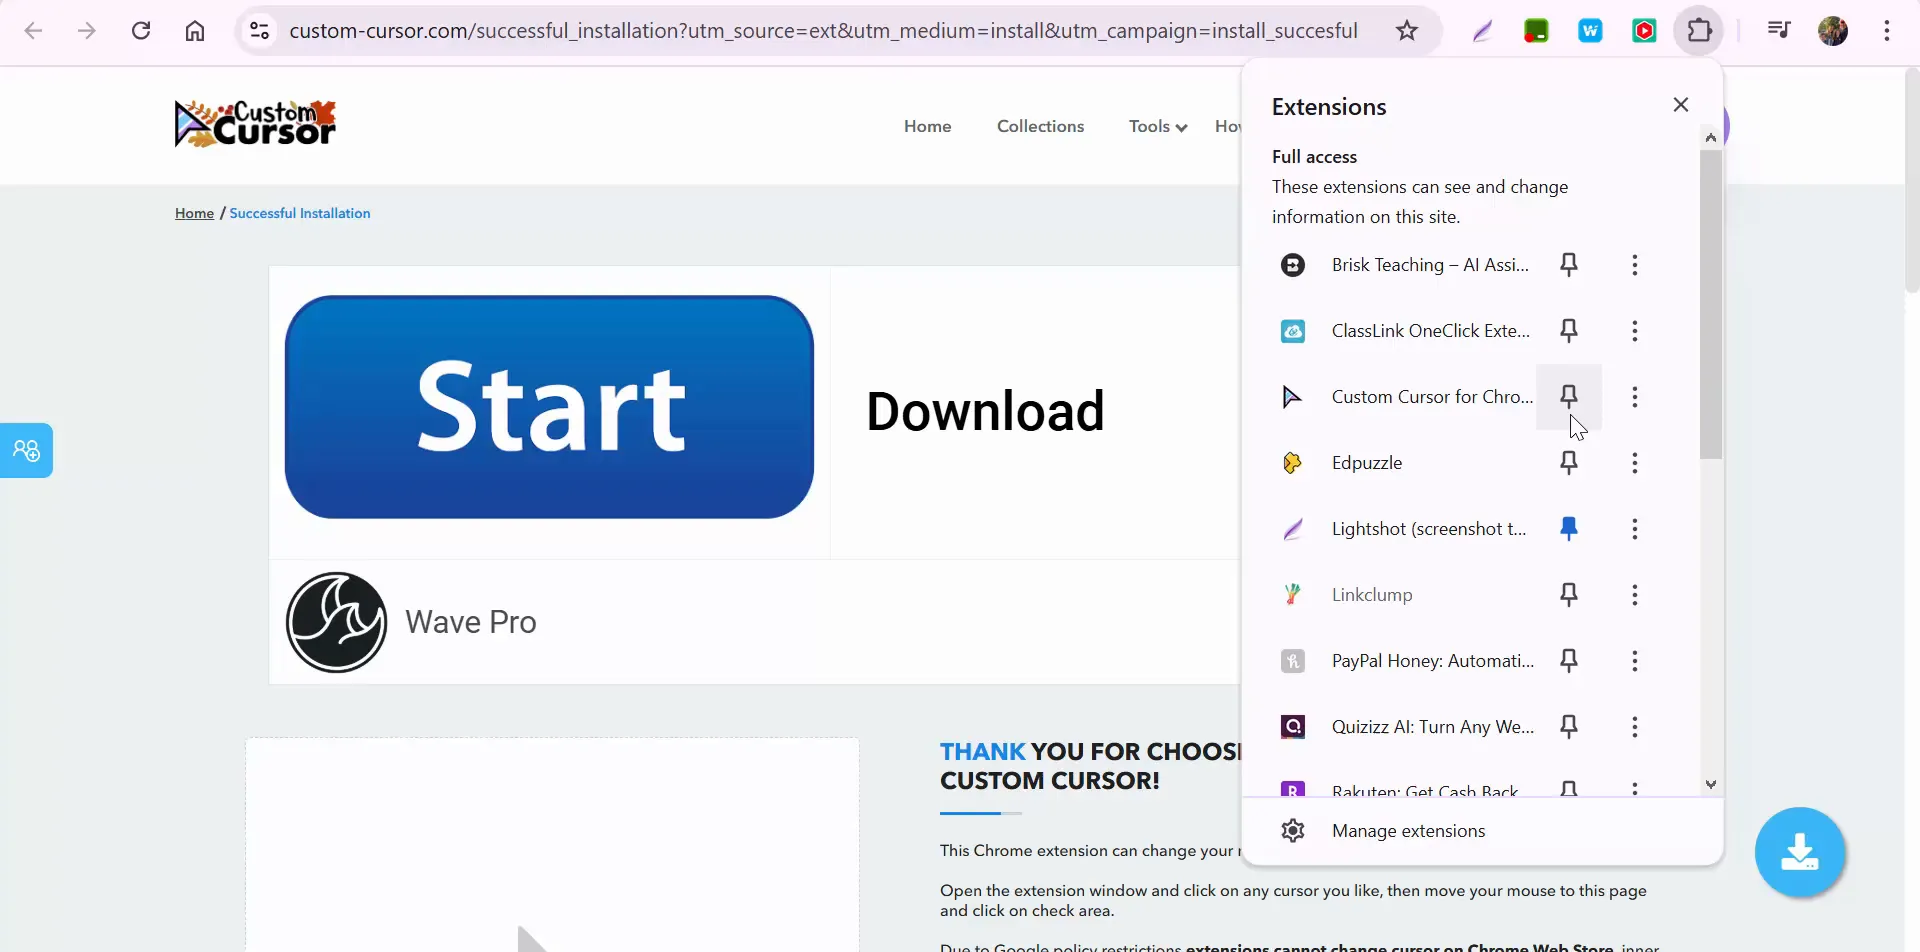
The first step to using custom cursors is to add an extension to your browser. For this guide, we'll focus on a popular Chrome extension. Follow these steps to get started:
- Open the Chrome Web Store.
- Search for a custom cursor extension.
- Install the extension and pin it to your browser for easy access.
Choosing Your Custom Cursor
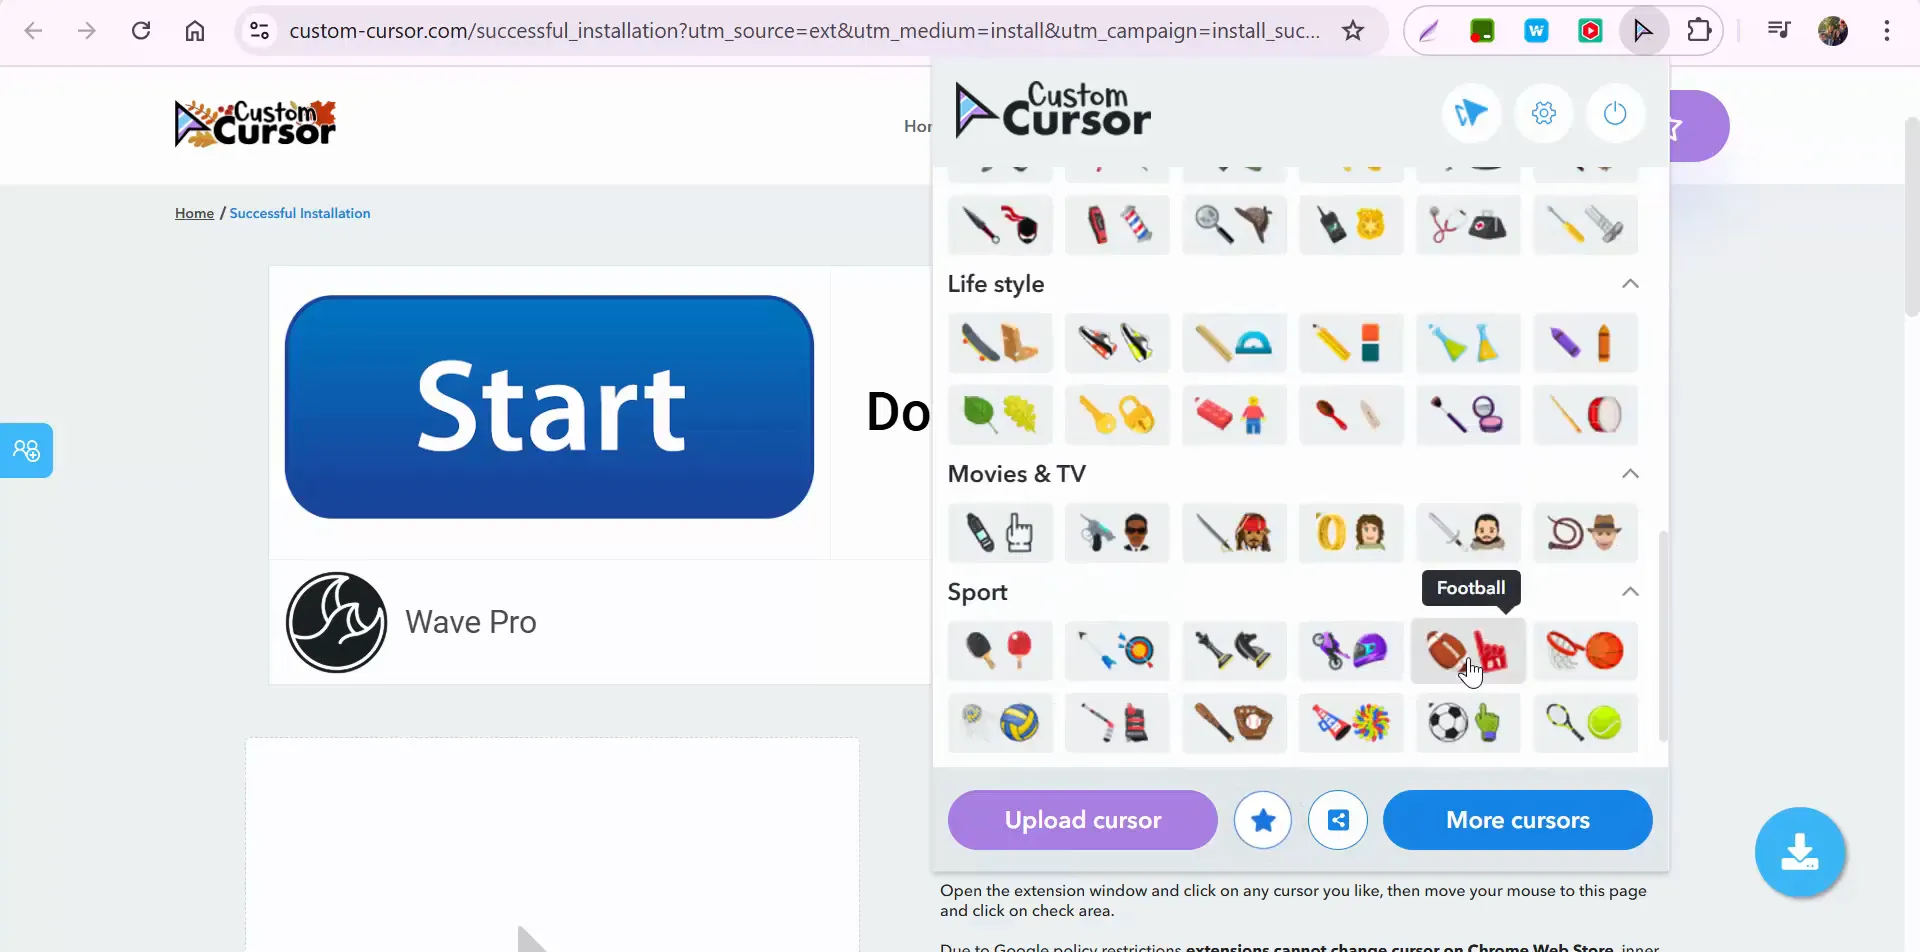
Once you have the extension installed, it's time to choose a cursor. Most extensions will provide a variety of options. For example, you can select a football cursor for a fun twist. Here’s how you can do it:
- Click on the extension icon in your browser.
- Select a cursor from the available options.
- Apply the cursor to see the change instantly.
Returning to the Default Cursor
Sometimes you may want to revert to the default cursor. This is especially useful in educational settings where distractions should be minimized. To switch back to the default cursor, follow these simple steps:
- Locate the extension icon.
- Click on it to open the menu.
- Look for an option that resembles a power button; clicking this will revert to the default cursor.

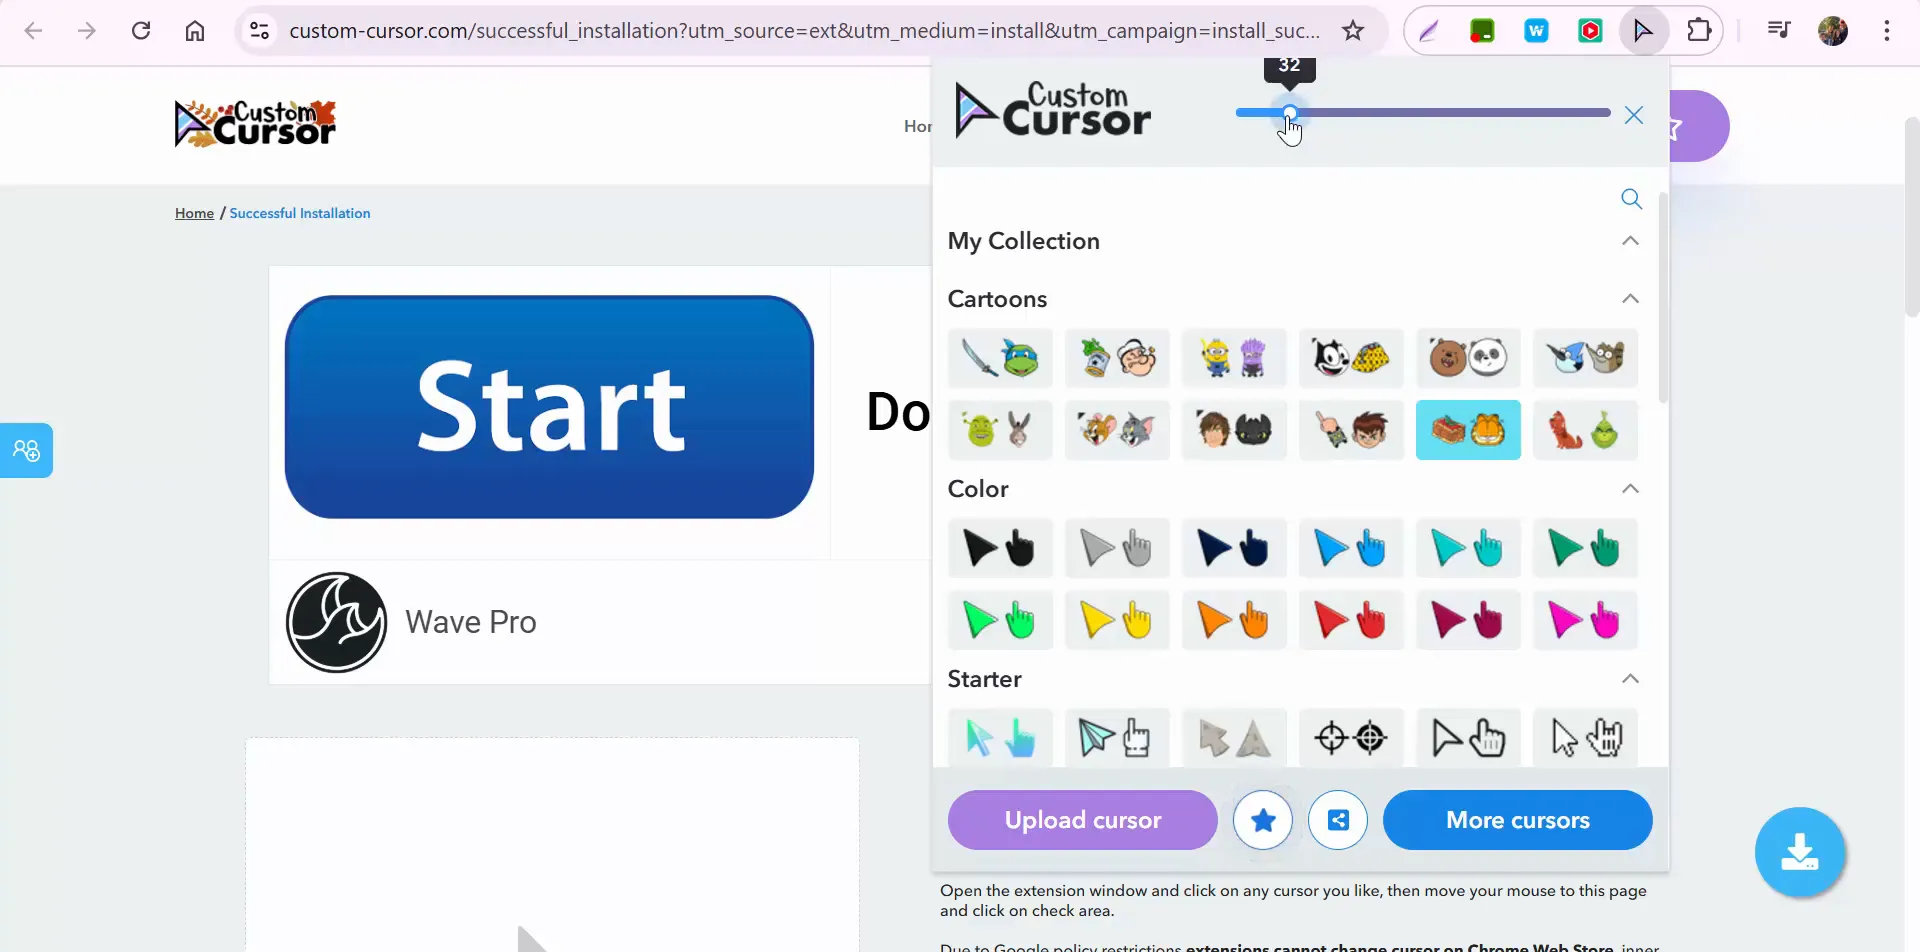
Adjusting Cursor Size
Another feature that many custom cursor extensions offer is the ability to adjust the size of the cursor. The default size is often set at 32 pixels, but you can increase or decrease it based on your preference. Here’s how to do that:
- Access the custom cursor settings through the extension menu.
- Find the size adjustment slider.
- Move the slider to increase or decrease the cursor size.
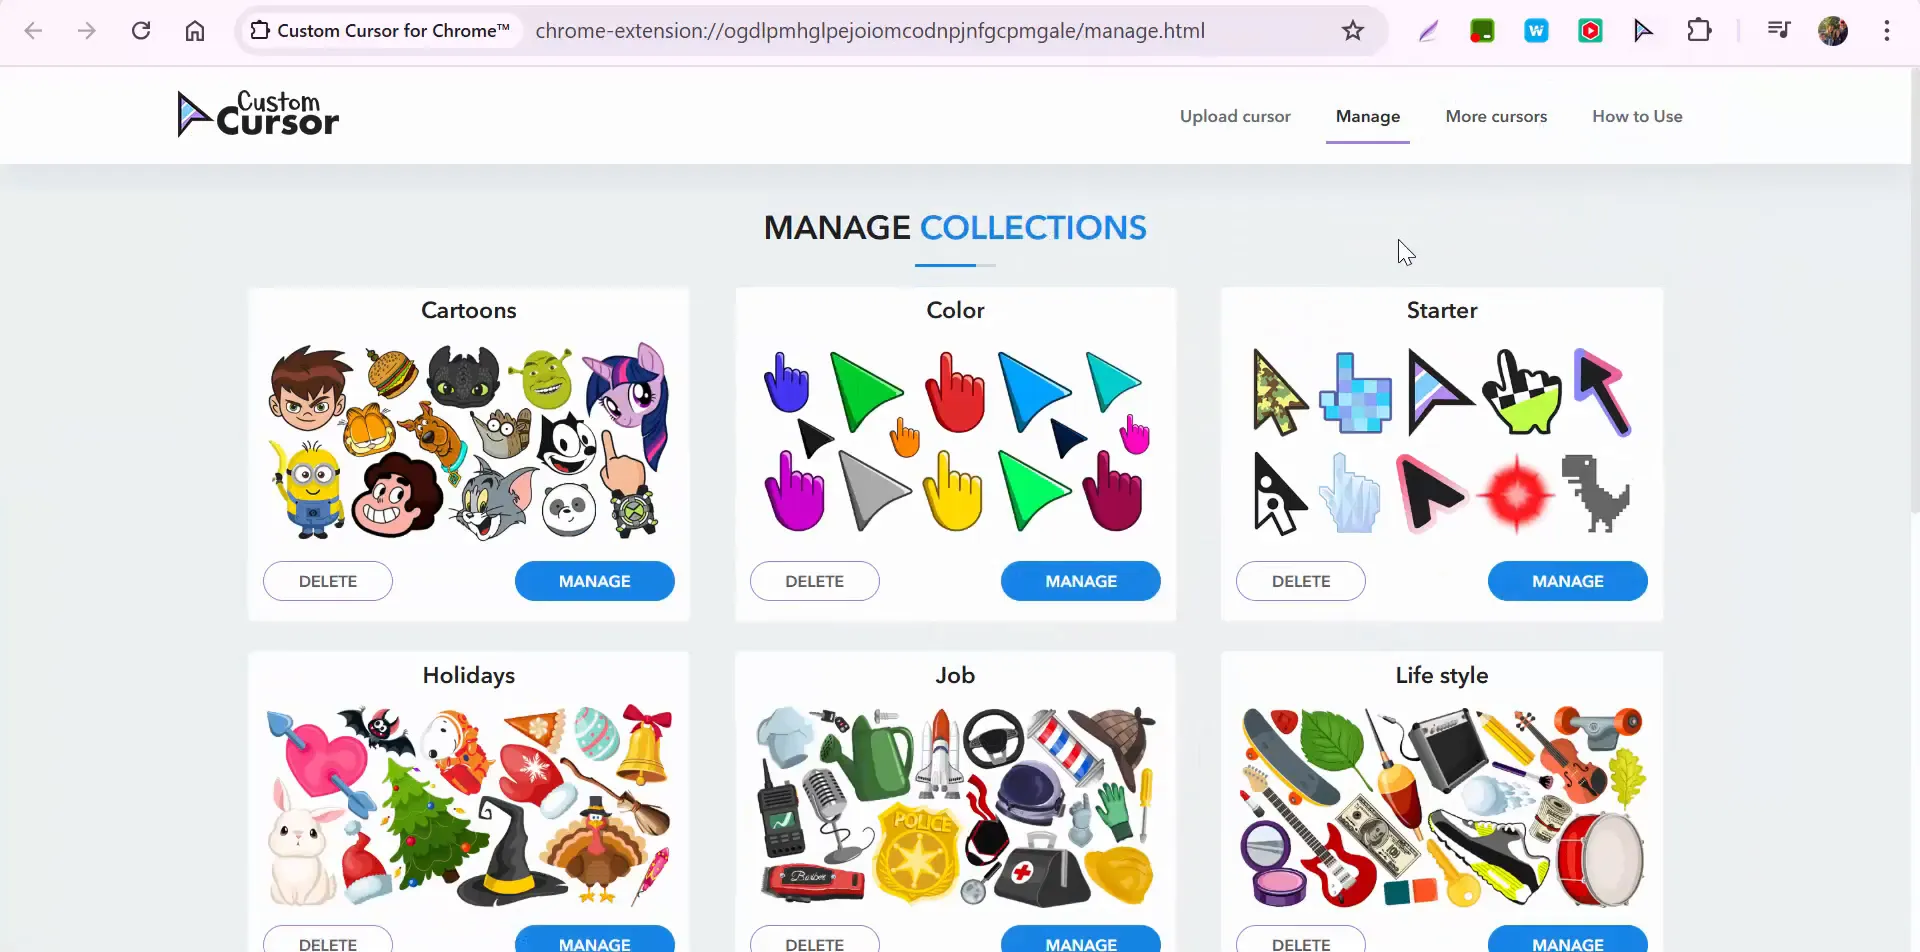
Managing Your Custom Cursors
As you explore different cursors, you may want to manage or delete specific ones. Most extensions provide a settings area where you can easily handle this. Here’s how to manage your cursors:
- Open the extension settings.
- Review the list of installed cursors.
- Select a cursor you wish to remove and choose the delete option.
Removing the Extension
If you decide that you no longer want to use the custom cursor extension, removing it is straightforward. Here’s a quick guide:
- Click on the extensions icon in your browser.
- Find the custom cursor extension.
- Click on the three dots next to it and select ‘Remove from Chrome’.

Conclusion
Custom cursors can significantly enhance the user experience, especially in educational environments. By following the steps outlined in this guide, you can easily add, adjust, and remove custom cursors to suit your needs. Whether it's for a fun classroom project or to create a unique browsing experience, mastering custom cursors is a valuable skill.
If you have any further questions or need assistance, feel free to reach out. Happy browsing!


No comments:
Post a Comment