Monday, August 26, 2024

Edpuzzle How to create your own screen recording directly from Edpuzzle. New Feature - there is a whiteboard feature!!


In the ever-evolving landscape of education technology, Edpuzzle stands out as a powerful tool for educators looking to create engaging video lessons. This guide will walk you through the features of Edpuzzle, including how to record your own videos, utilize the whiteboard feature, and incorporate interactive elements to enhance student learning.

Getting Started with Edpuzzle

To kick things off, let’s explore how you can upload your own videos or create one directly within Edpuzzle. This flexibility allows you to tailor your content to meet the specific needs of your students.

Uploading Your Own Video

First, you have the option to upload a video from various sources, including Google Drive or your local files. This feature is fantastic for educators who already have a library of content they wish to use. Simply select the “Add New” option and choose “Upload a Video” to get started.
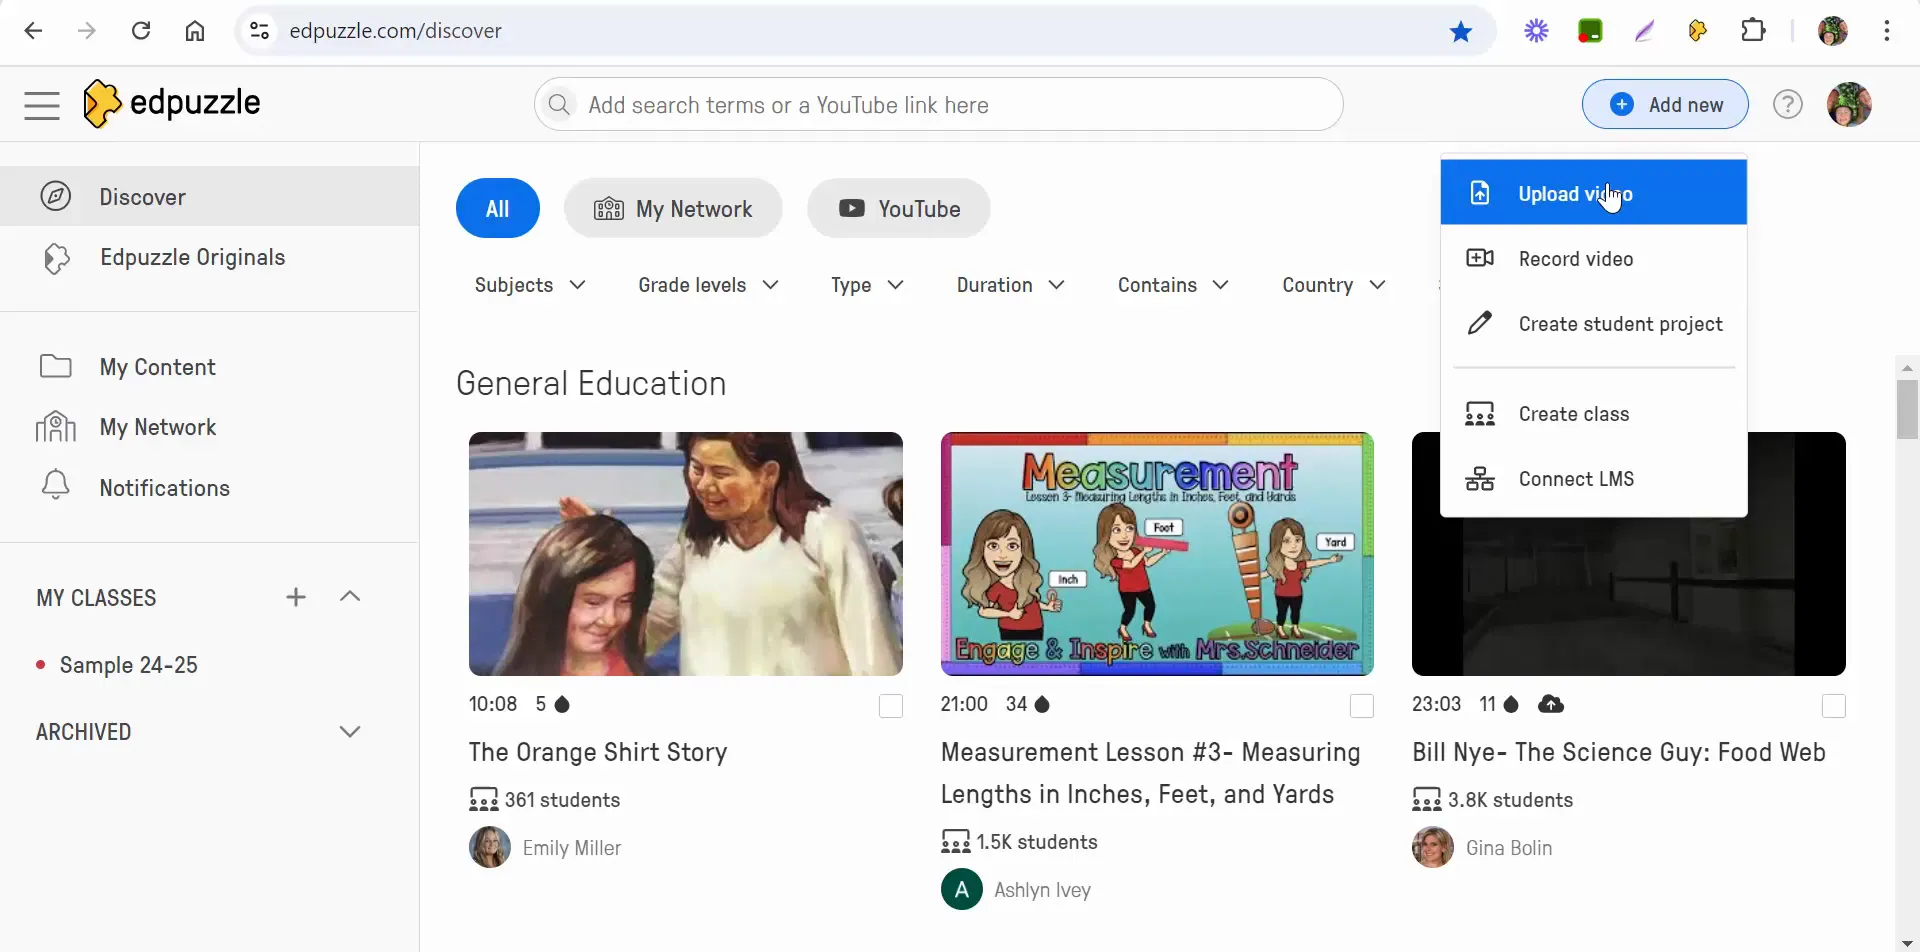
Uploading video in Edpuzzle

Recording Directly from Edpuzzle

Edpuzzle also allows you to record a video on the spot. When you select “Record Video,” your webcam will activate automatically. You can choose to record from your desktop, tab, or just your camera. This feature is especially useful for creating personalized lessons.
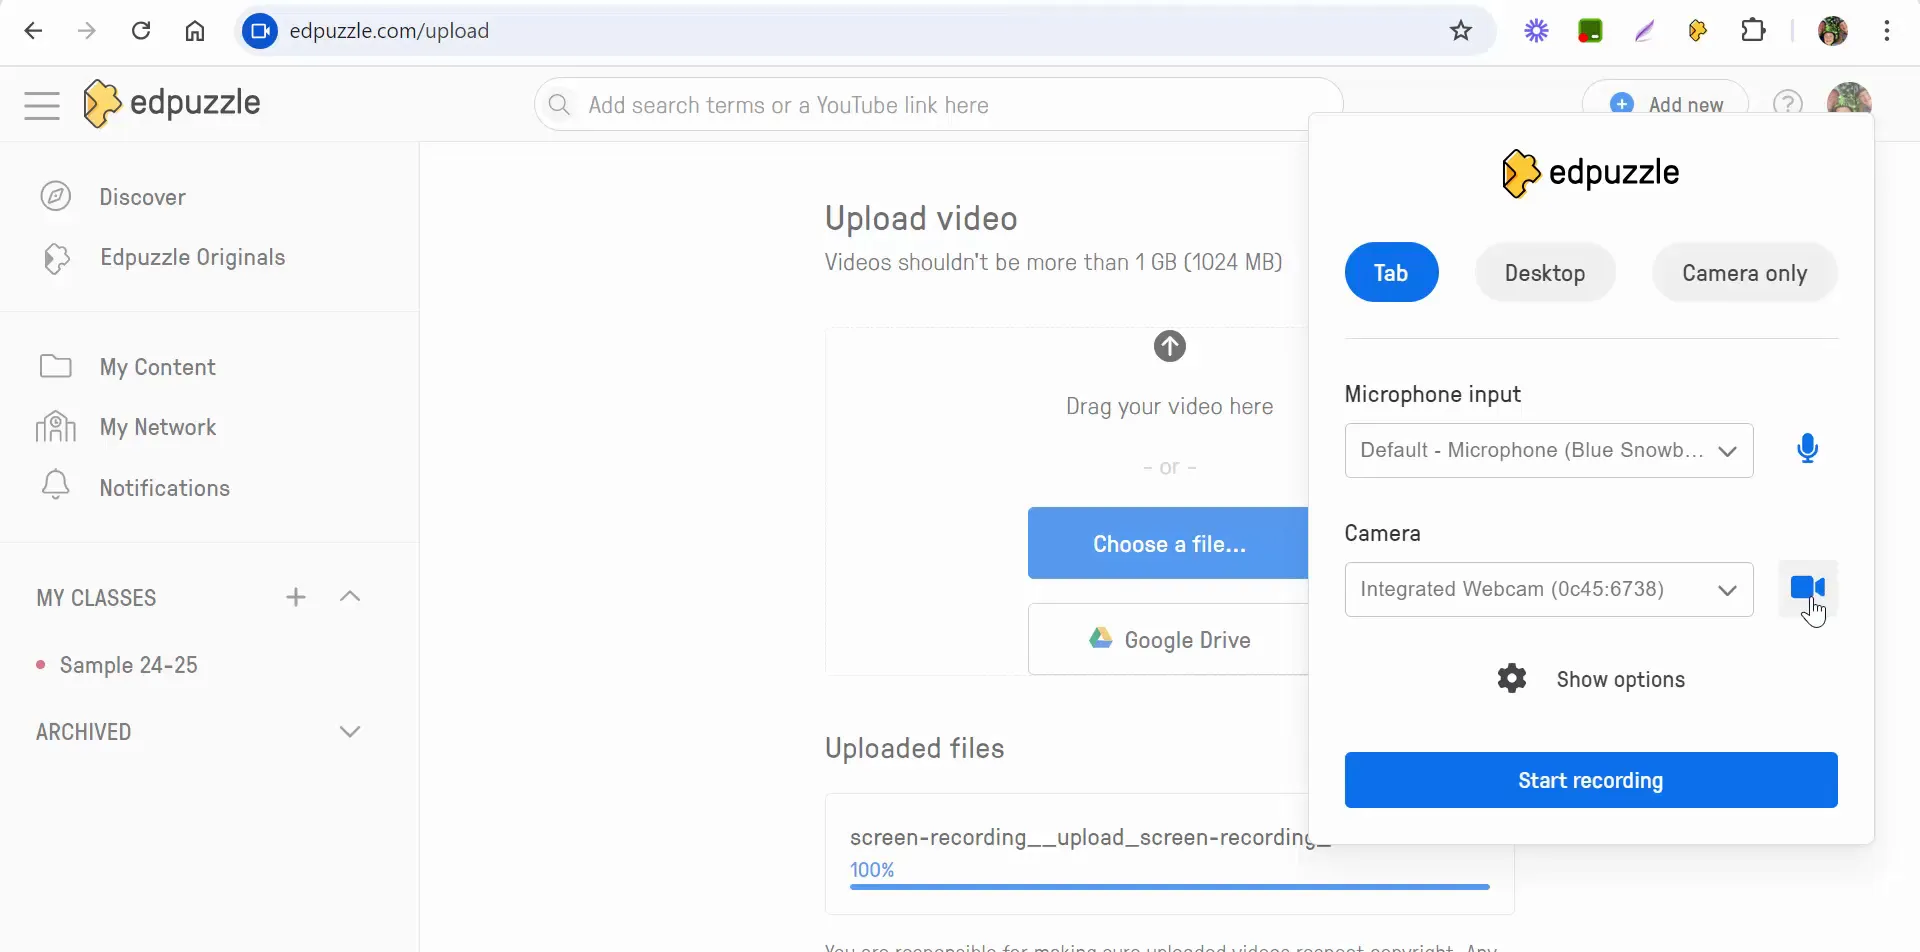
Recording video directly in Edpuzzle

Exploring the Whiteboard Feature

A new addition to Edpuzzle is the whiteboard feature, which is perfect for explaining concepts visually. When you select the whiteboard option, you can share system audio and utilize various colors to illustrate your points. This can enhance the learning experience by allowing you to demonstrate problems in real-time.

Using the whiteboard feature in Edpuzzle

Recording Your Screen

If you want to record your entire screen instead of just using the webcam or whiteboard, Edpuzzle makes this easy. You can start recording and showcase how to navigate through a lesson or platform, which is particularly helpful for online courses.
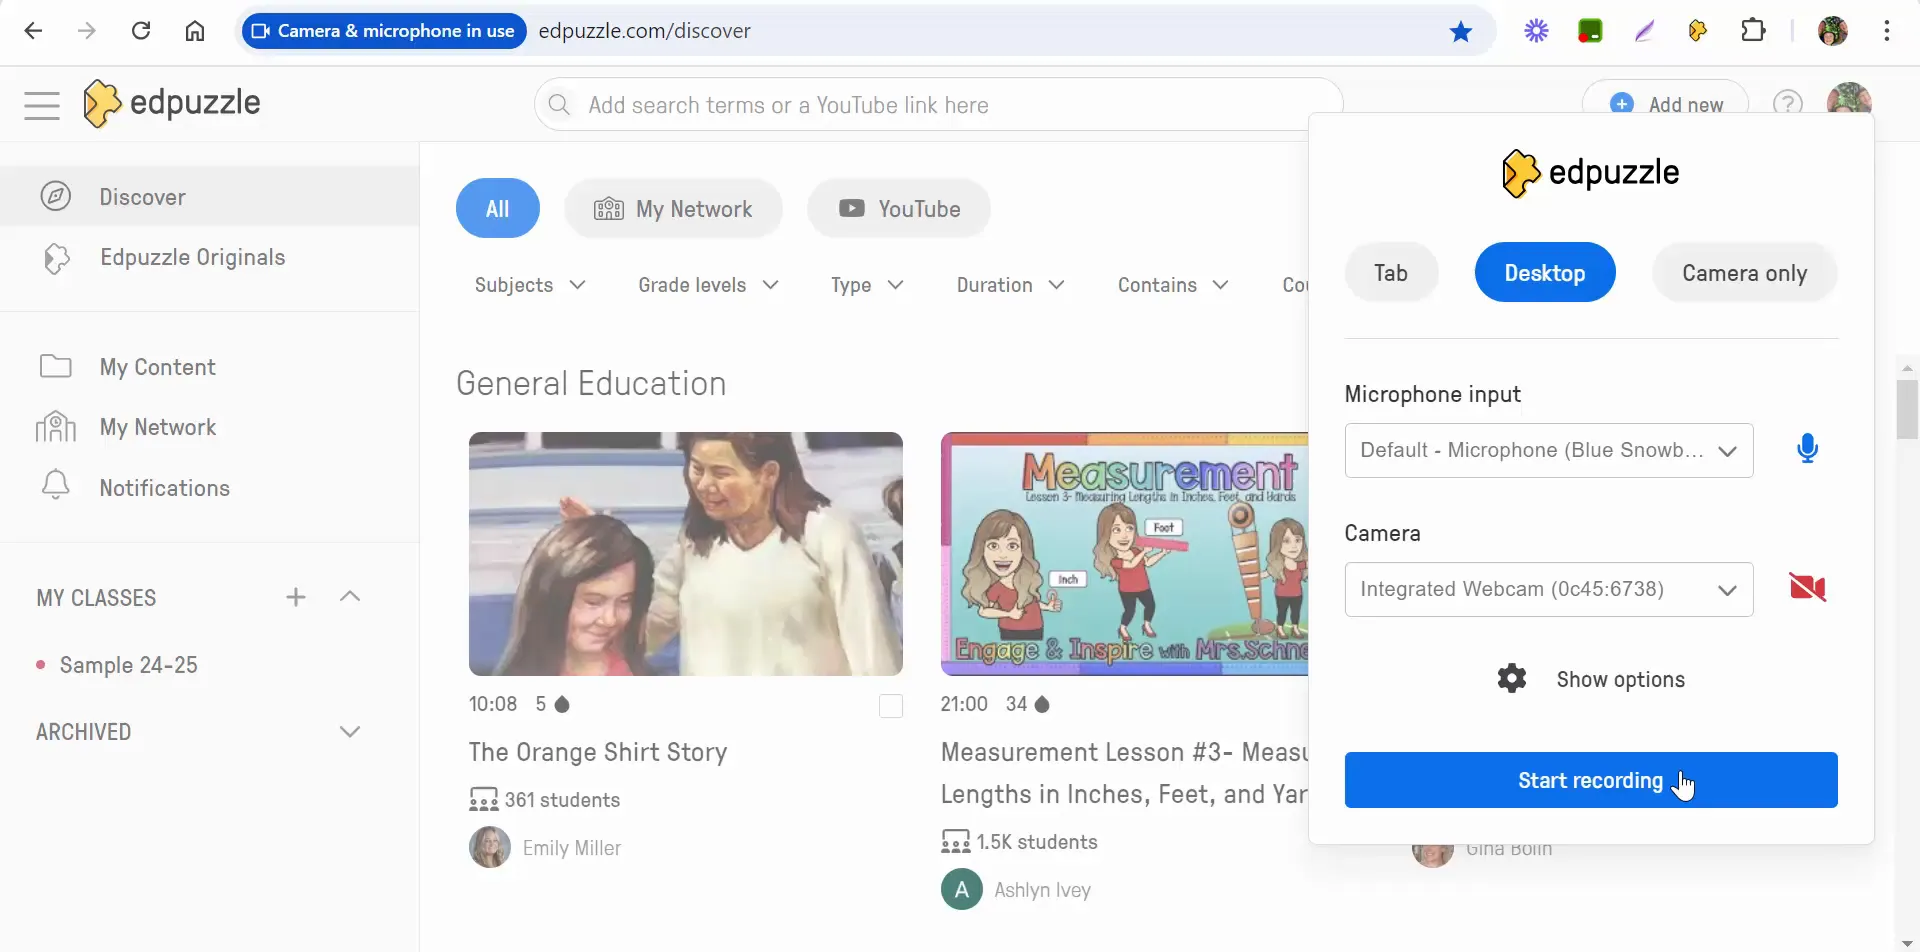
Recording screen in Edpuzzle

Editing Your Video

Once you have recorded your video, it’s time to edit. Edpuzzle offers tools to trim or cut out parts you don't want in the final video. You can also set privacy options, choosing whether to keep the video public or private.
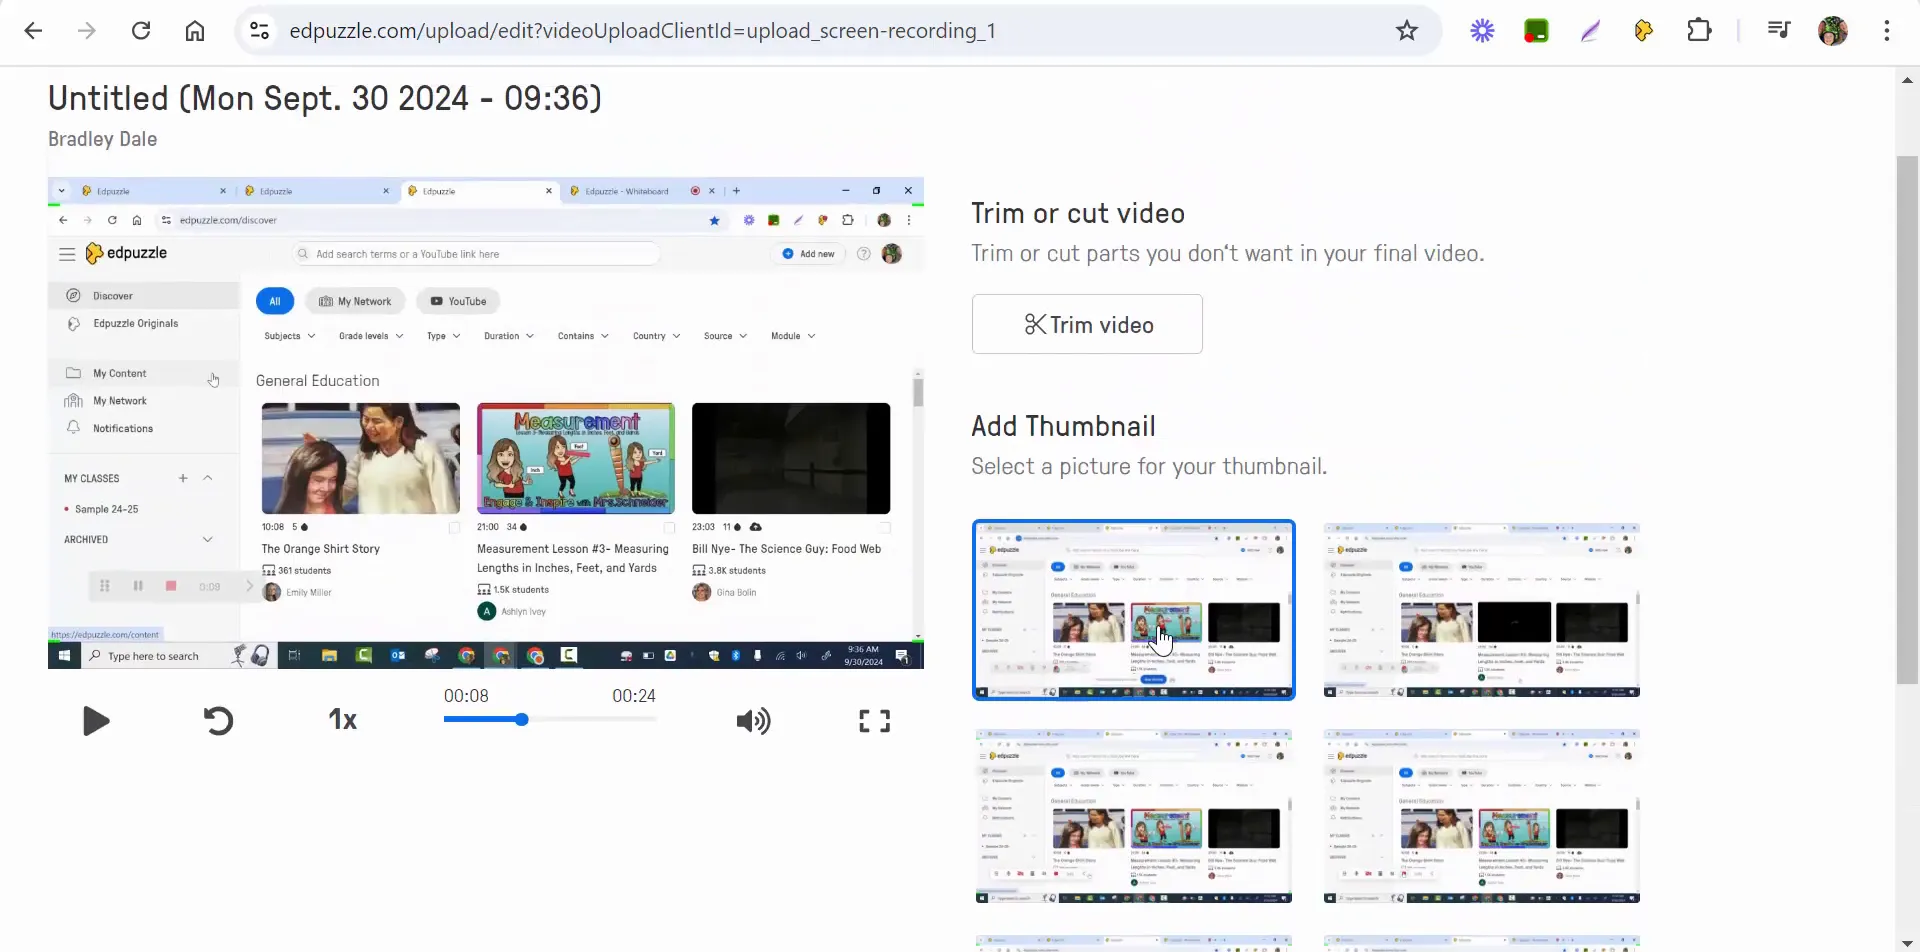
Editing video in Edpuzzle

Adding Interactive Questions

To make your video more engaging, you can add questions at various points. This feature allows you to assess student understanding in real-time and make your lessons more interactive.
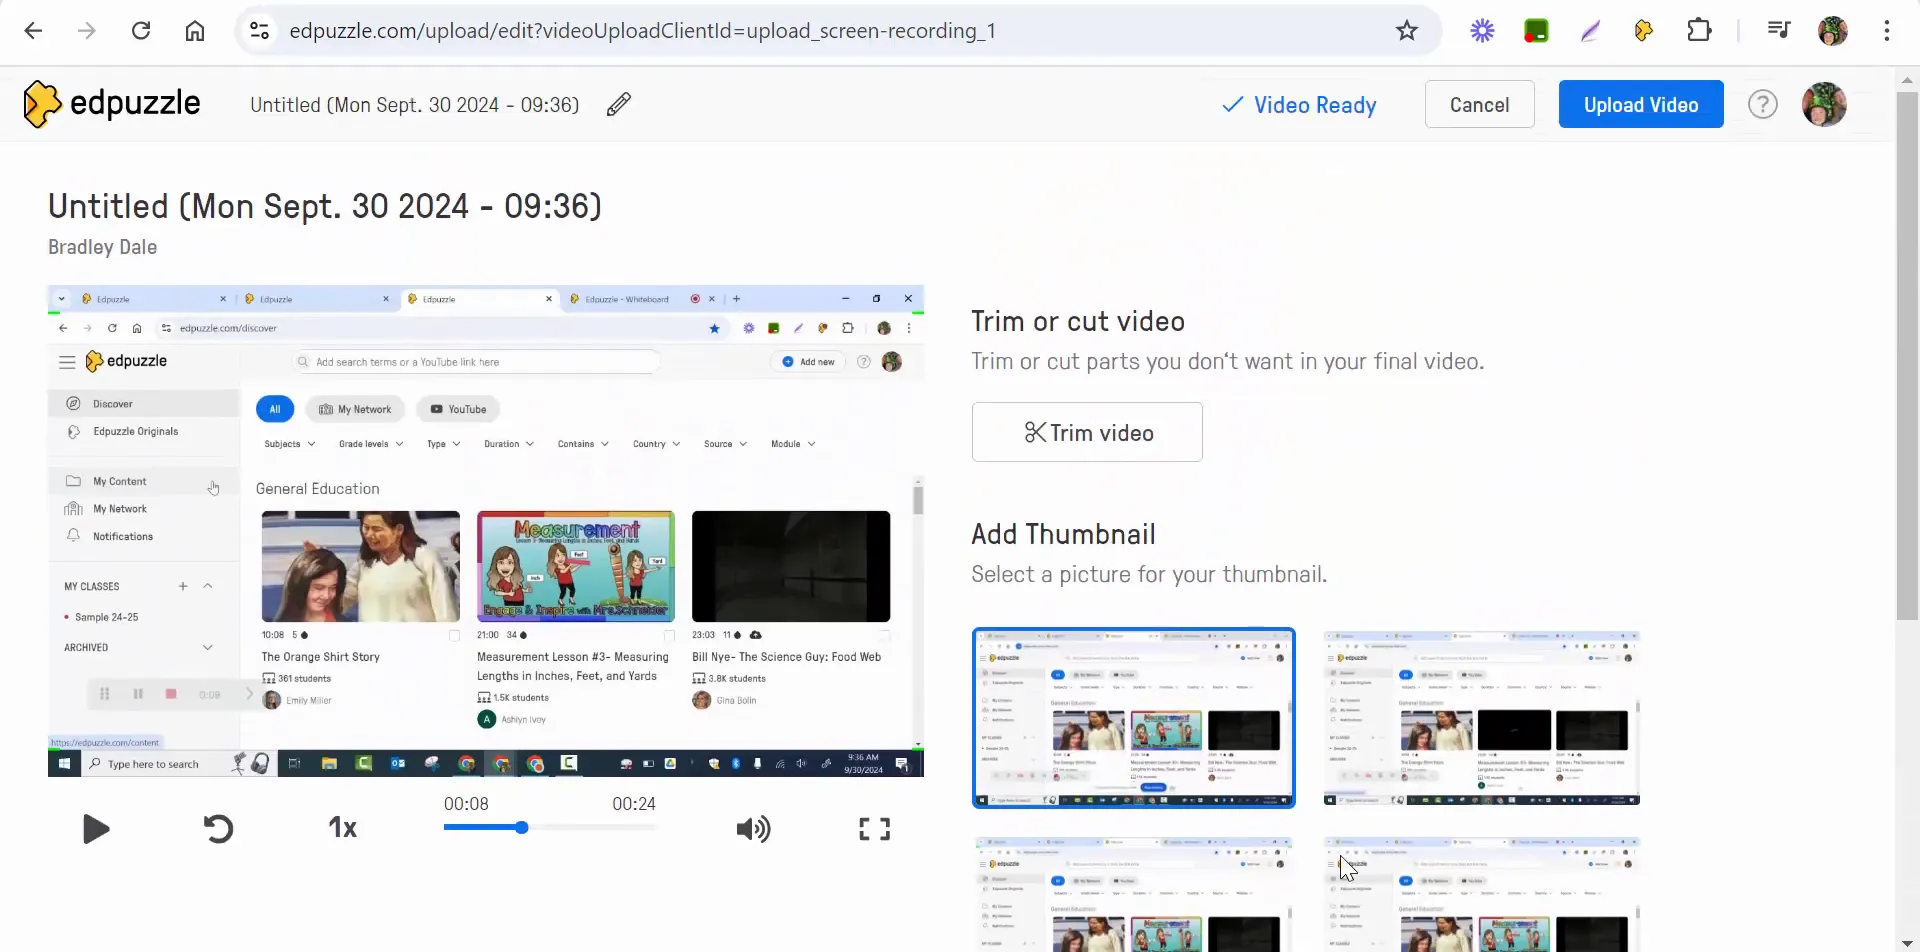
Adding questions in Edpuzzle

Best Practices for Using Edpuzzle

While Edpuzzle is a user-friendly platform, there are some best practices to consider when creating your video lessons. Here are a few tips to help you get the most out of Edpuzzle:

  • Keep it Short: Aim for videos that are concise and to the point. This helps maintain student engagement.
  • Use Visuals: Incorporate visuals whenever possible to aid understanding.
  • Engage Students: Use the question feature to prompt students to think critically about the content.
  • Test Your Setup: Before recording, ensure your audio and video settings are working correctly.

Conclusion

Edpuzzle is a powerful tool that allows educators to create dynamic video lessons tailored to their students' needs. By utilizing features such as video uploads, screen recording, and interactive questions, you can enhance the learning experience and foster student engagement. Whether you are teaching remotely or in a traditional classroom, Edpuzzle can be an invaluable resource in your teaching toolkit.

If you have any questions or need further assistance with Edpuzzle, don’t hesitate to reach out. Happy teaching!

Sunday, August 25, 2024

Edpuzzle How to include a note to students in both written form as well as audio. Bonus - how students can add audio as a response.


In the realm of educational technology, Edpuzzle stands out as a powerful tool that allows educators to create interactive video lessons. This blog post delves into the intricacies of using Edpuzzle to enhance student engagement by incorporating written notes and audio responses. By the end of this guide, you’ll have a comprehensive understanding of how to effectively utilize these features to enrich your teaching methods.

Getting Started with Edpuzzle

To kick things off, let’s explore how to set up a video lesson using Edpuzzle. In this example, we’ll use a video about the solar system, a topic that naturally sparks curiosity among students.

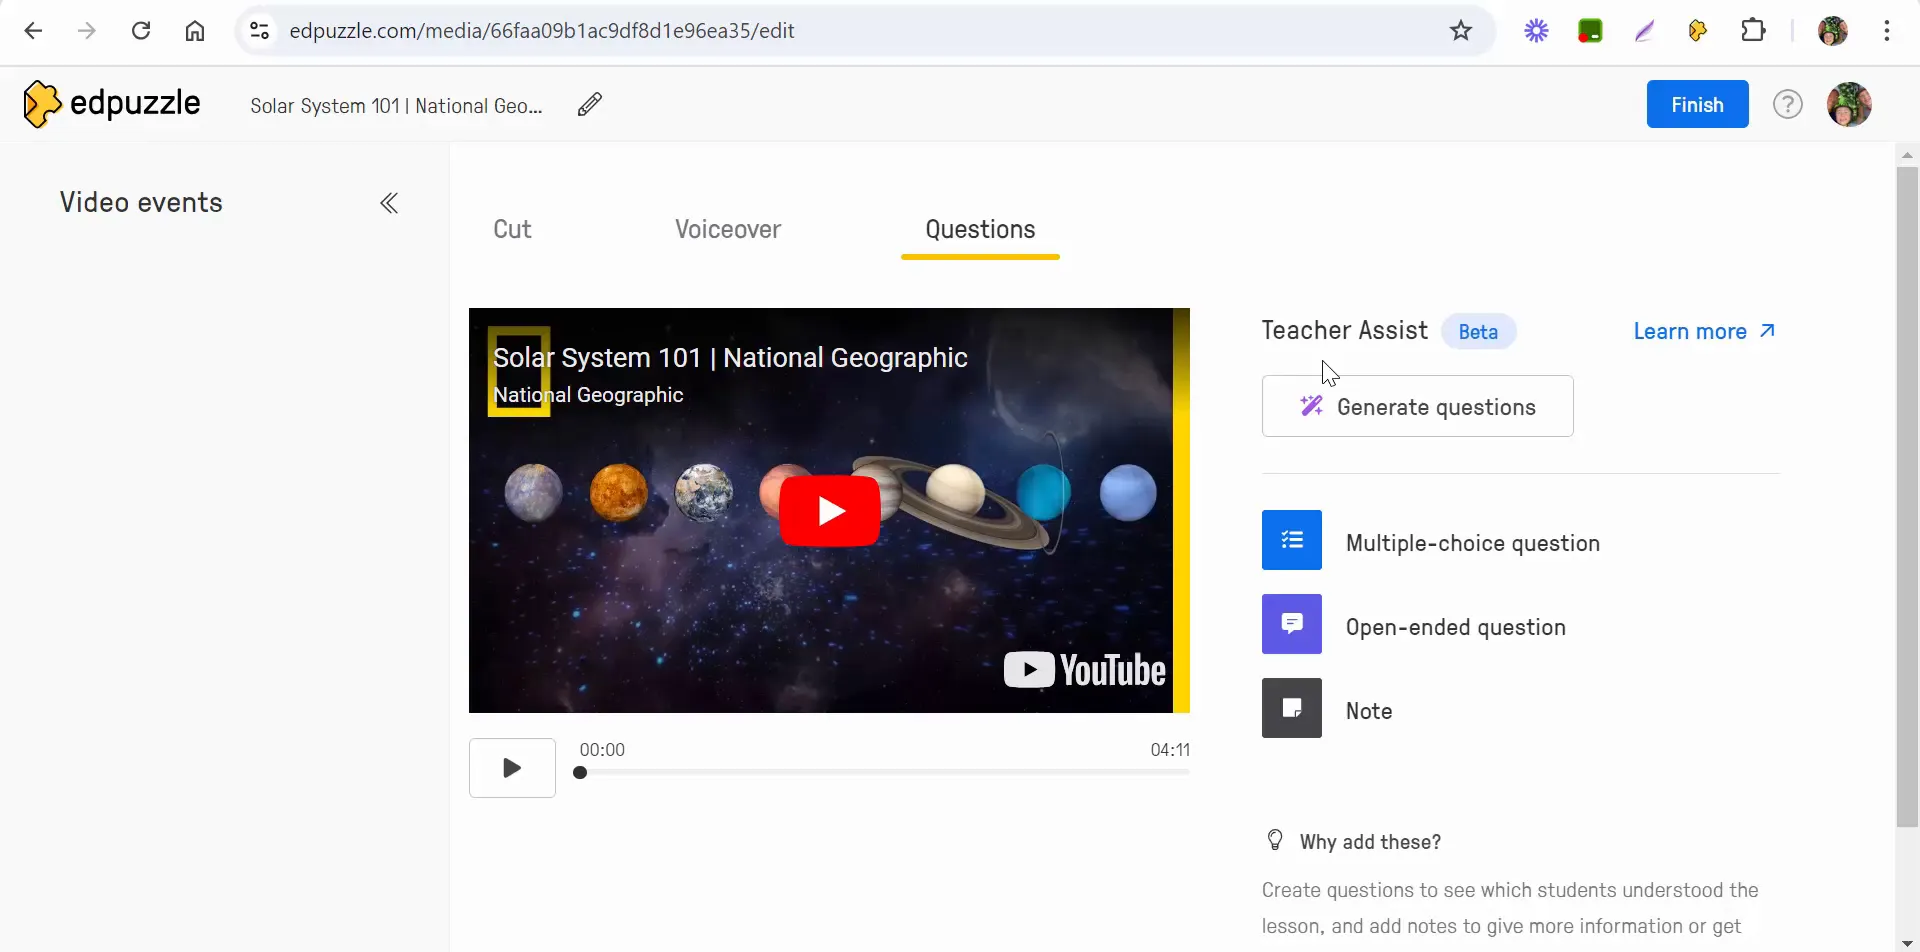
First, you’ll want to log into your Edpuzzle account and select the video you intend to use. Once you have your video ready, you can begin generating questions that will be integrated into the video. This process not only assesses student understanding but also keeps them engaged as they watch.

Starting Edpuzzle video about the solar system

Creating Questions and Adding Notes

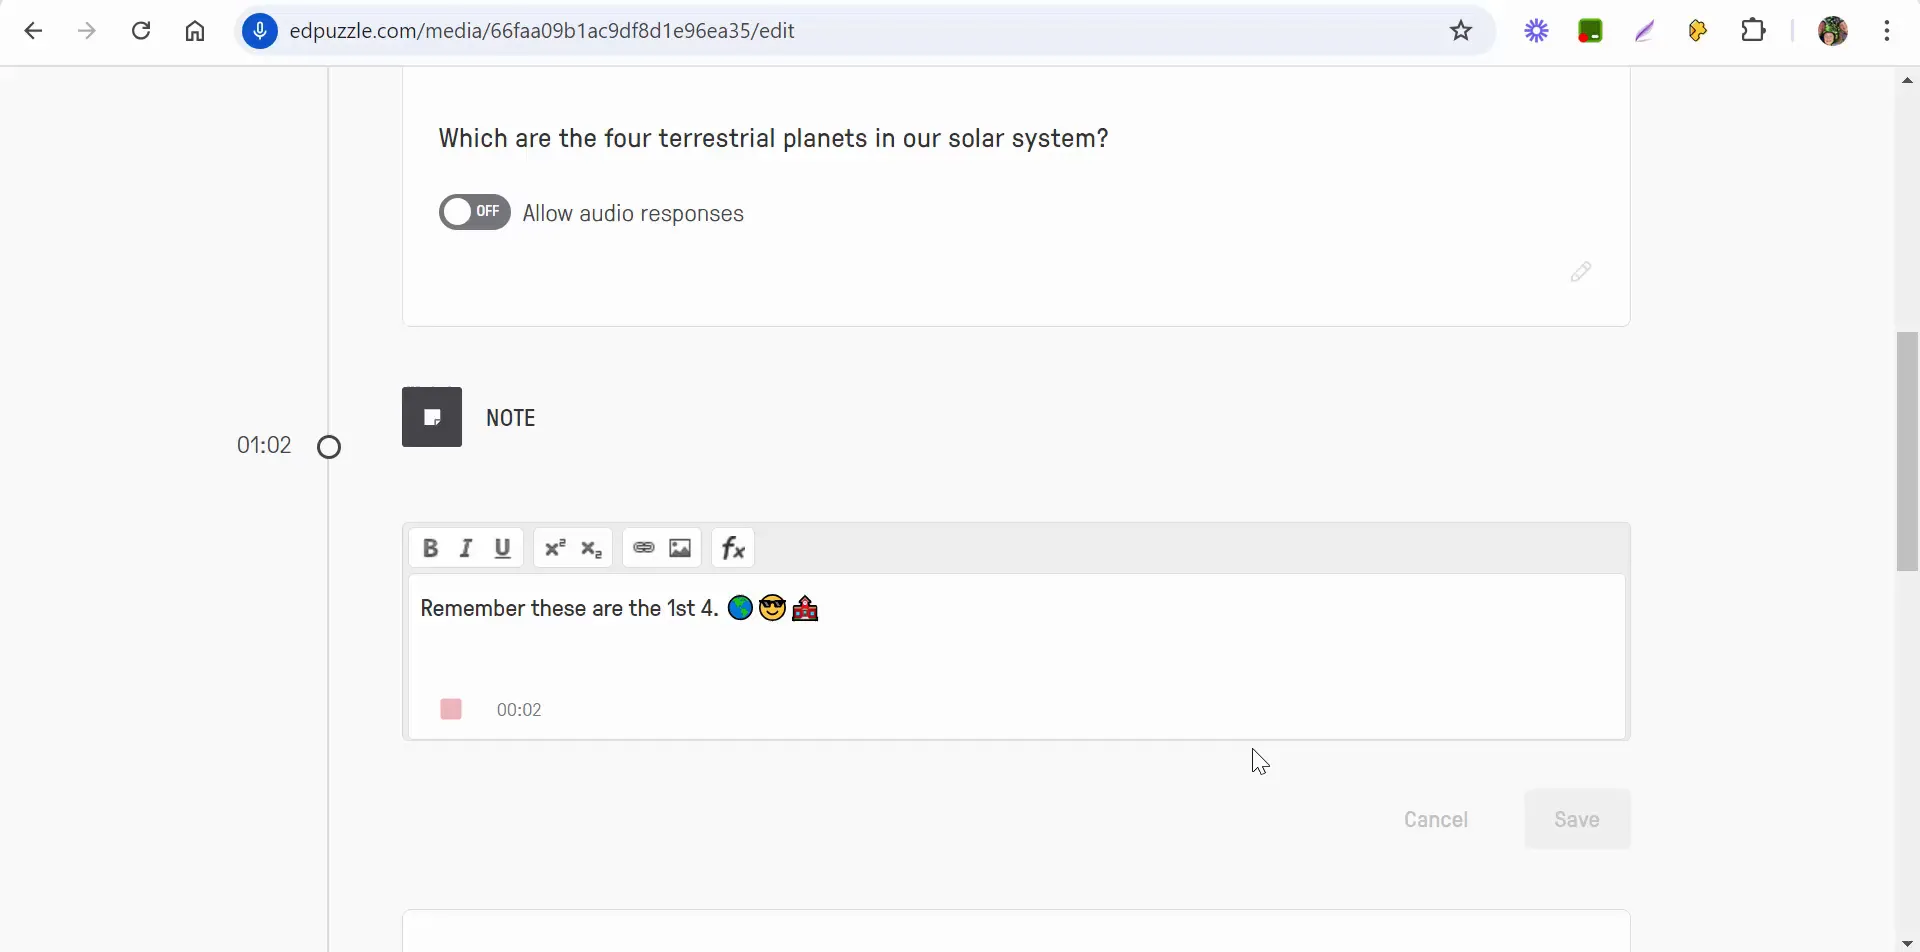
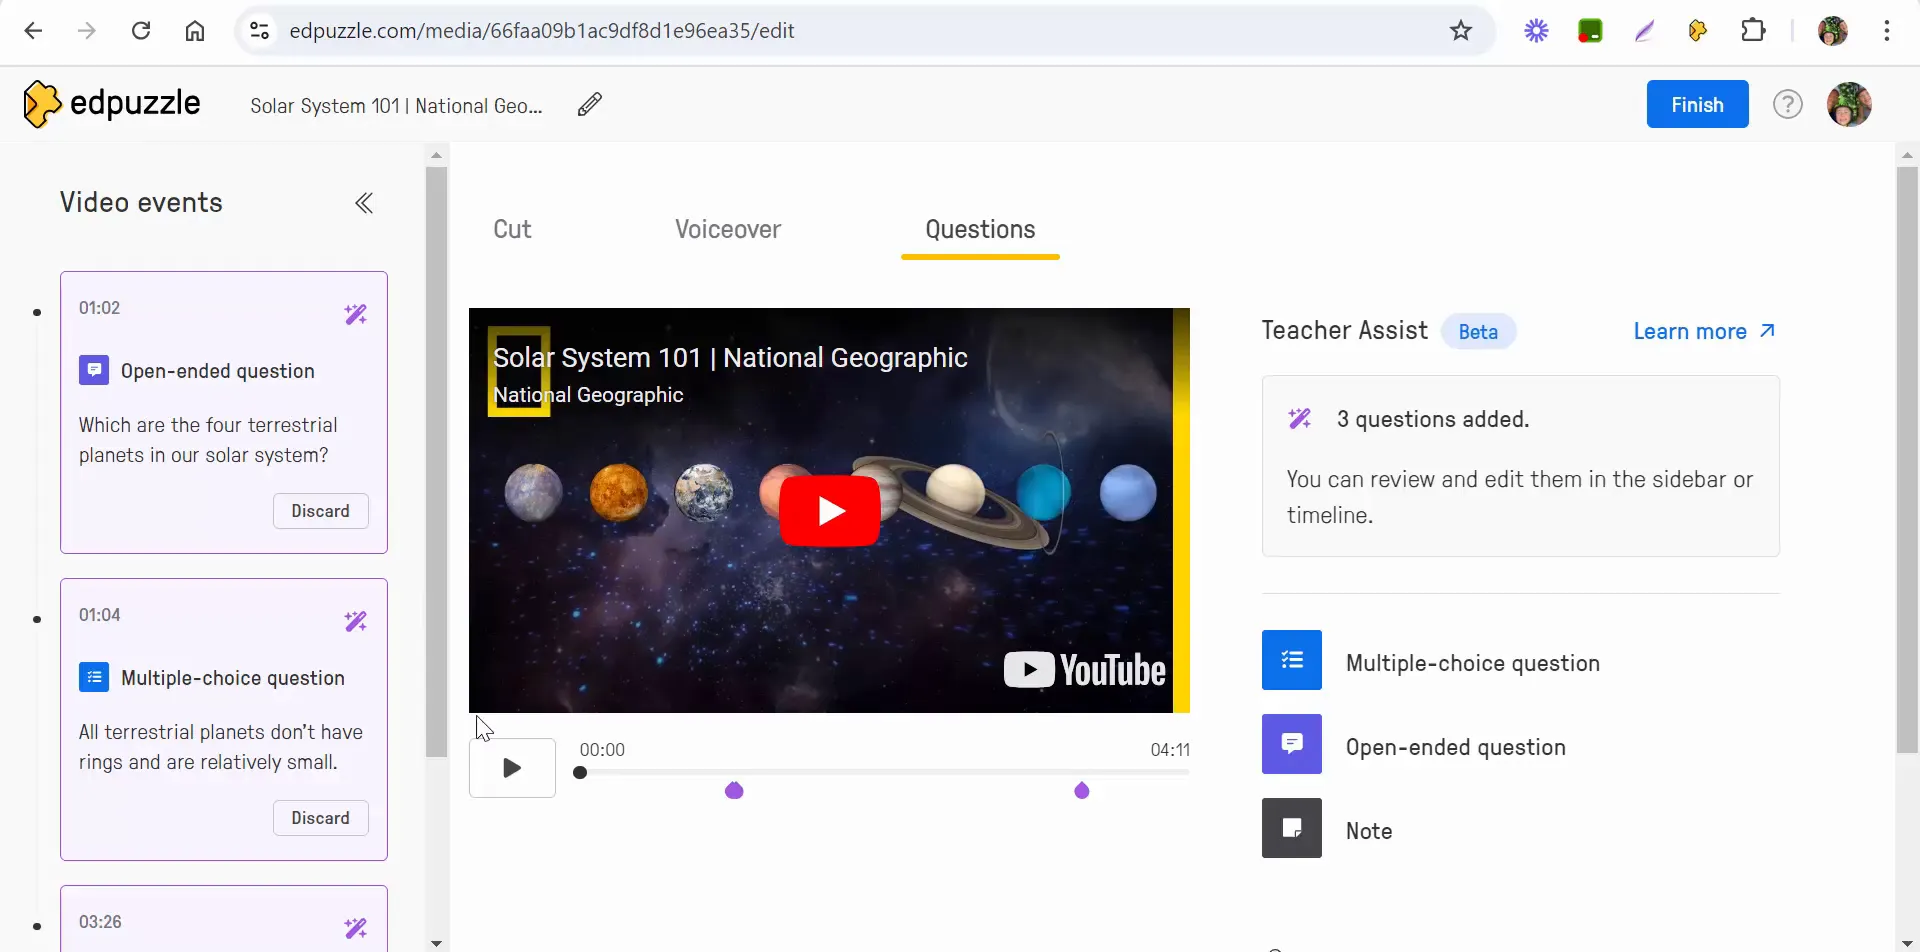
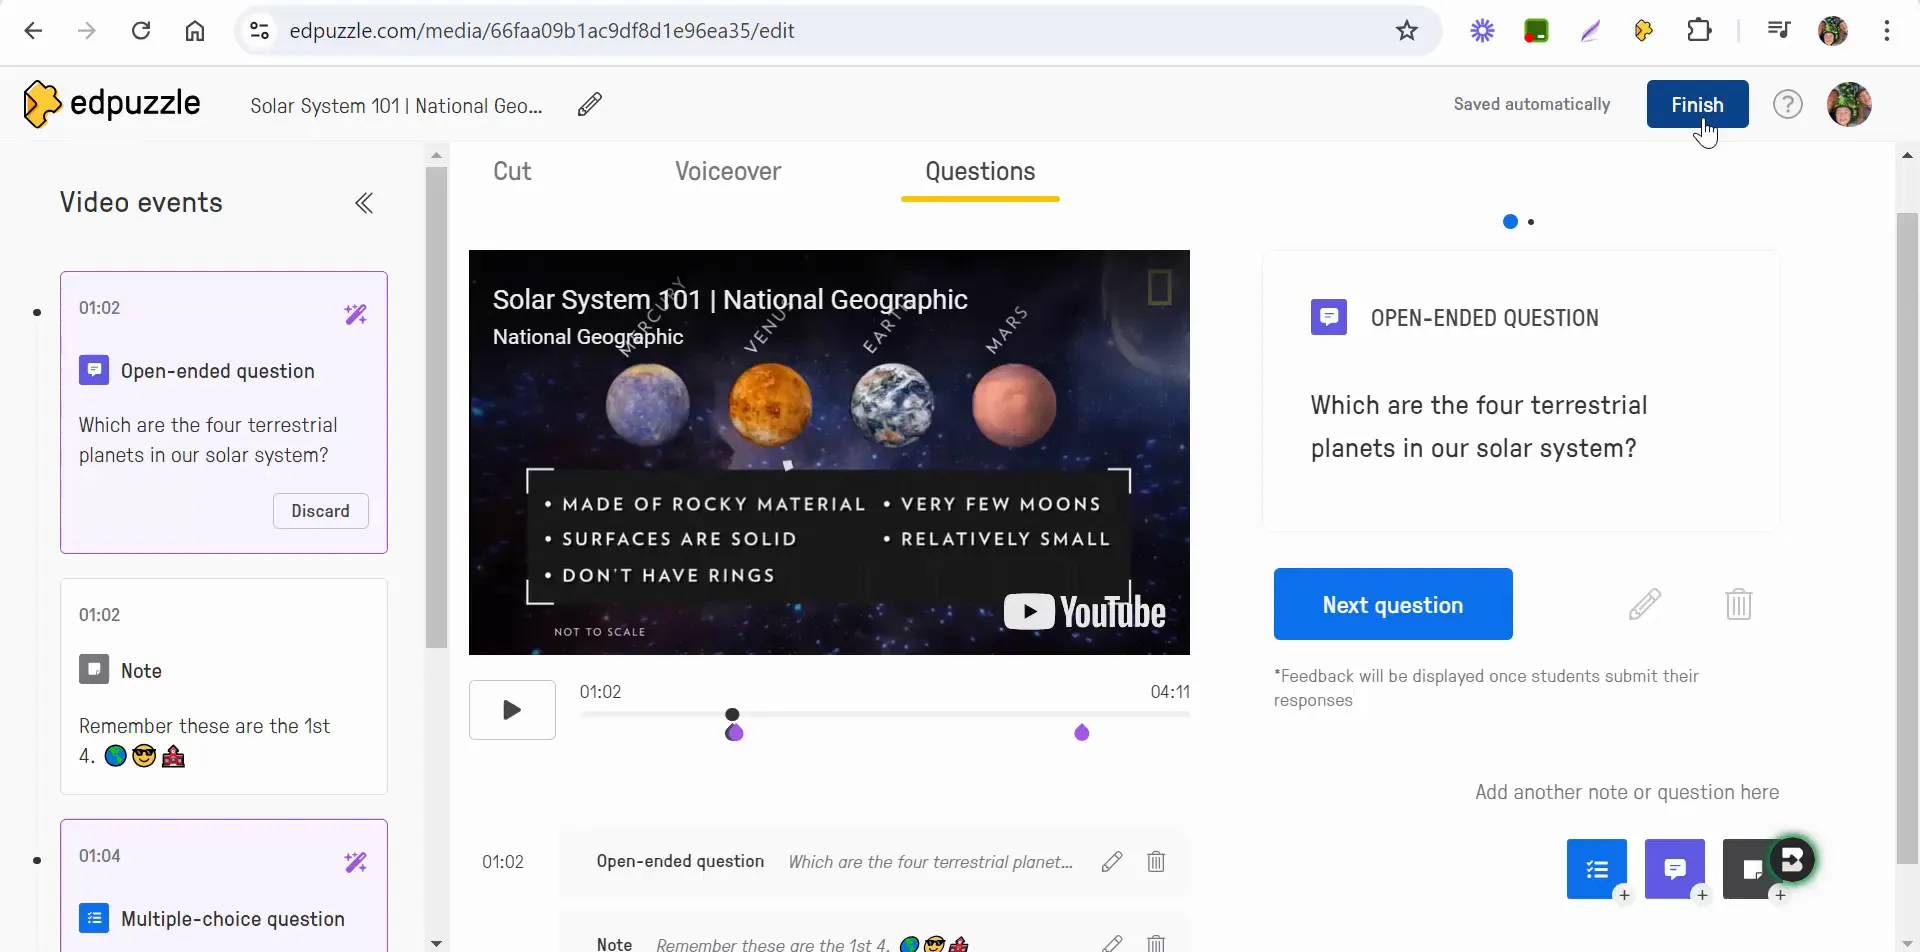
As you create your questions, you might want to include additional information to support your students. For instance, when the first question appears, asking about the terrestrial planets in our solar system, you can add a note that reinforces the key concepts.

In this case, you would write a note like, “Remember, these are the first four terrestrial planets.” Adding such reminders can help students recall vital information as they progress through the lesson.

Creating the first question on terrestrial planets

Incorporating Fun Elements

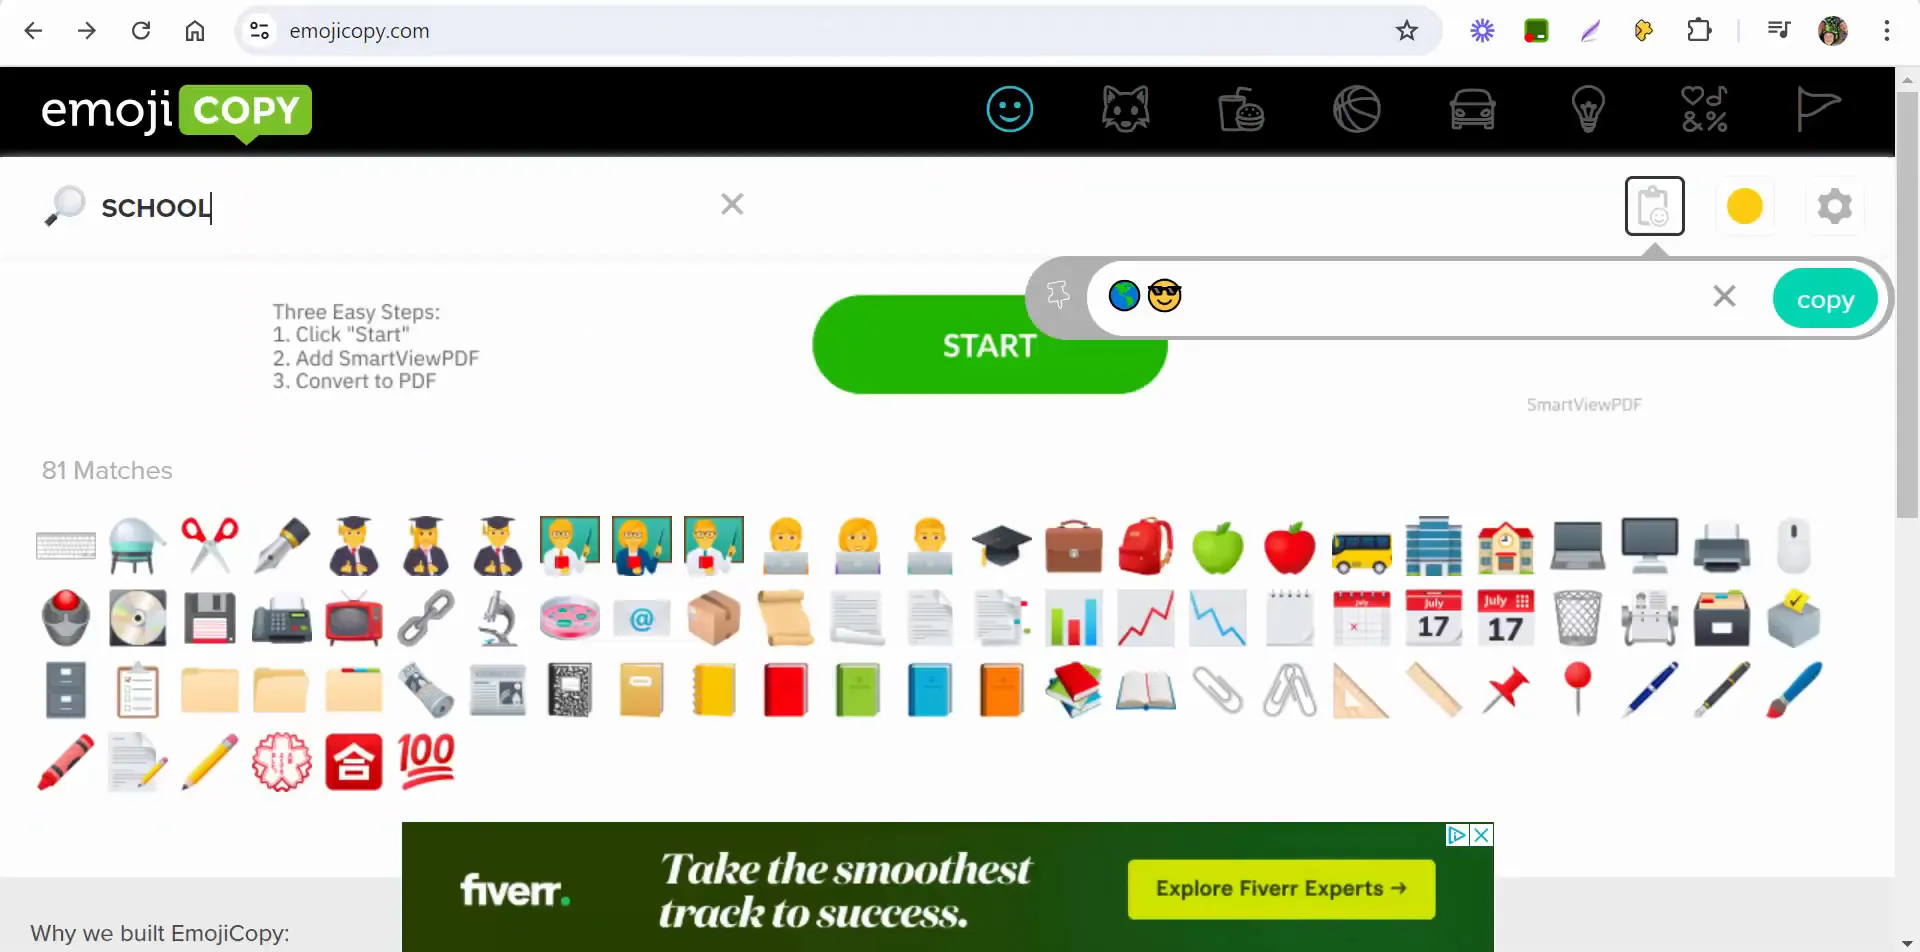
One way to make your notes more engaging is to incorporate emojis. This fun element can lighten the atmosphere and make learning more enjoyable. While editing your note, you can easily add an emoji to emphasize the point you’re making. It’s these little touches that can make a significant difference in student engagement.

Adding emojis to the notes

Saving and Sharing Your Edpuzzle

Once you’ve finalized your notes and questions, the next step is to save your work. After saving, you can share the Edpuzzle lesson with your students via platforms like Google Classroom. This integration allows for seamless access, ensuring your students can easily find and engage with the content.

Saving and sharing Edpuzzle lesson

Student Interaction: Answering Questions

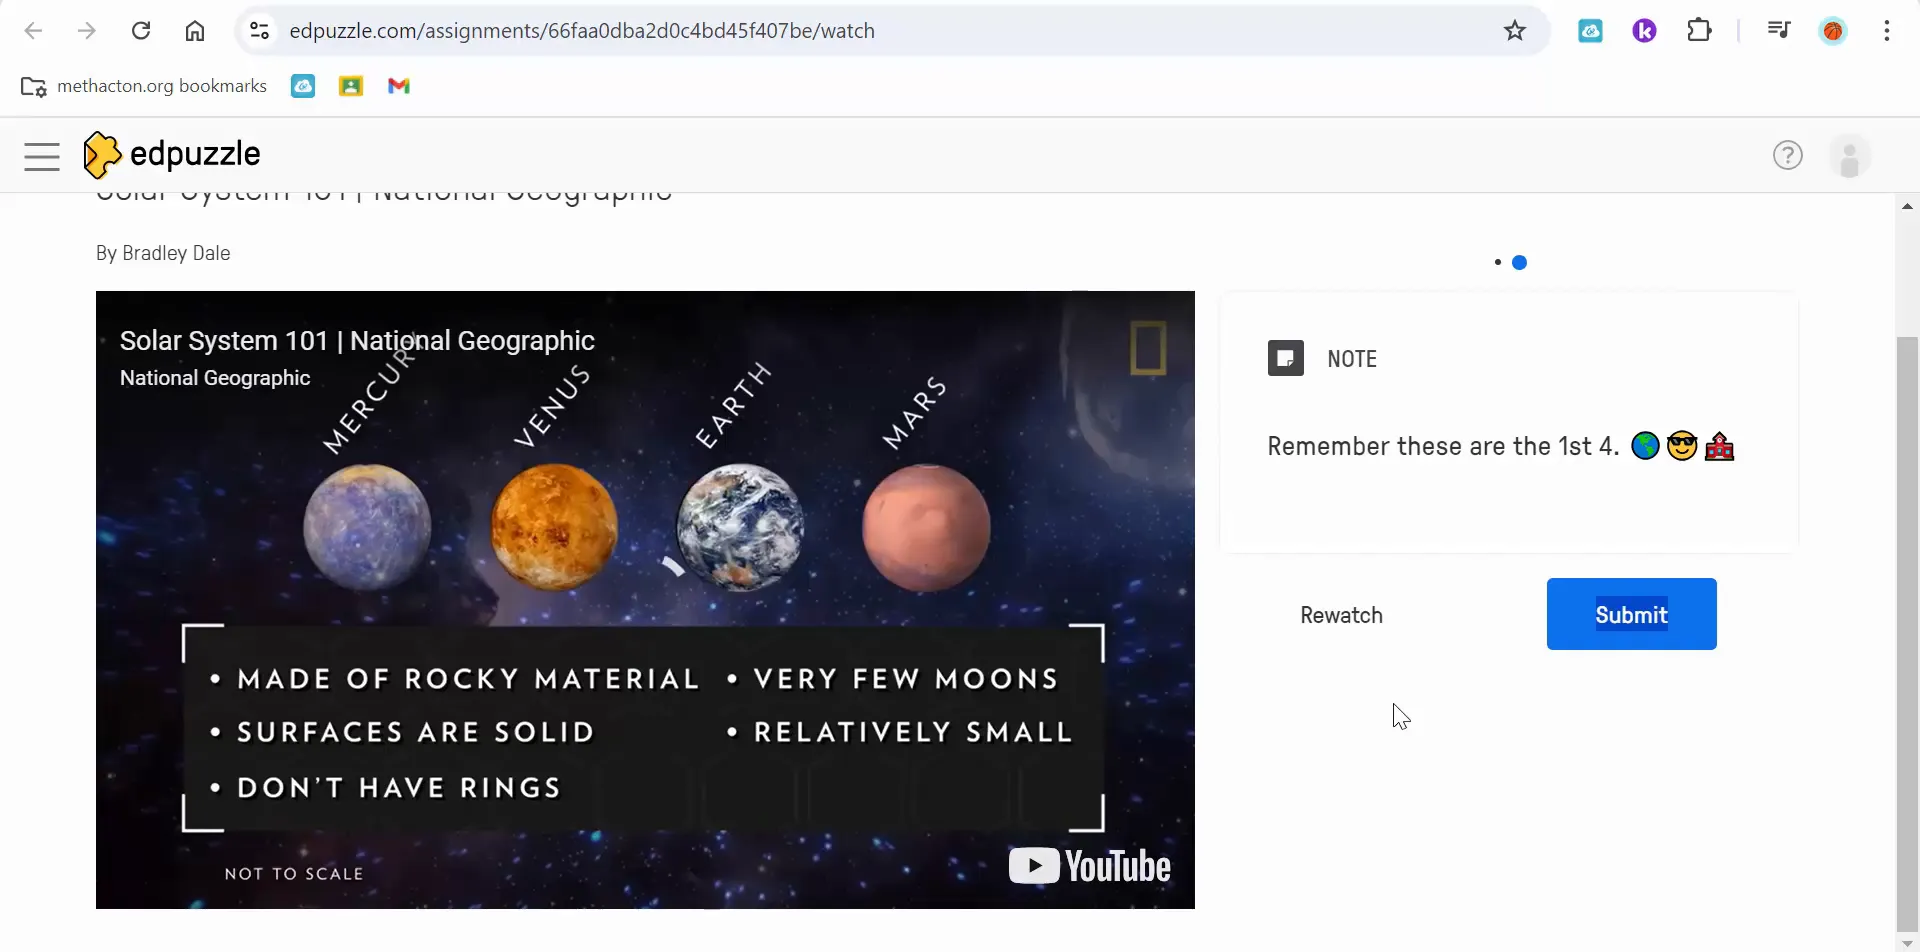
From a student’s perspective, engaging with the video content alongside the questions and notes can enhance their learning experience. As they watch the video, they’ll encounter questions that prompt them to recall information, such as listing the terrestrial planets: Mercury, Venus, Earth, and Mars.

When students see the reminder note, they can choose to rewatch the relevant sections of the video, reinforcing their understanding and allowing them to answer accurately.

Students answering questions based on video

Adding Audio Notes for Enhanced Clarity

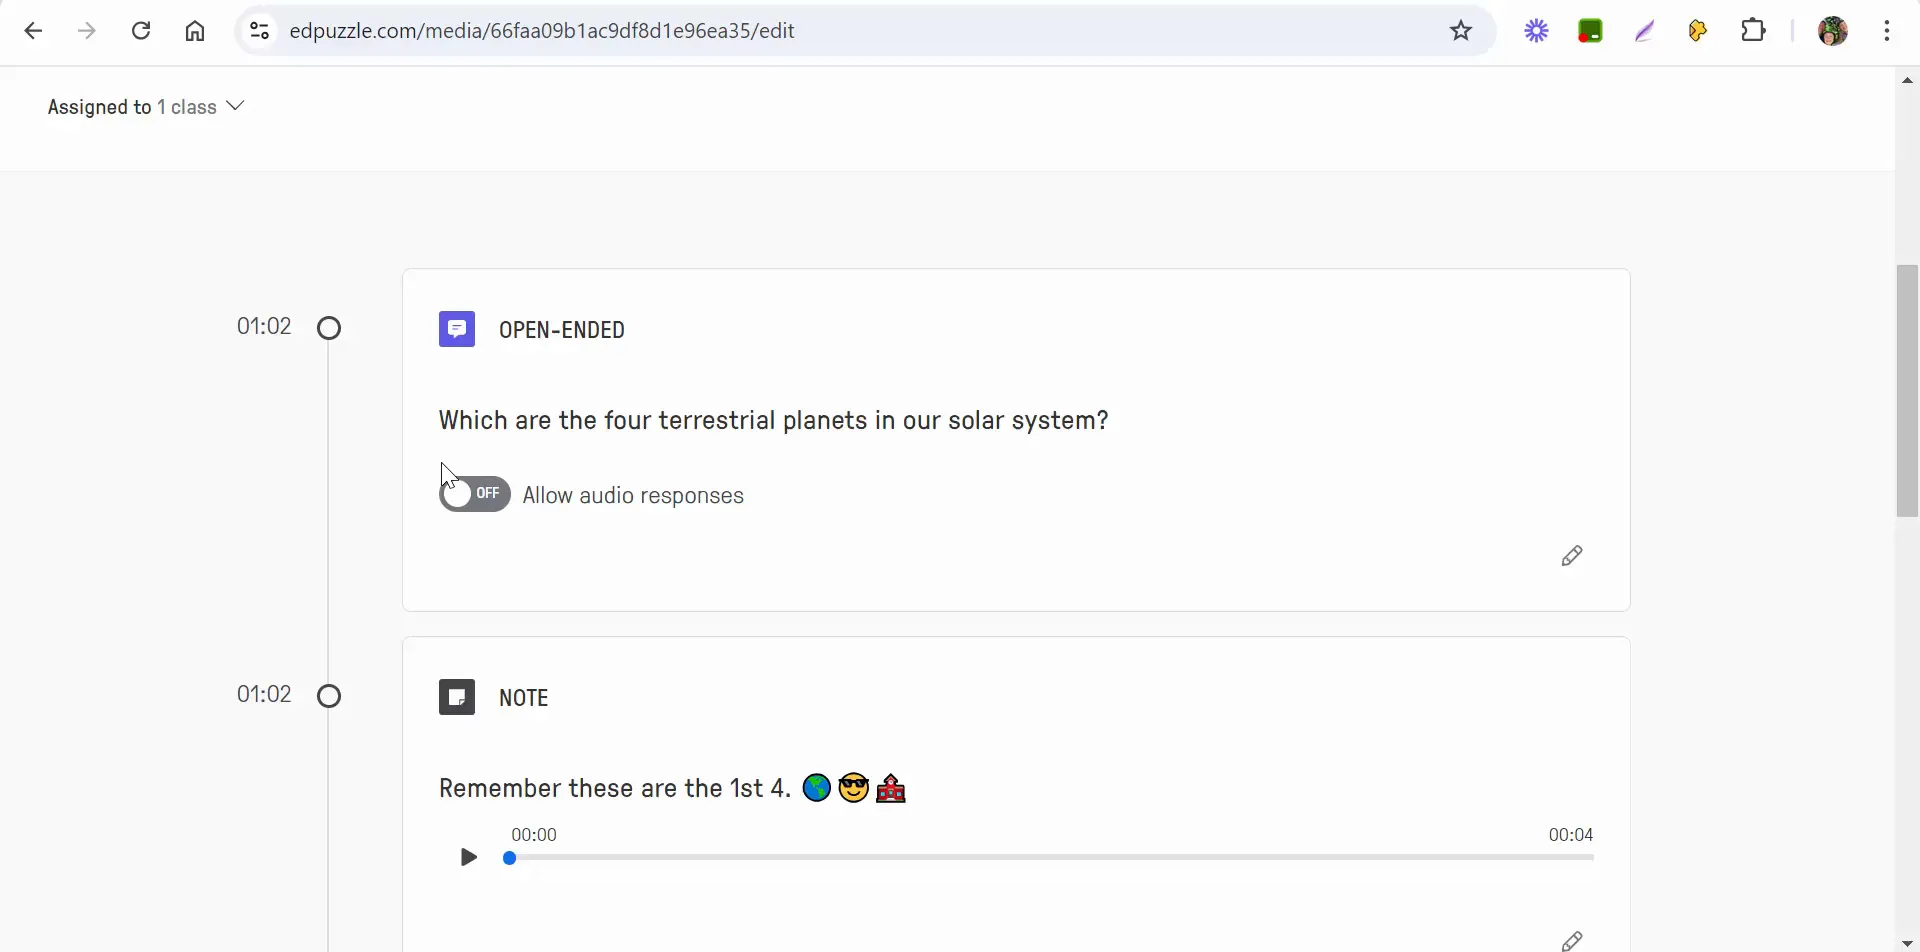
Another powerful feature of Edpuzzle is the ability to include audio notes. By adding an audio clip that reiterates your written notes, you provide an additional layer of support for your students. For example, you can record yourself saying, “Remember, these are the first four planets closest to the Sun.” This auditory reinforcement can be invaluable for auditory learners.

Adding audio notes to Edpuzzle

Allowing Students to Respond with Audio

In addition to answering questions, students can also provide their responses through audio. This feature is particularly beneficial for those who may struggle with writing or prefer verbal communication. To enable audio responses, simply check the option in the settings before assigning the video.

Enabling audio responses for student answers

Viewing Student Responses

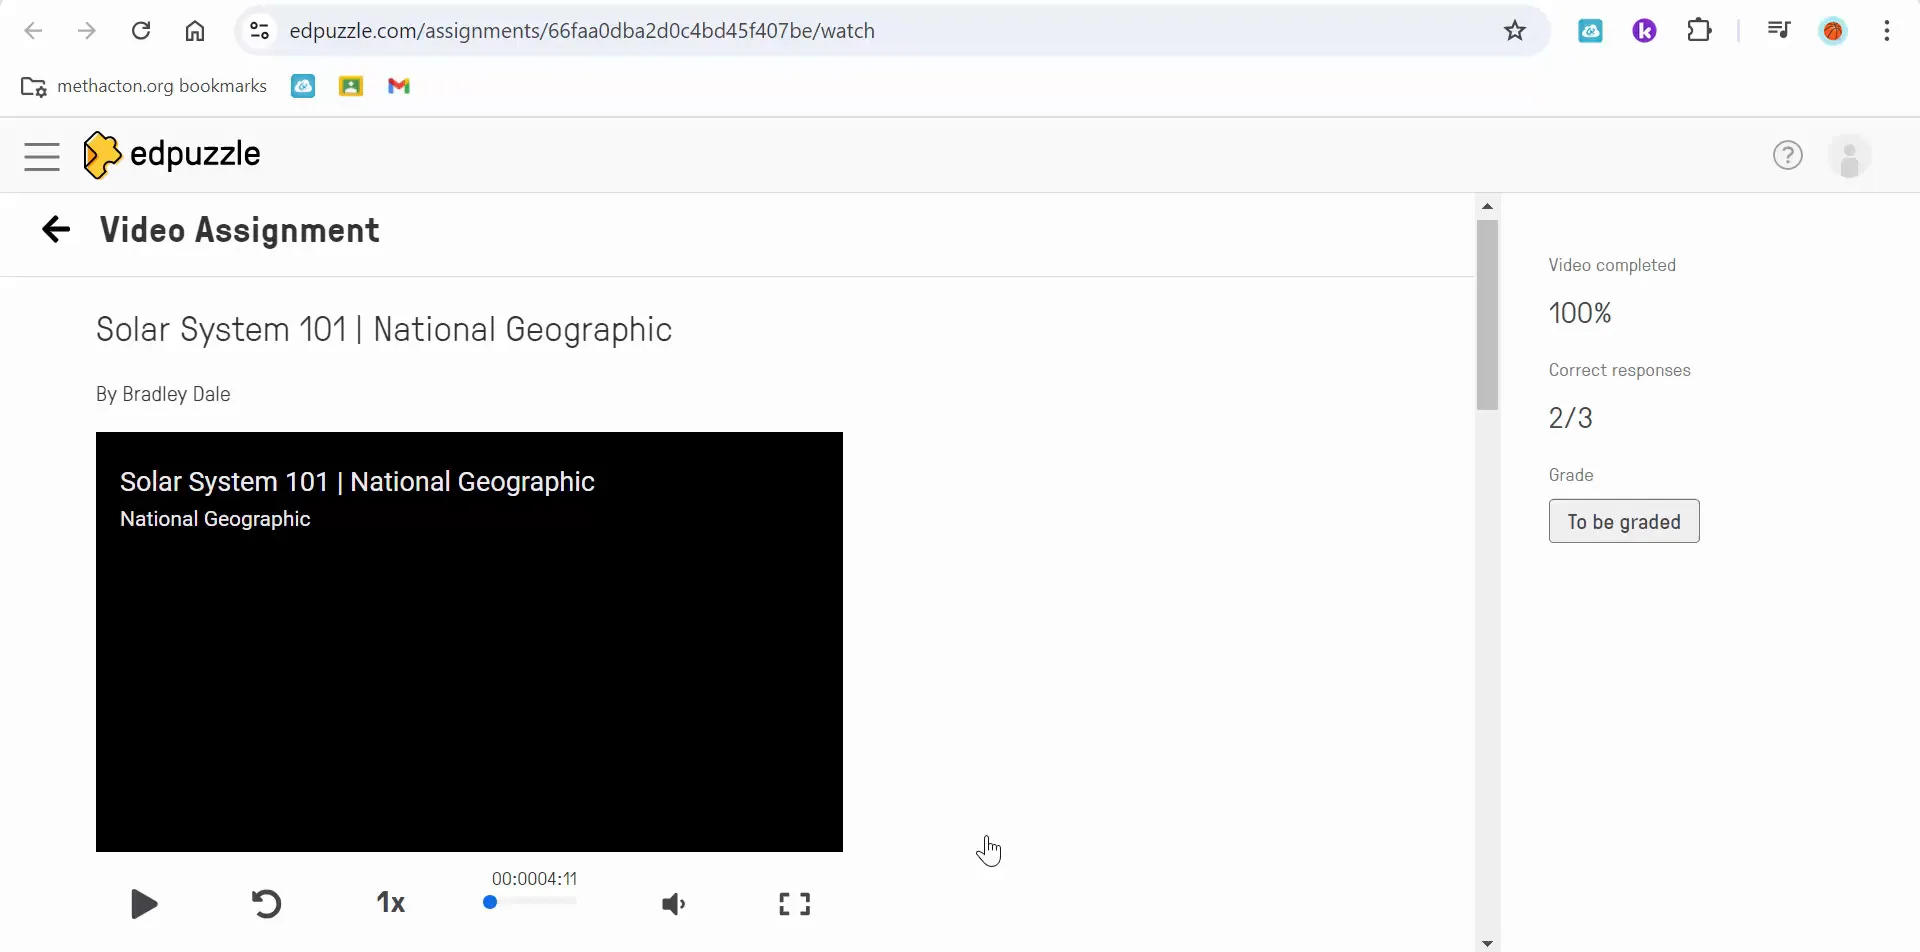
After students have completed the lesson and submitted their answers, you can easily view their responses from the teacher’s dashboard. This feature allows you to assess their understanding quickly. You can grade their responses and provide feedback based on their performance, ensuring that each student receives the attention they need to succeed.

Viewing student responses and grading

Conclusion: Enhancing Learning with Edpuzzle

Utilizing Edpuzzle to incorporate notes and audio responses not only enhances student engagement but also fosters a more interactive learning environment. By making your lessons more dynamic and supportive, you can cater to diverse learning styles and help your students achieve greater success. If you have any questions or need further assistance, don’t hesitate to reach out. Happy teaching!

Saturday, August 24, 2024

Edpuzzle How to use the autograde feature on open-ended questions in Edpuzzle as well as add a comment to a student. View from teacher and student point-of-view.


In the realm of educational technology, Edpuzzle stands out as a powerful tool for teachers looking to enhance student engagement and streamline assessment processes. One of the standout features of Edpuzzle is its autograde function, which allows educators to efficiently grade assignments, particularly open-ended questions. In this blog, we’ll dive into how to utilize the autograde feature effectively, addressing various scenarios and providing insights from both teacher and student perspectives.

Getting Started with Grading in Edpuzzle

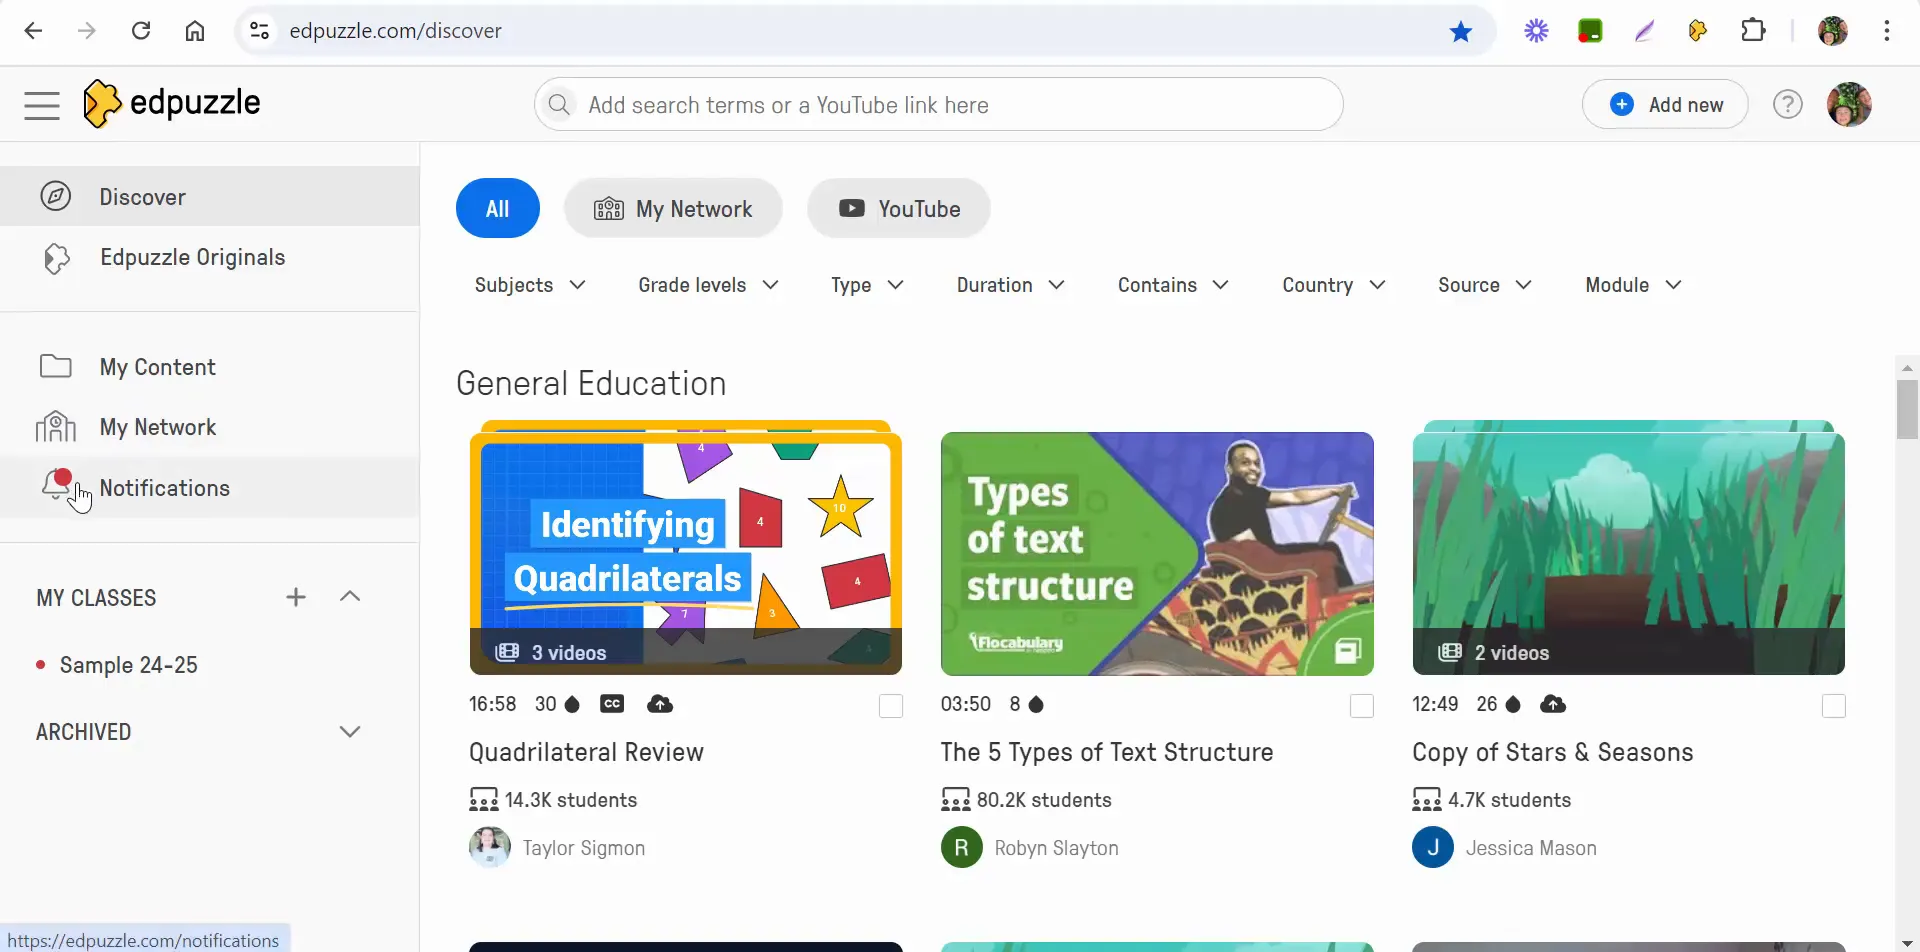
When you log into Edpuzzle, notifications play a crucial role in keeping you updated about assignments that require grading. You will notice a red dot next to your class indicating new submissions. This intuitive design ensures that you never miss an assignment that needs your attention.

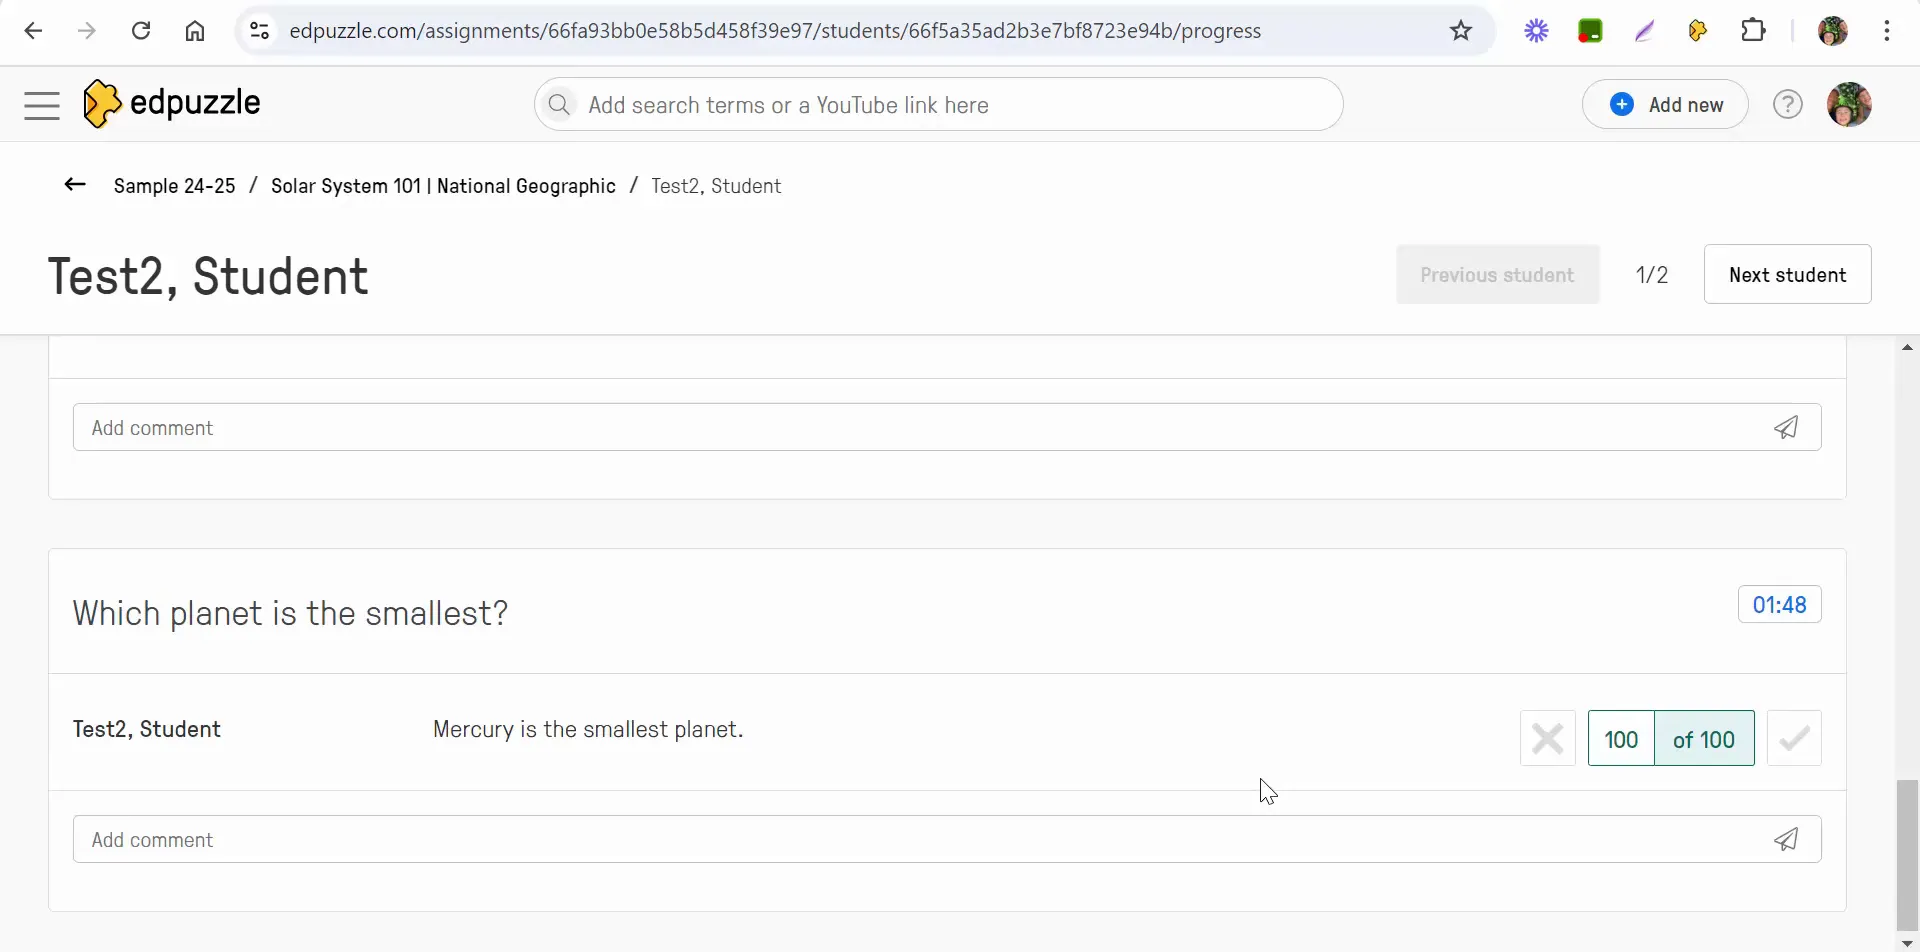
To check for new submissions, simply click on the notifications. Here, you’ll see recent activities, including assignments that have been turned in and those pending your grade. For example, if a student submits an answer to a question like "Which planet is the smallest?", you can easily navigate to that assignment to begin the grading process.

Notifications in Edpuzzle

Accessing and Grading Assignments

After selecting the specific assignment, you’ll notice a notification indicating that there is one new answer submitted. This feature is particularly helpful for keeping track of student submissions in real time. When you click on the new answer, you can begin the grading process.

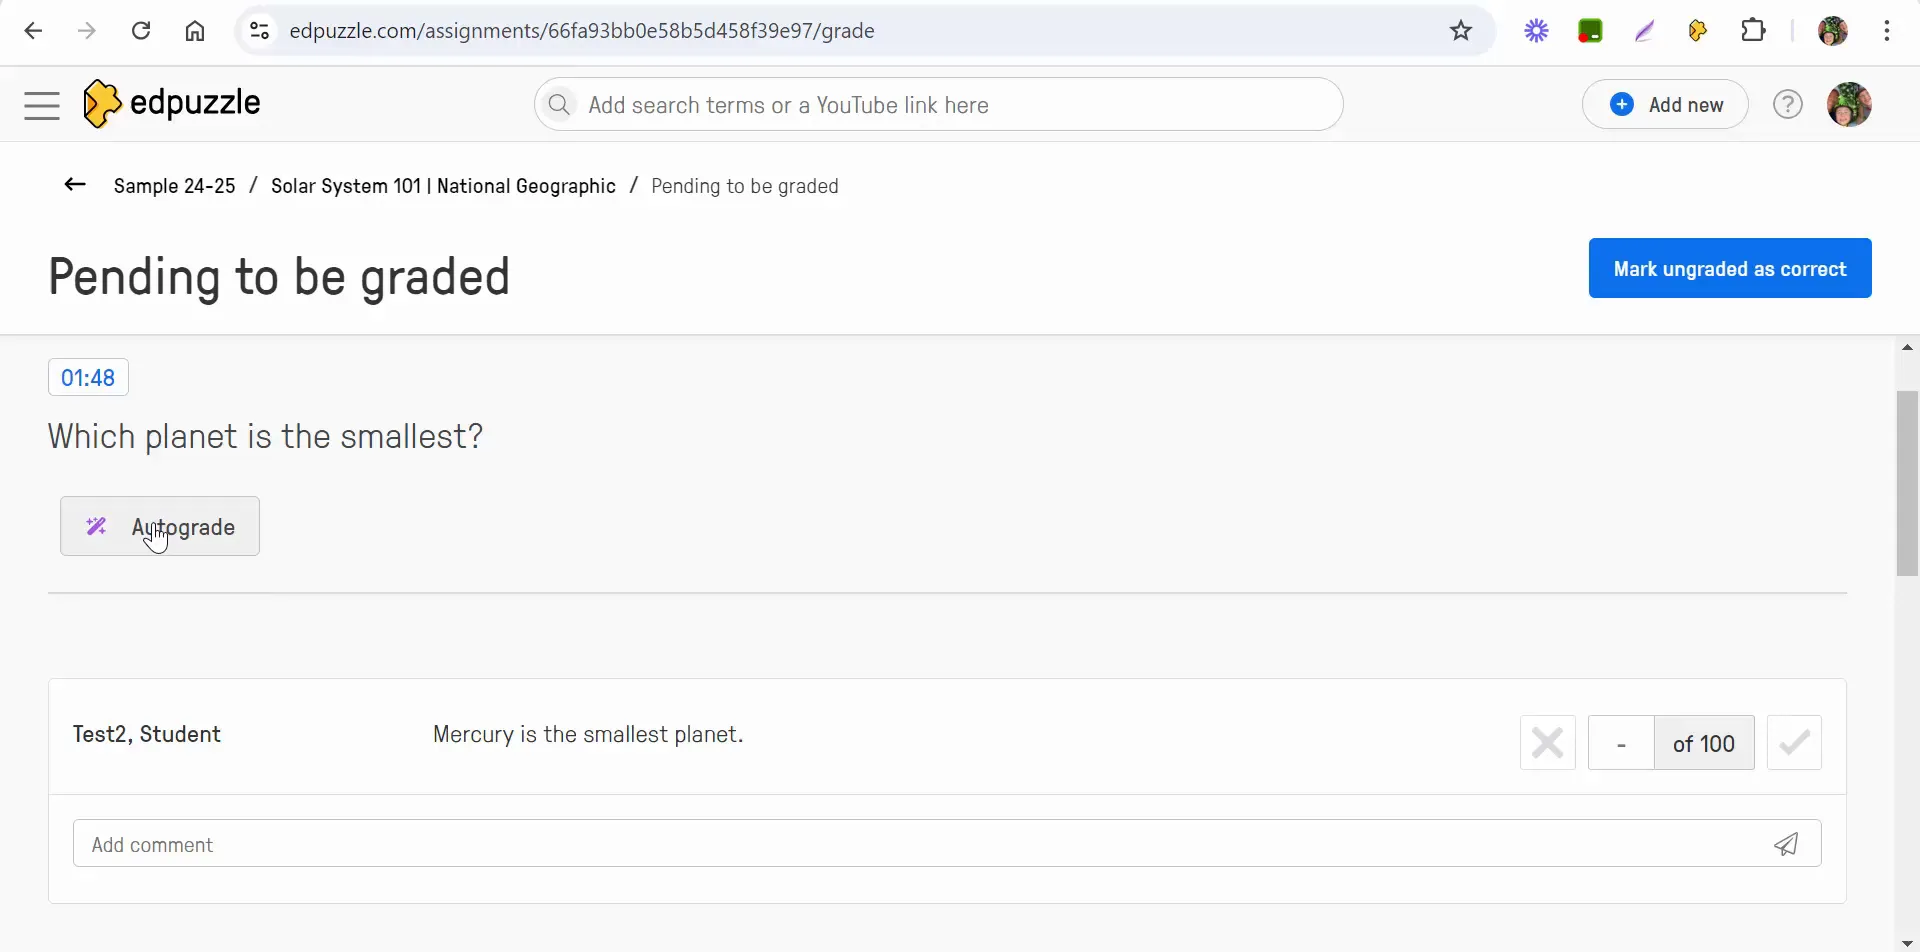
The autograde feature is designed to simplify grading for open-ended questions. For instance, if you’re grading the question about the smallest planet, you can select the autograde option and input the correct answer, such as "Mercury is the smallest planet." This not only saves time but also ensures consistency in grading.

Entering correct answer in autograde

Understanding Autograde Functionality

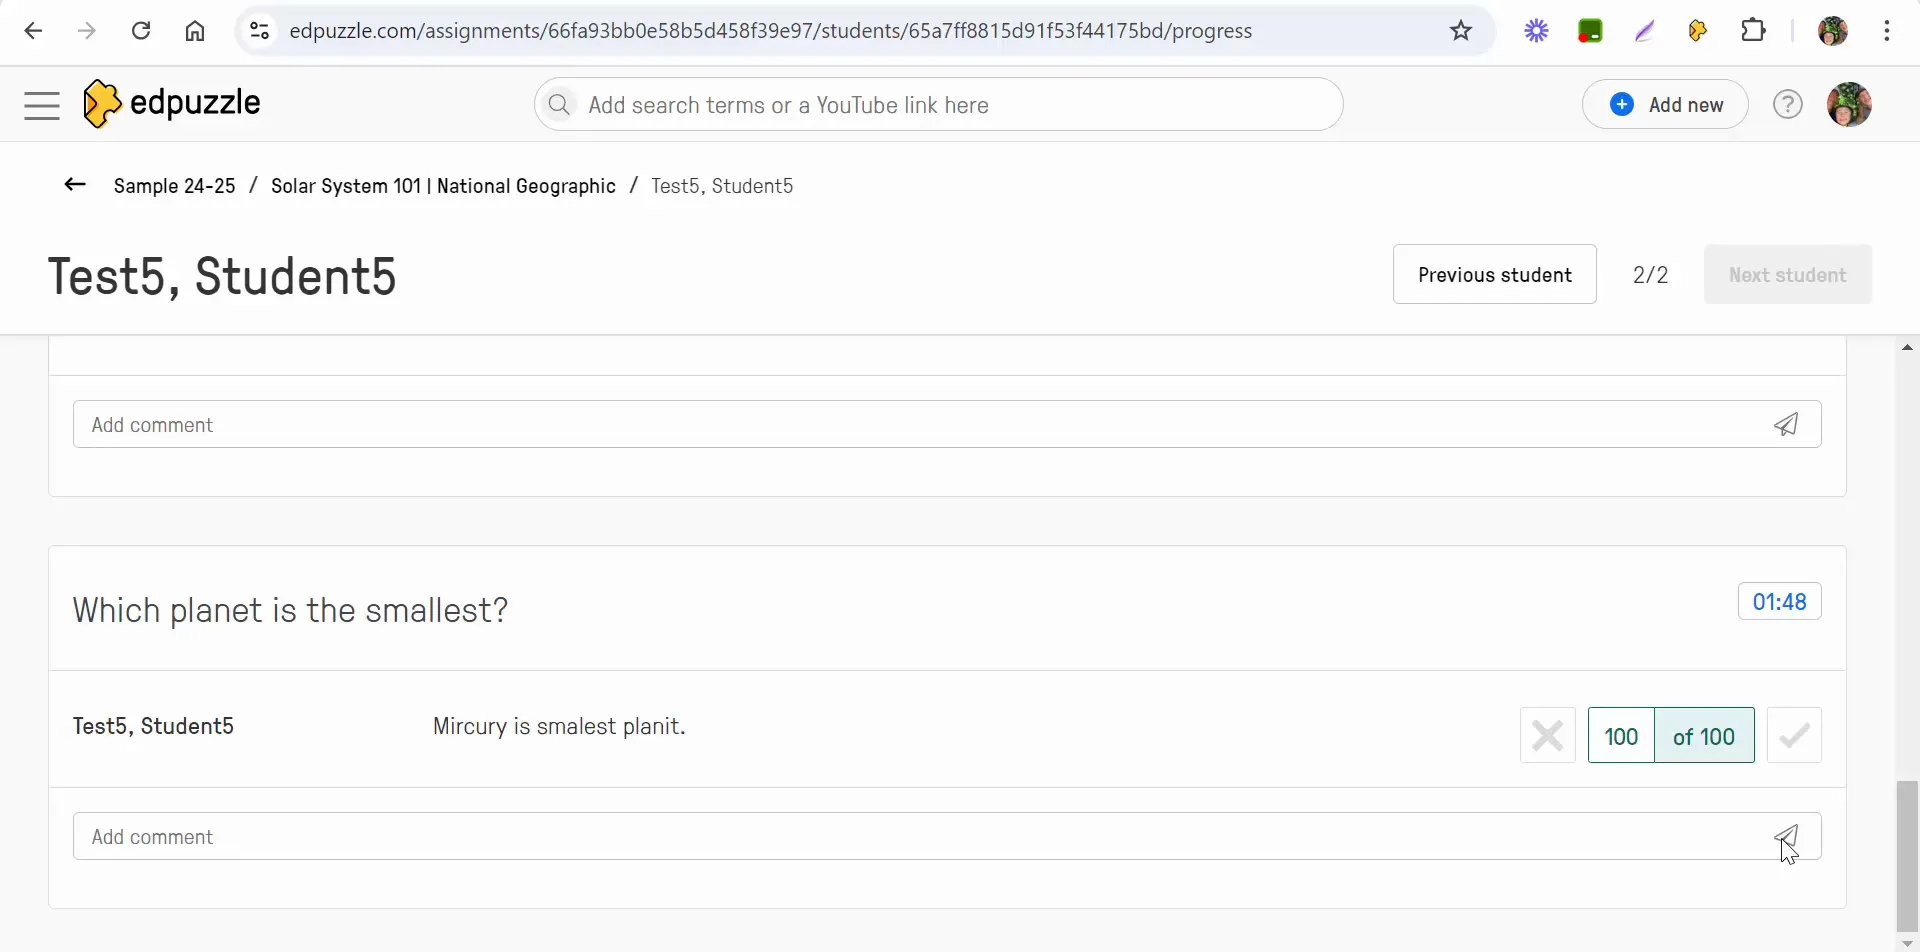
Once you have entered the correct answer and selected the autograde option, Edpuzzle will automatically grade the response. If the student’s answer matches your input, they will receive full credit. However, it’s important to note that the grading is strict; if a student misspells "Mercury," for example, their answer may not be accepted as correct.

This is a key point to remember: while the autograde feature is efficient, it requires precise answers from students. If their response contains any errors, they may receive a lower grade than expected. This raises an important teaching moment about the significance of spelling and clarity in their responses.

Grading process in Edpuzzle

Handling Incorrect Answers

In cases where a student submits an incorrect answer, you have the option to manually adjust their grades. For example, if a student wrote "mercury" instead of "Mercury," you can select the autograde option and choose to mark ungraded responses as correct. This flexibility allows for a more compassionate grading approach, taking into account the student’s understanding of the material rather than just their spelling accuracy.

After grading, you can also add comments to provide feedback. For instance, you might write, "Make sure to spell correctly next time." This not only informs the student of their mistake but also encourages them to improve in the future.

Adding comments for student feedback

Student Perspective: Receiving Feedback

Once you have graded the assignments, students can access their notifications to view their grades and any comments you’ve left. This transparency is crucial as it allows students to understand where they went wrong and how to improve. They can see the feedback and respond if they have questions or need clarification.

This interaction fosters a collaborative learning environment where students feel empowered to engage with their educators actively. The ability to view grades and feedback in real-time helps students take ownership of their learning journey.

Student viewing feedback in Edpuzzle

Conclusion: Maximizing the Autograde Feature

Edpuzzle's autograde feature is a powerful tool that can significantly streamline the grading process for teachers. By understanding how to navigate notifications, utilize the autograde function, and provide meaningful feedback, educators can enhance both their efficiency and the learning experience for their students.

As you incorporate this feature into your teaching practice, remember to encourage your students to focus on clarity and accuracy in their responses. The combination of timely feedback and supportive grading practices will help them thrive academically.

If you have any questions or need further assistance with Edpuzzle, don’t hesitate to reach out. Happy teaching!
Friday, August 23, 2024

Edpuzzle How to create a multiple choice and/or open ended assignment in mere seconds with Edpuzzle's Teacher Assist option.


In the modern classroom, integrating technology can significantly enhance student engagement and understanding. One such tool that has gained popularity is Edpuzzle, particularly for its innovative features that allow teachers to create interactive video lessons. In this blog post, we'll explore how to use Edpuzzle's AI Question Generator, which streamlines the process of creating assessments from video content.

Getting Started with Edpuzzle

Before diving into the AI features, let’s briefly discuss how to start with Edpuzzle. First, you need to create an account on the Edpuzzle platform. Once you’re set up, you can begin exploring various video options to turn into interactive lessons.

Edpuzzle allows you to either upload your own videos or use existing ones from platforms like YouTube. For this tutorial, we will focus on using a YouTube link.

Pasting a YouTube Link

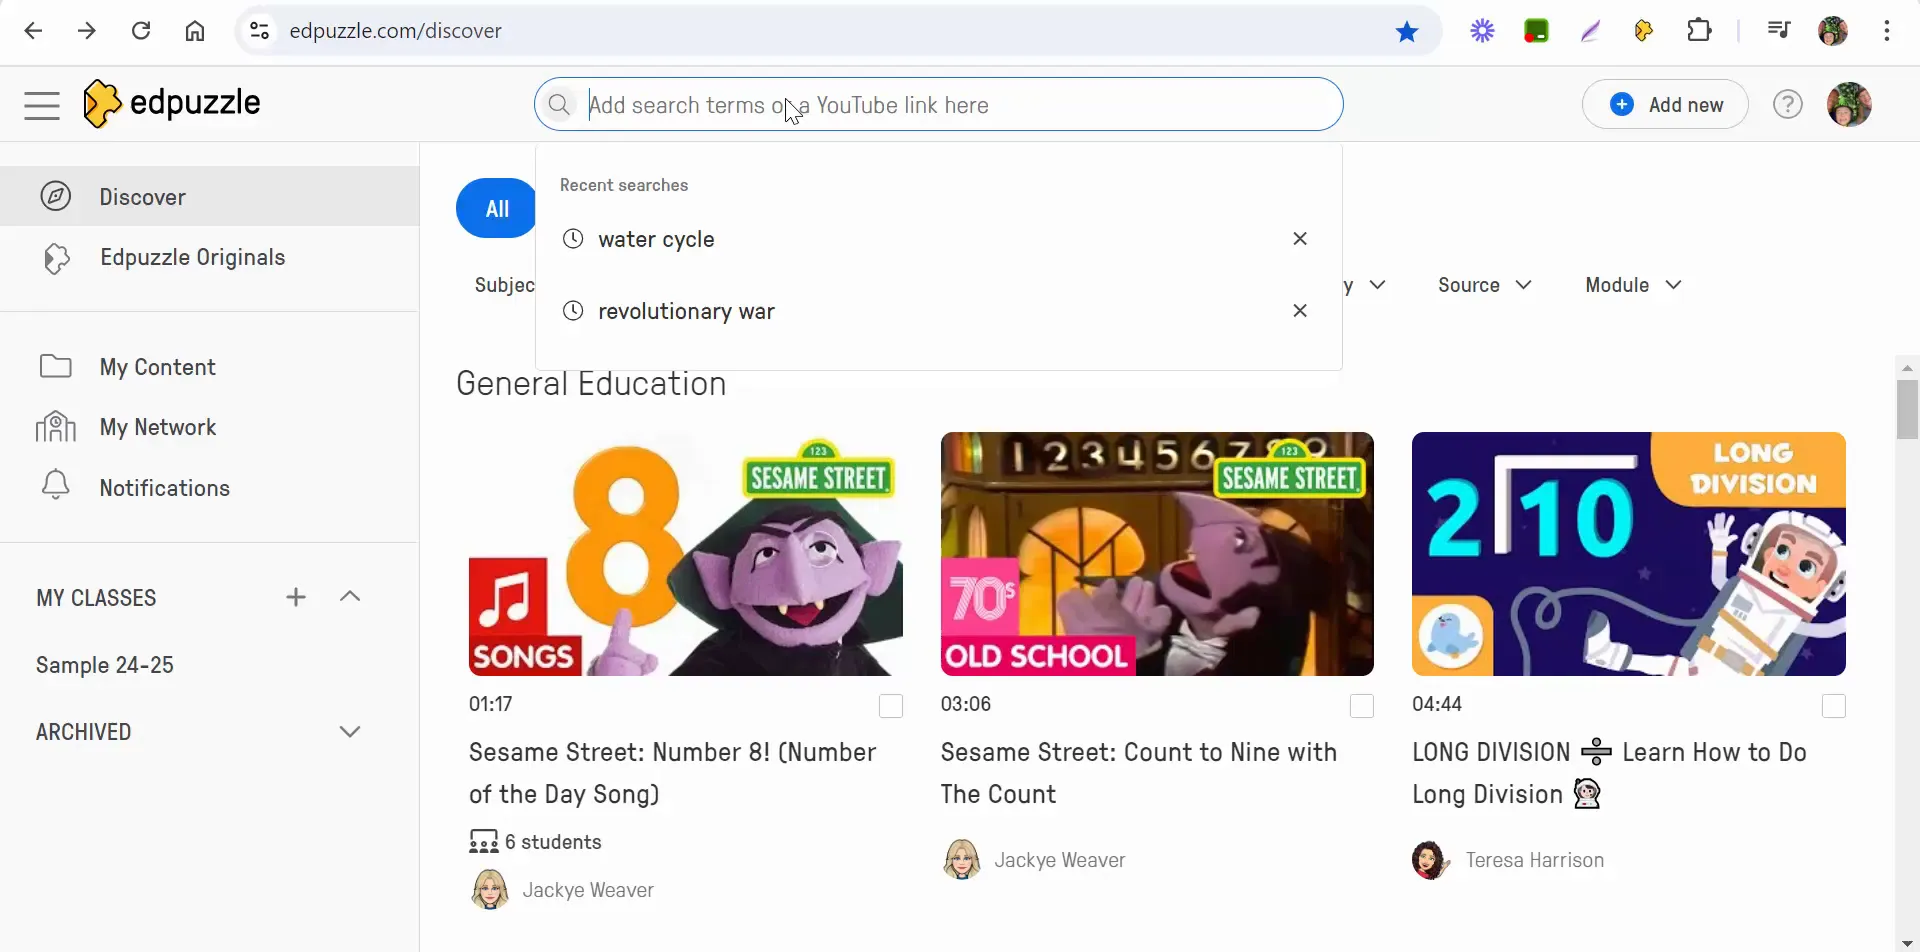
To begin, paste the YouTube link of the video you want to use. For example, if you're focusing on the water cycle, find a suitable video and copy its URL. Once you have the link, simply paste it into Edpuzzle.

Pasting a YouTube link into Edpuzzle

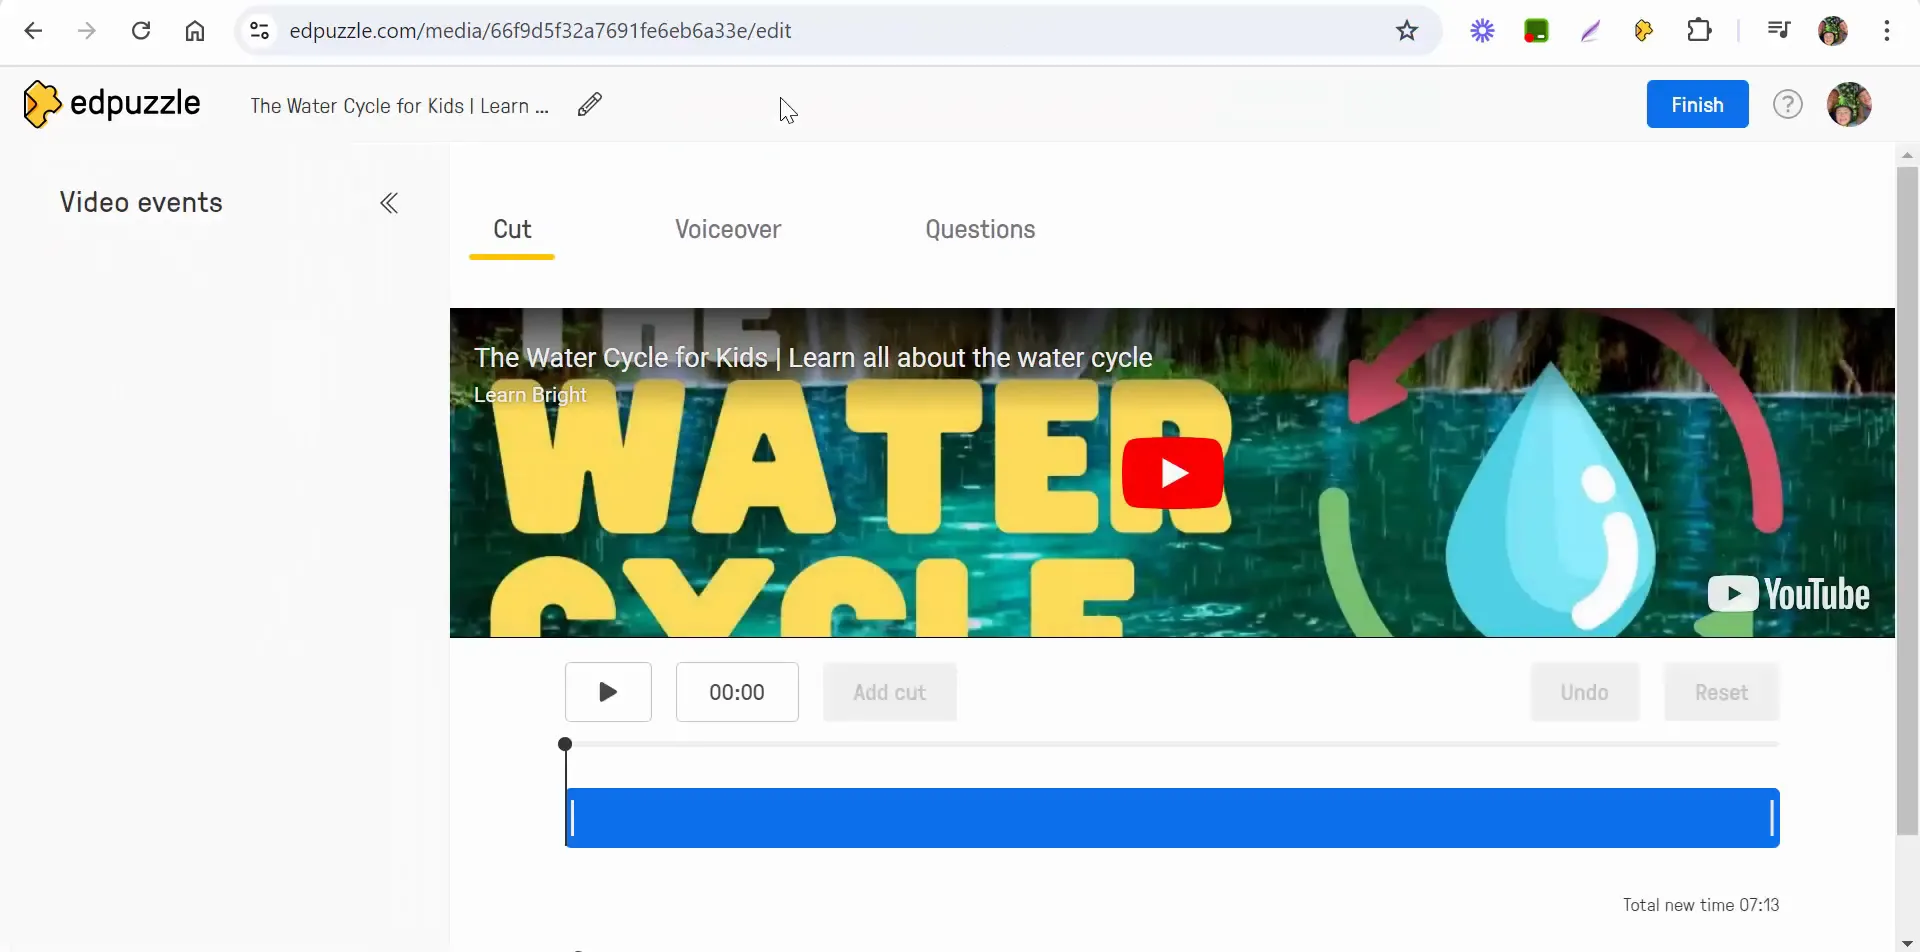
After pasting the link, you have the option to cut portions of the video. This is helpful if you only want specific segments for your lesson. You can drag over the parts you wish to cut. However, in this example, we will leave the video intact for now.

Using the AI Question Generator

One of the standout features of Edpuzzle is its AI Question Generator. This tool is currently in beta and allows teachers to generate questions based on the video's content automatically.

Generating Questions

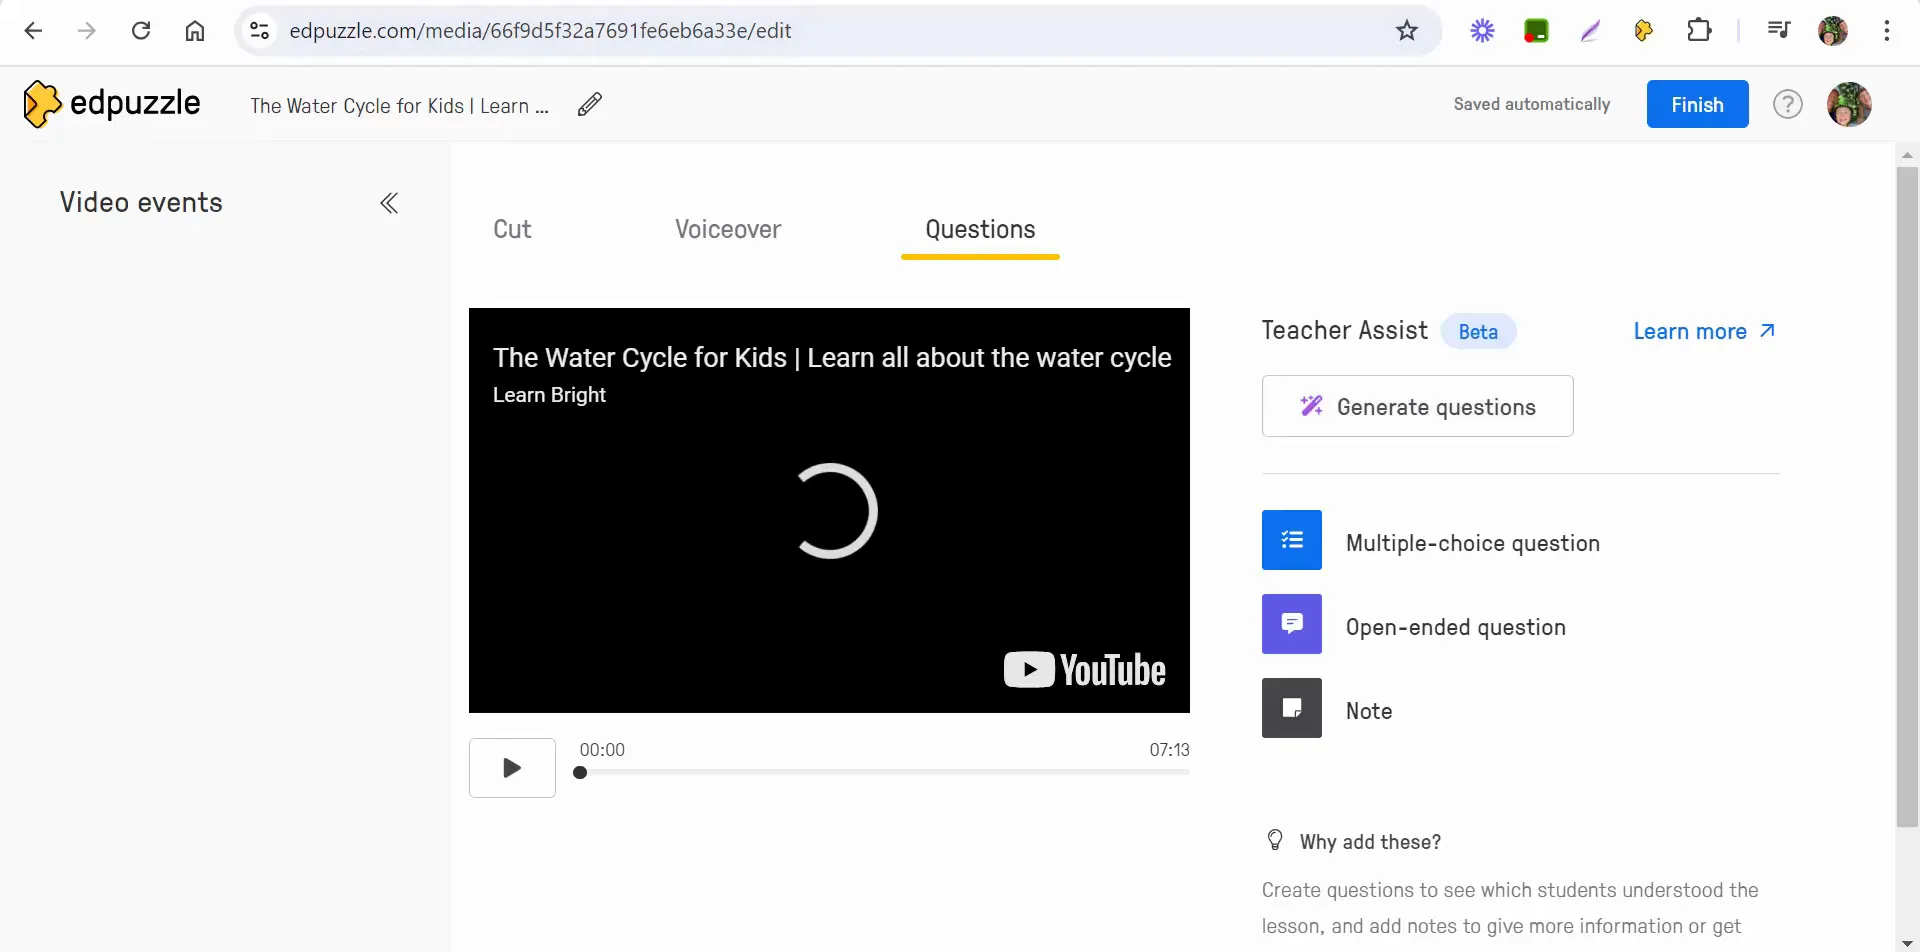
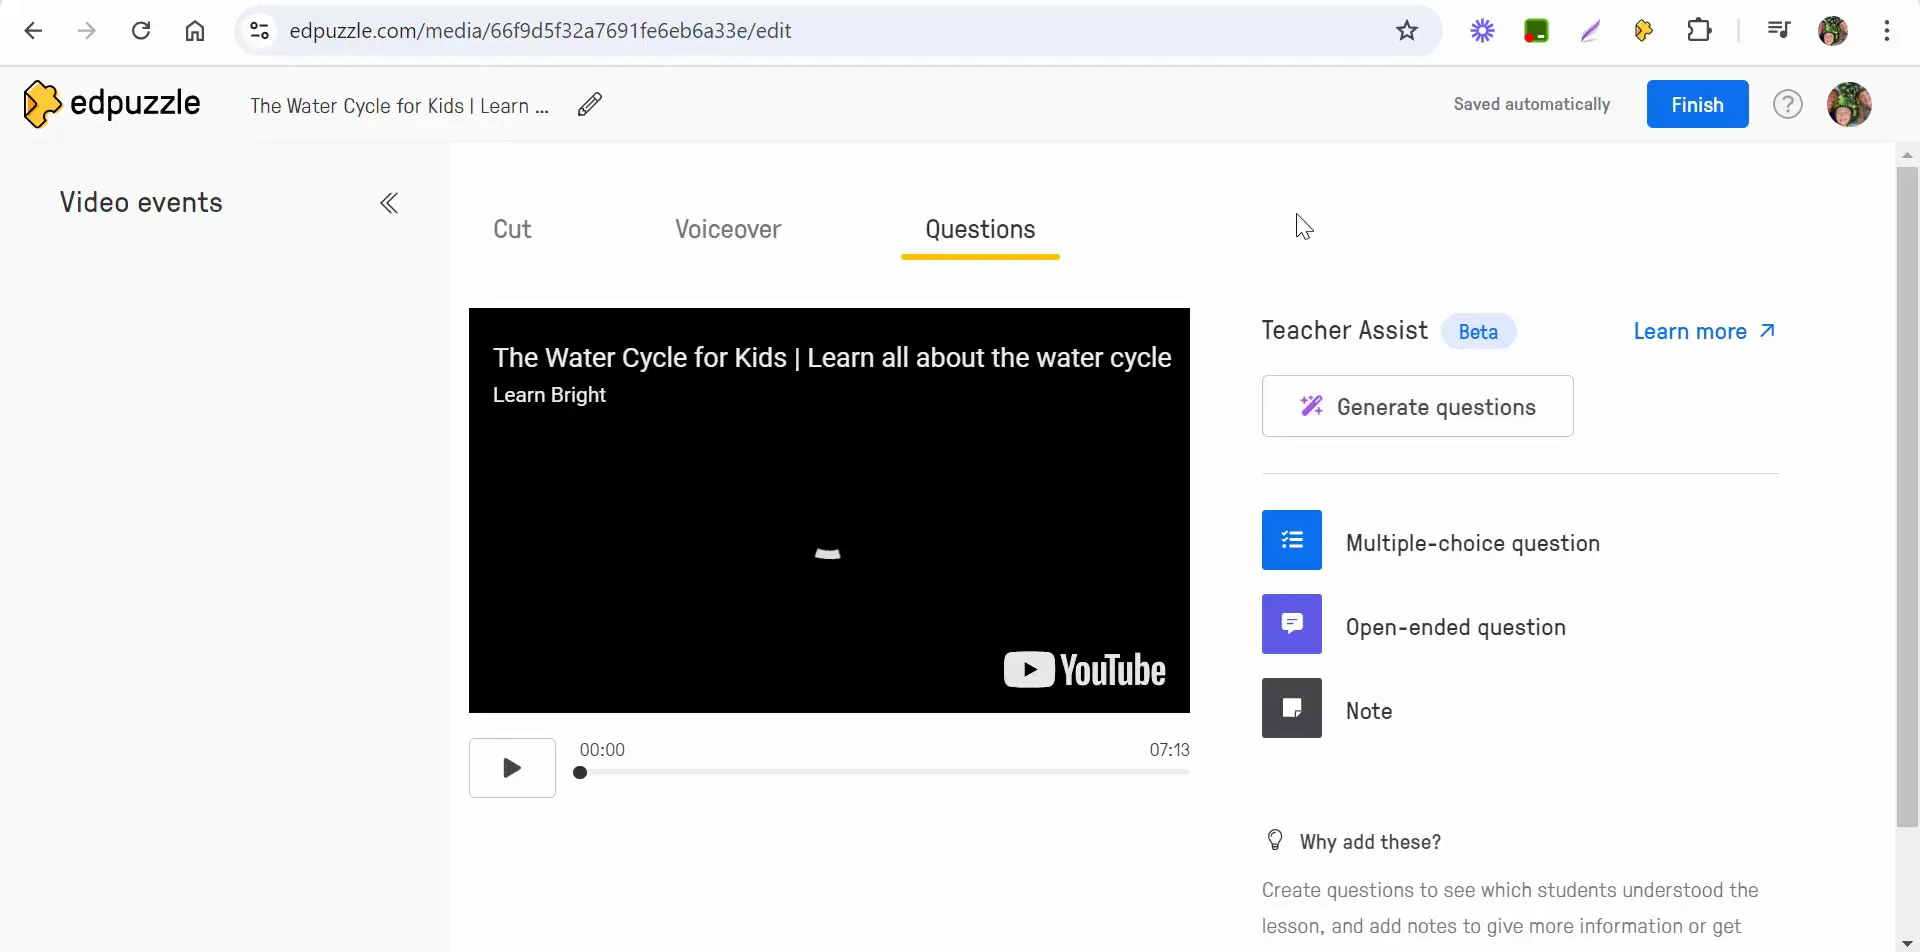
To access the AI Question Generator, navigate to the questions section after pasting your video link. Here, you can choose from multiple-choice questions, open-ended questions, or both. For this demonstration, we will select both options.

Selecting question options in Edpuzzle

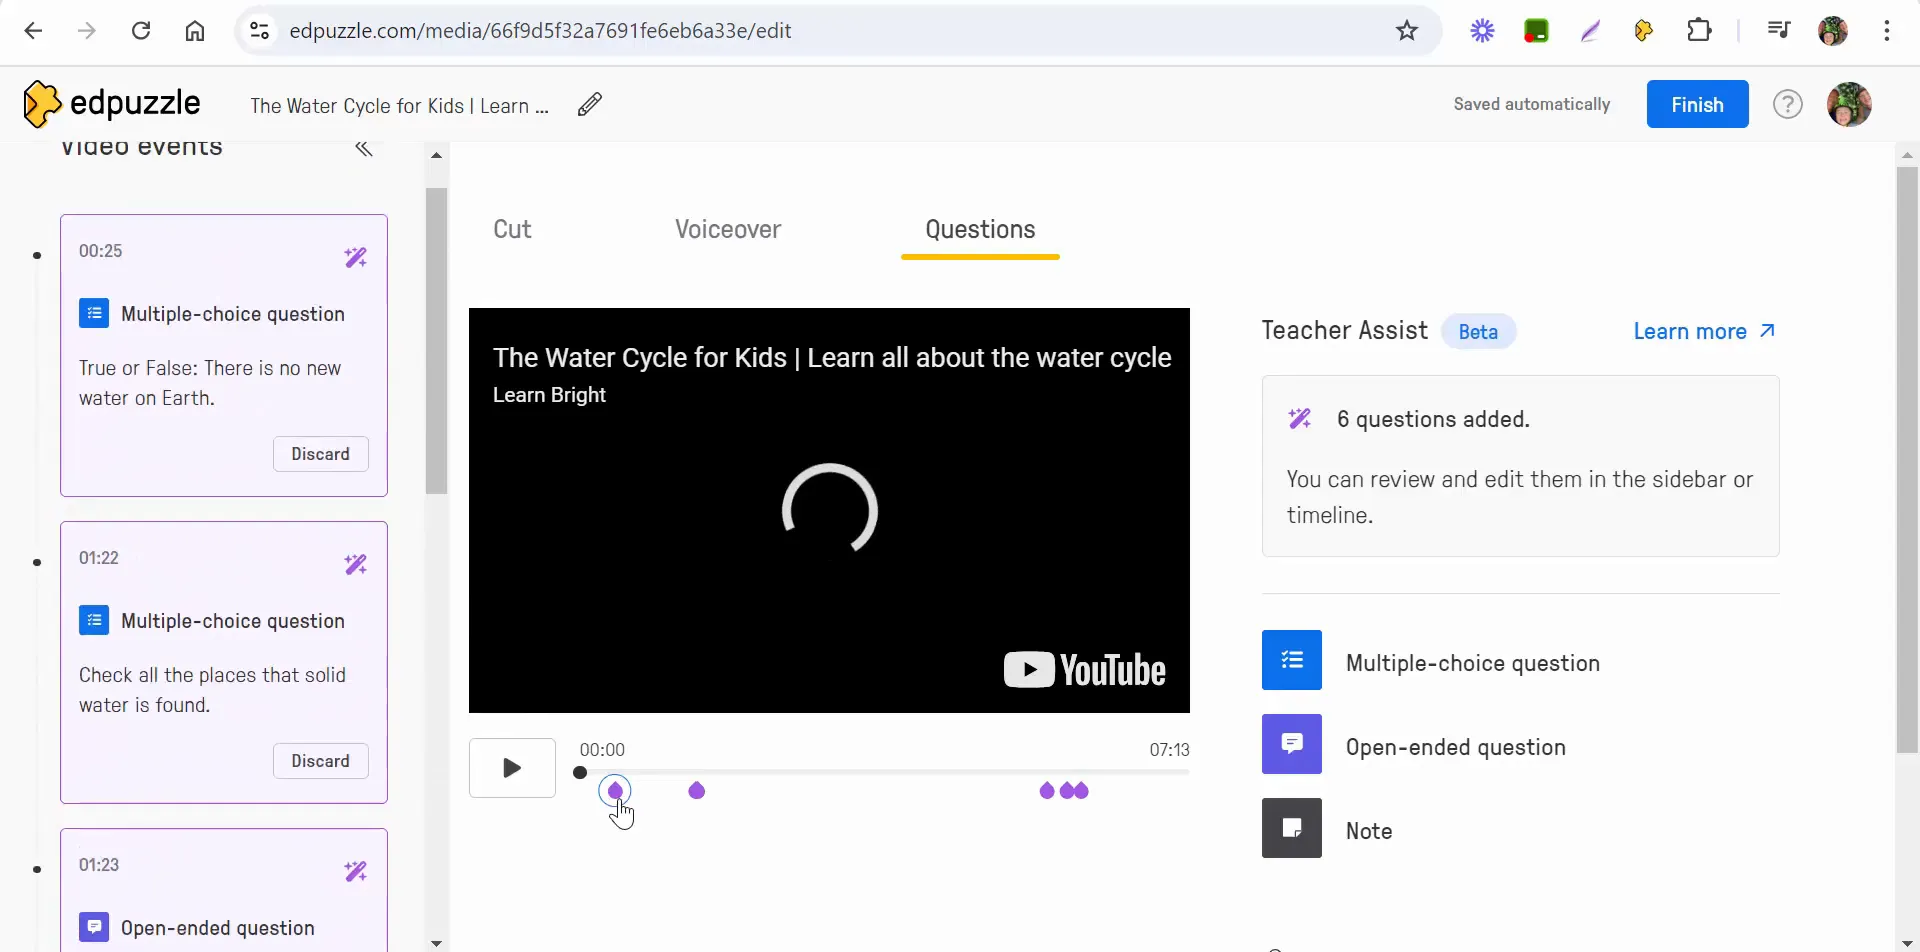
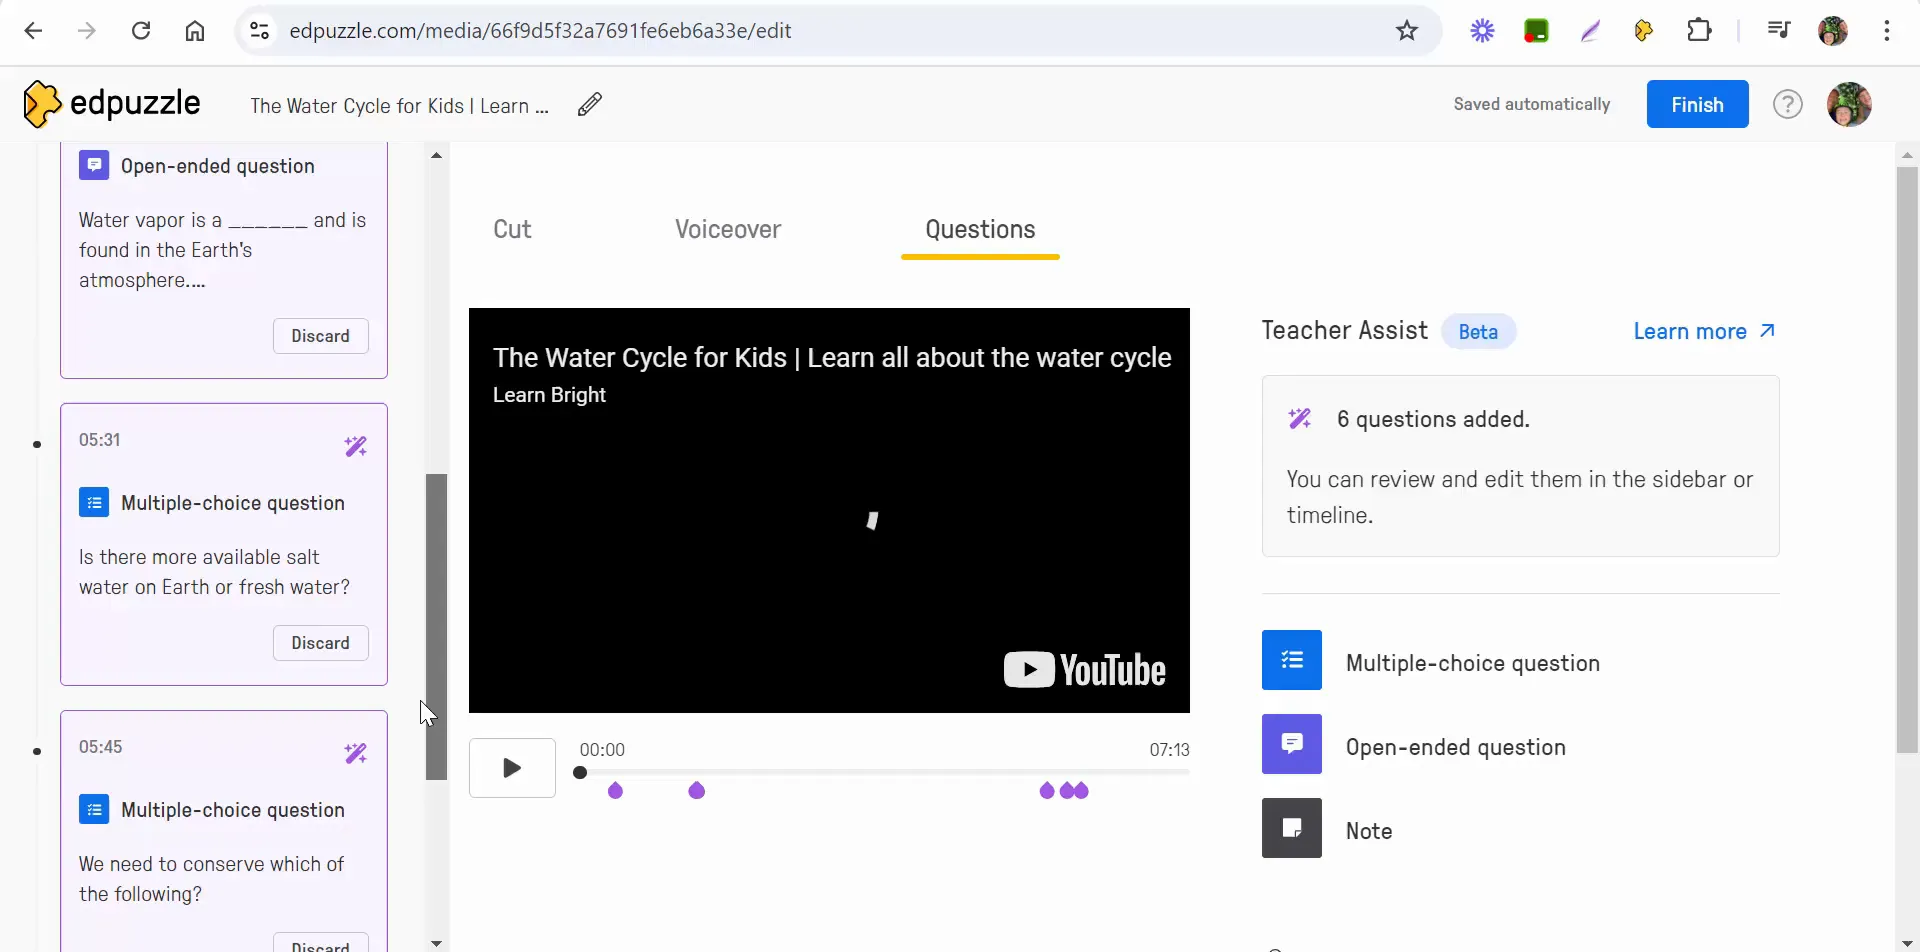
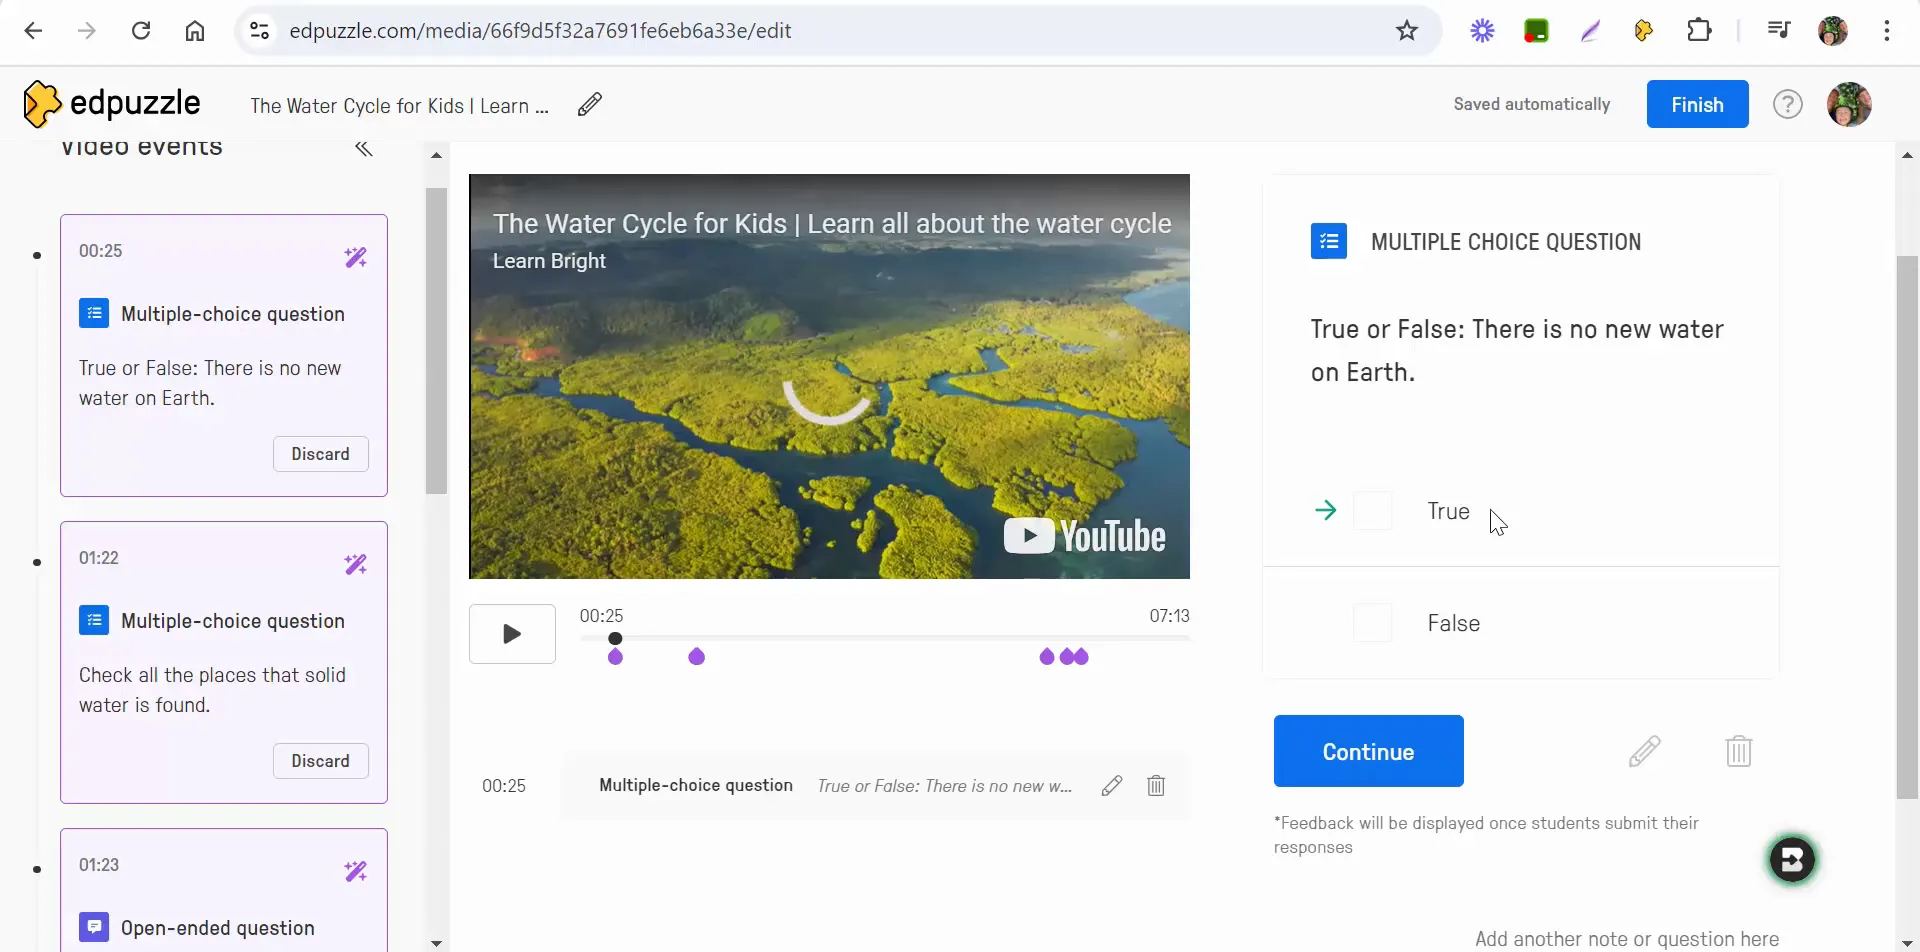
Once you select the question types, Edpuzzle will analyze the video and generate questions at specific timestamps. For example, you might see a question appear at the 25-second mark asking if there is any new water on Earth, with a true or false format.

Generated questions in Edpuzzle

Editing Questions

After the questions are generated, you can review and edit them as needed. If you don’t like a particular question, simply delete it. This customization ensures that the questions align with your teaching objectives.

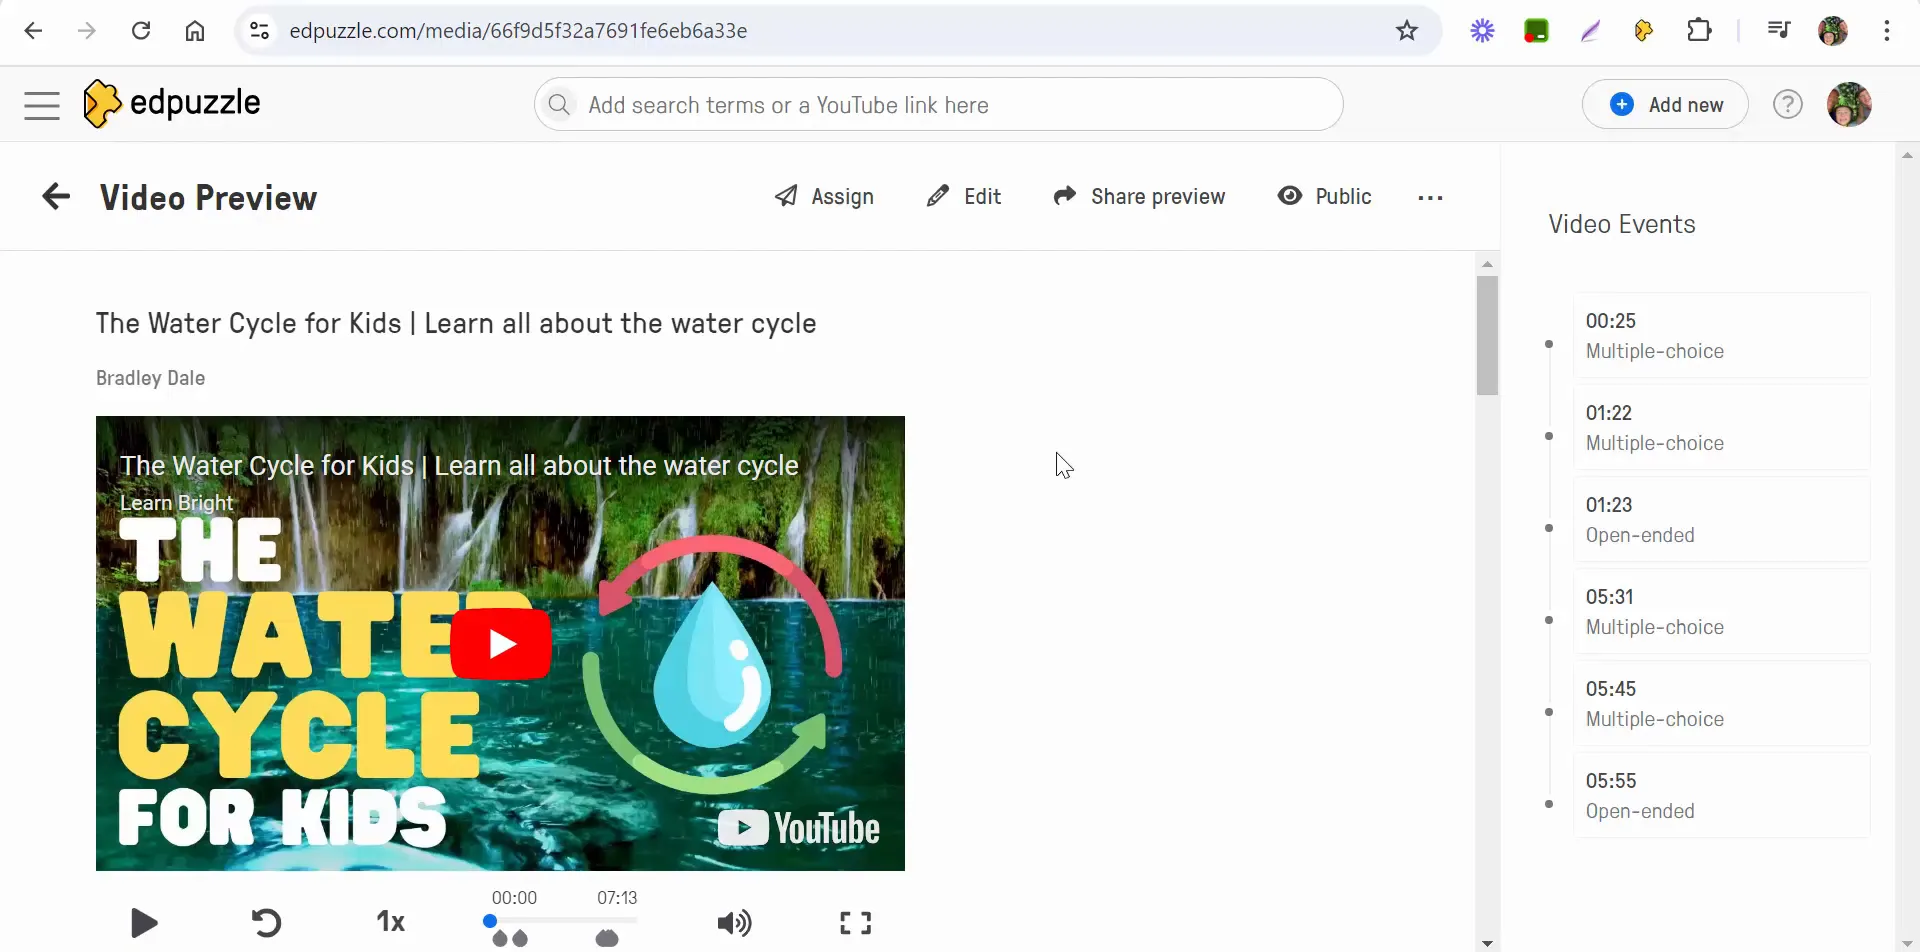
Once you are satisfied with the questions, select "Continue" to move forward. You can then decide to finish the assignment, share a preview, or change the privacy settings.

Finalizing and Assigning Your Lesson

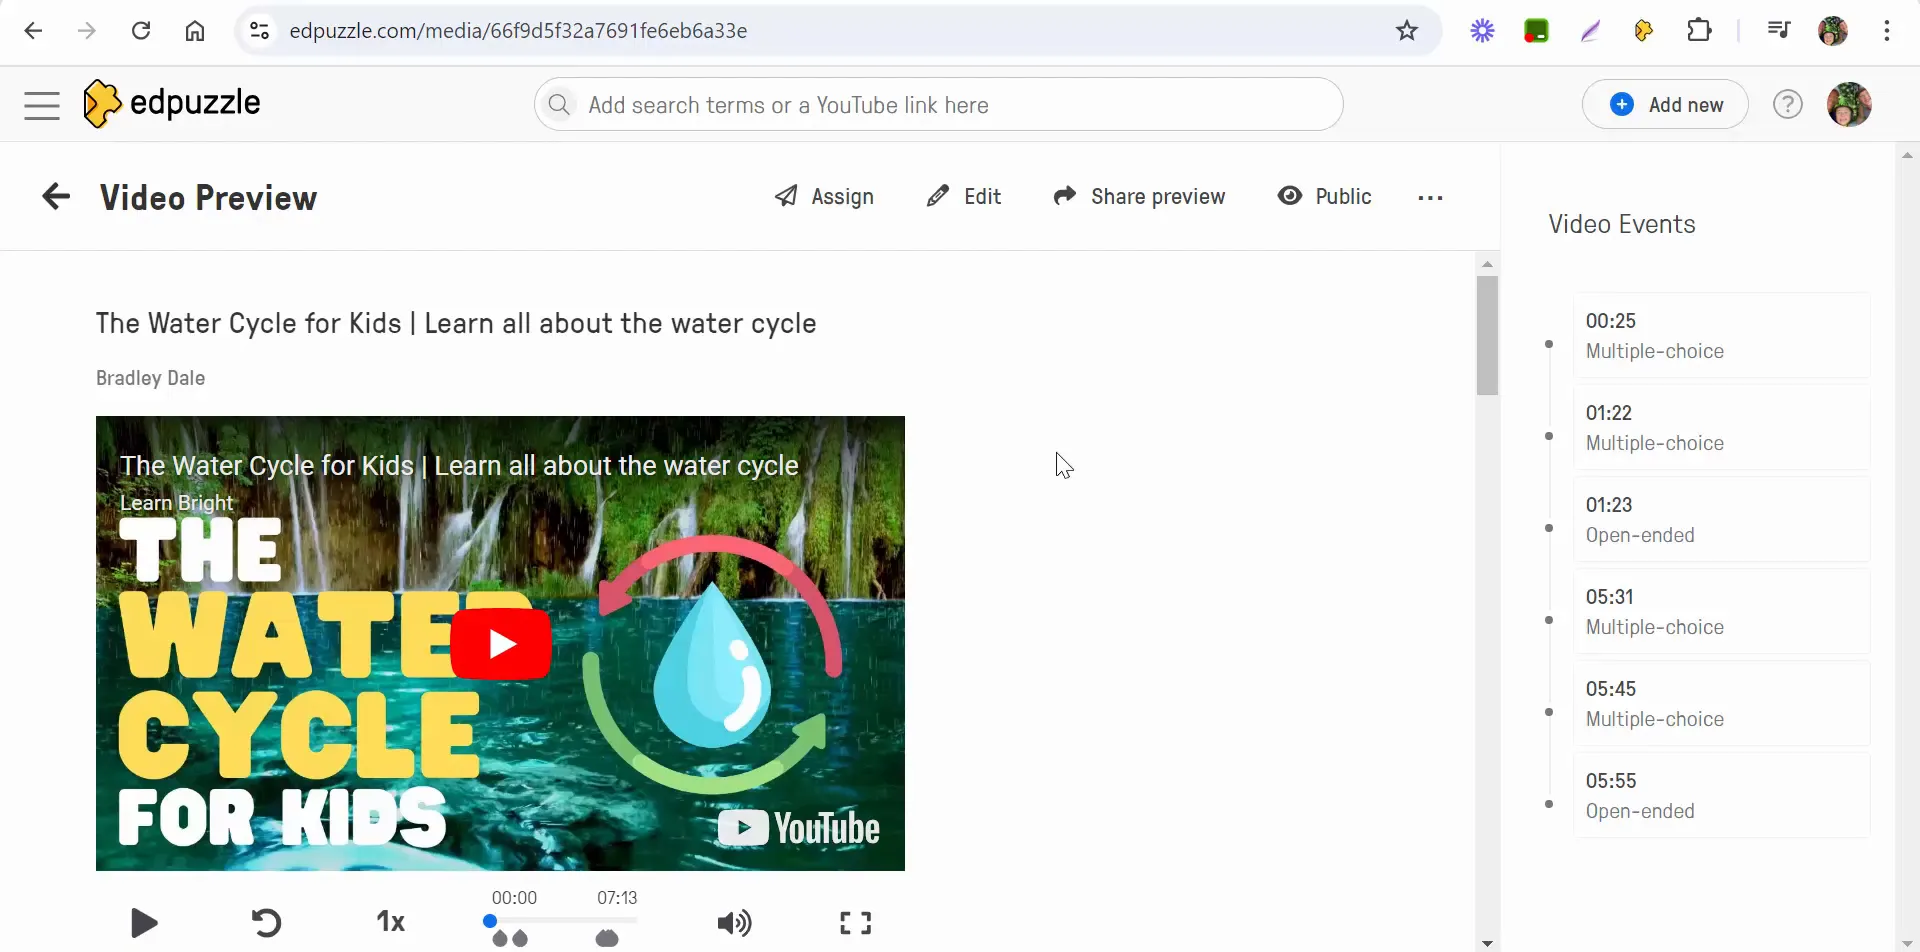
After reviewing your questions and making necessary adjustments, you can finalize your assignment. This includes sharing it, changing it to private, duplicating it, or moving it to a different folder or playlist.

Finalizing the Edpuzzle assignment

Once everything is set, you can assign it to your class. This feature makes it incredibly powerful, allowing you to create interactive lessons quickly and efficiently.

Benefits of Using Edpuzzle's AI Features

Utilizing Edpuzzle's AI Question Generator offers several advantages:

  • Time-saving: Quickly generate questions without needing to create them from scratch.
  • Increased Engagement: Interactive questions keep students focused and encourage participation.
  • Customizable Assessments: Tailor questions to fit your teaching style and objectives.
  • Data Insights: Gain insights into student understanding through their responses to the generated questions.

Conclusion

Edpuzzle’s AI Question Generator is a game-changer for educators looking to enhance their video lessons. By allowing teachers to easily create multiple-choice and open-ended questions, it streamlines the process of developing interactive content that engages students. As you incorporate this tool into your teaching practice, you’ll find that it not only saves time but also fosters a more interactive and effective learning environment.

If you have any questions or need further assistance with Edpuzzle, don’t hesitate to reach out. Happy teaching!
Thursday, August 22, 2024

Edpuzzle How to quickly create an Edpuzzle assignment using a YouTube video.


In the world of education, technology has opened up new avenues for engaging students and enhancing their learning experiences. One such tool that has gained popularity among educators is Edpuzzle. This platform not only allows teachers to customize videos but now also includes an exciting feature that leverages artificial intelligence to generate questions. In this blog post, we will explore how to use Edpuzzle's AI question generator effectively, making video lessons more interactive and thought-provoking for students.

Getting Started with Edpuzzle

Before diving into the AI question generation feature, let’s briefly discuss how to get started with Edpuzzle. If you’re new to the platform, you’ll first need to create an account. Once logged in, the interface is user-friendly, guiding you through the process of uploading or linking to existing videos.

Linking to a YouTube Video

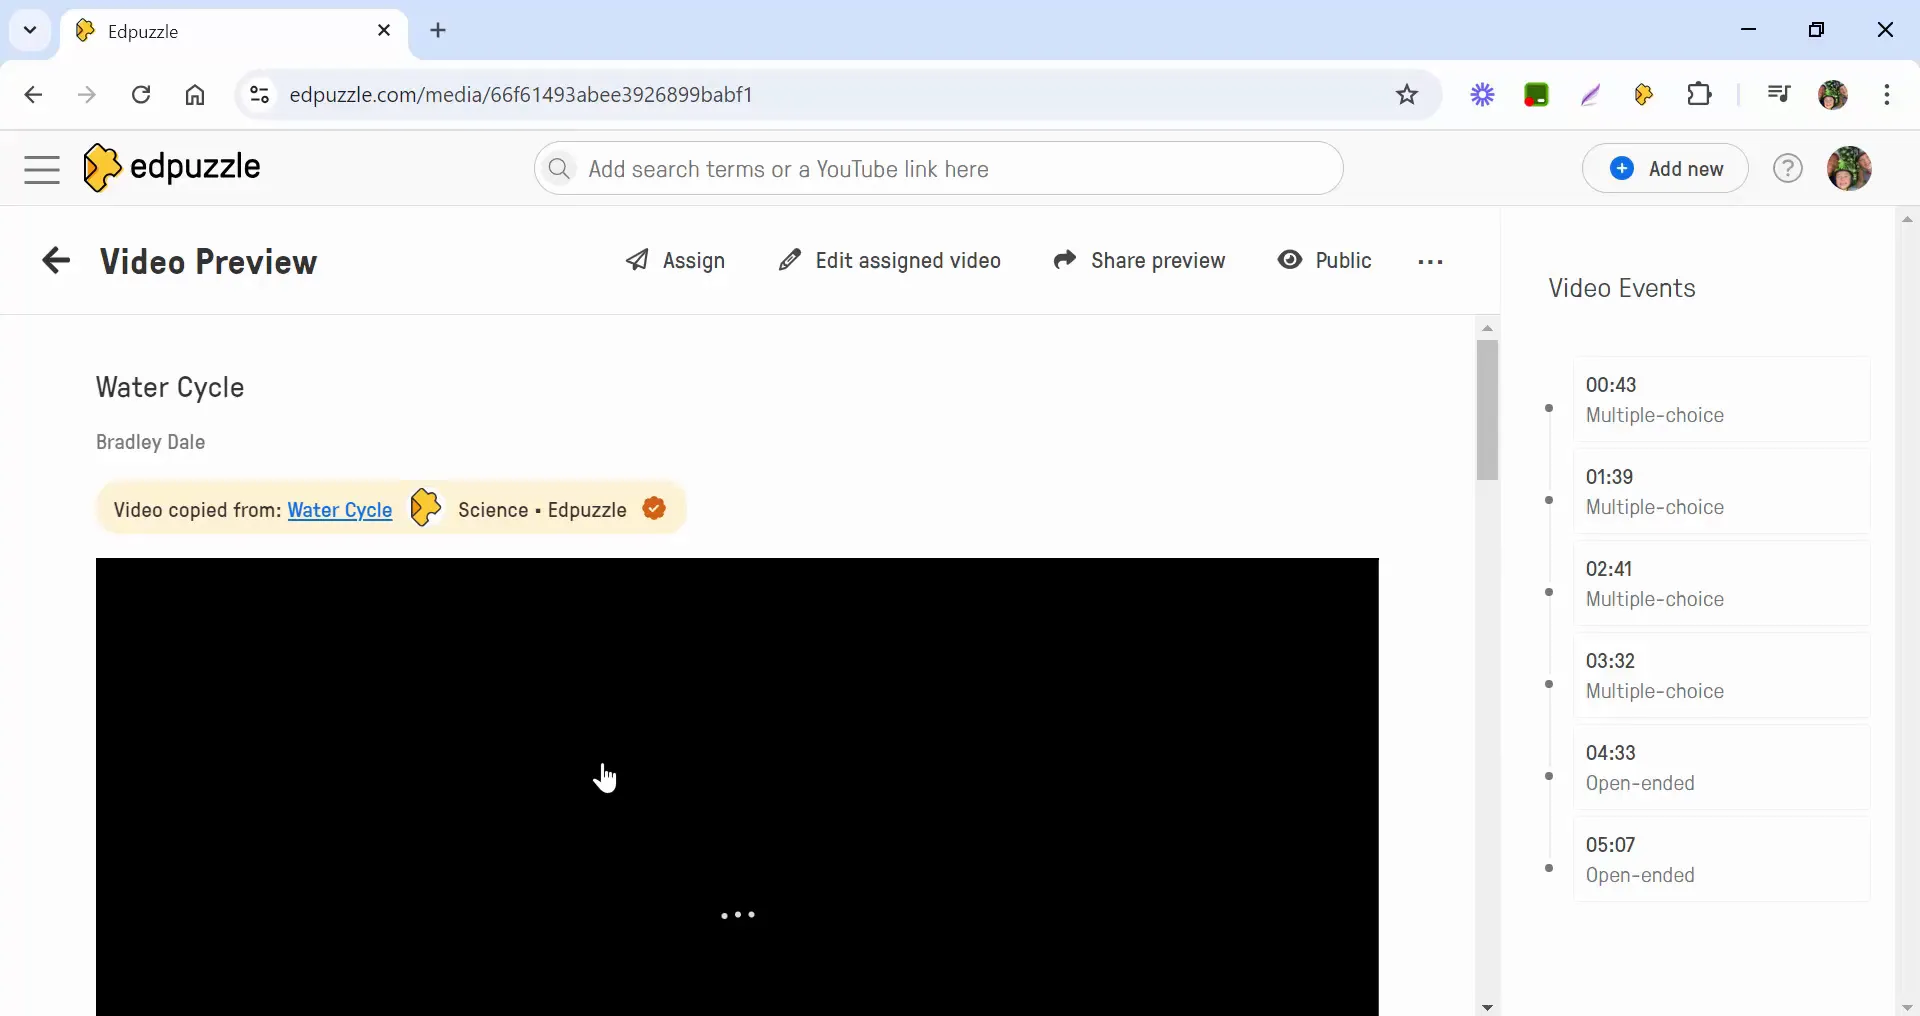
The first step is to paste in a YouTube link. This functionality allows teachers to utilize a vast library of educational content available on YouTube. In our example, we’ll be using a video about the water cycle.

Pasting a YouTube link in Edpuzzle

Once you have pasted the link, you can edit the video by cutting sections if necessary. This is done simply by dragging over the parts of the video you’d like to cut. For our example, we will keep the entire video intact, allowing students to experience the full content.

Utilizing the AI Question Generator

One of the standout features of Edpuzzle is the AI question generator. This tool is currently in beta but offers an innovative way to create assessments based on video content. Teachers can select the option to generate questions, choosing between multiple choice, open-ended questions, or both.

Selecting AI question generator options

Generating Questions

When generating questions, Edpuzzle automatically provides a list of questions along with their timestamps in the video. For instance, at the 25-second mark, a question might pop up asking whether “there is no new water on Earth.” This feature not only saves time but also ensures that the questions are relevant to the content being presented.

Generated questions with timestamps

Editing Questions

After the questions are generated, you have the option to edit them. You can modify the wording, change the answer choices, or delete questions that you feel may not fit well. This flexibility allows teachers to tailor the questions to their specific classroom needs.

Editing generated questions

Finalizing Your Edpuzzle Assignment

Once you are satisfied with the questions, you can proceed to finalize the assignment. Click continue to move on through the video, or finish if you’re content with the current setup. This process is straightforward and user-friendly, making it easy for educators to create engaging content.

Sharing and Assigning the Video

After finalizing your video and questions, you have several options for sharing. You can keep the video private, share a preview, or assign it directly to your class. This feature allows for seamless integration into your teaching workflow, whether it’s for remote learning or in-person instruction.

Assigning the video to a class

Why Use Edpuzzle's AI Features?

Incorporating Edpuzzle's AI question generation into your teaching strategy can significantly enhance student engagement. Here are a few reasons why this feature is beneficial:

  • Time-Saving: Automatically generated questions save educators valuable time when preparing lessons.
  • Interactive Learning: Engaging students with questions throughout the video promotes active learning.
  • Assessment Insights: Teachers can gain insights into student understanding and misconceptions through the responses collected.

Conclusion

Edpuzzle's AI question generation is a powerful tool for educators aiming to enhance their video lessons. By leveraging technology, teachers can create a more interactive and engaging learning environment. Whether you're using it for remote learning or in the classroom, this feature can help you connect with your students in a meaningful way.

If you have any questions or need further assistance with Edpuzzle, don’t hesitate to reach out. Happy teaching!
Wednesday, August 21, 2024

Edpuzzle How to add new students to your class as well as where to find the gradebook and how to download the results.


Edpuzzle is a powerful tool for educators looking to enhance their teaching with engaging video content. In this blog post, we will explore how to manage class members and utilize the Gradebook feature effectively. By the end, you'll have a clear understanding of how to incorporate these tools into your teaching strategy.

Understanding Class Members in Edpuzzle

When you start using Edpuzzle, one of the first things you will need to do is manage your class members. This section is crucial for keeping track of your students and ensuring they have access to the materials they need.

Viewing Class Members

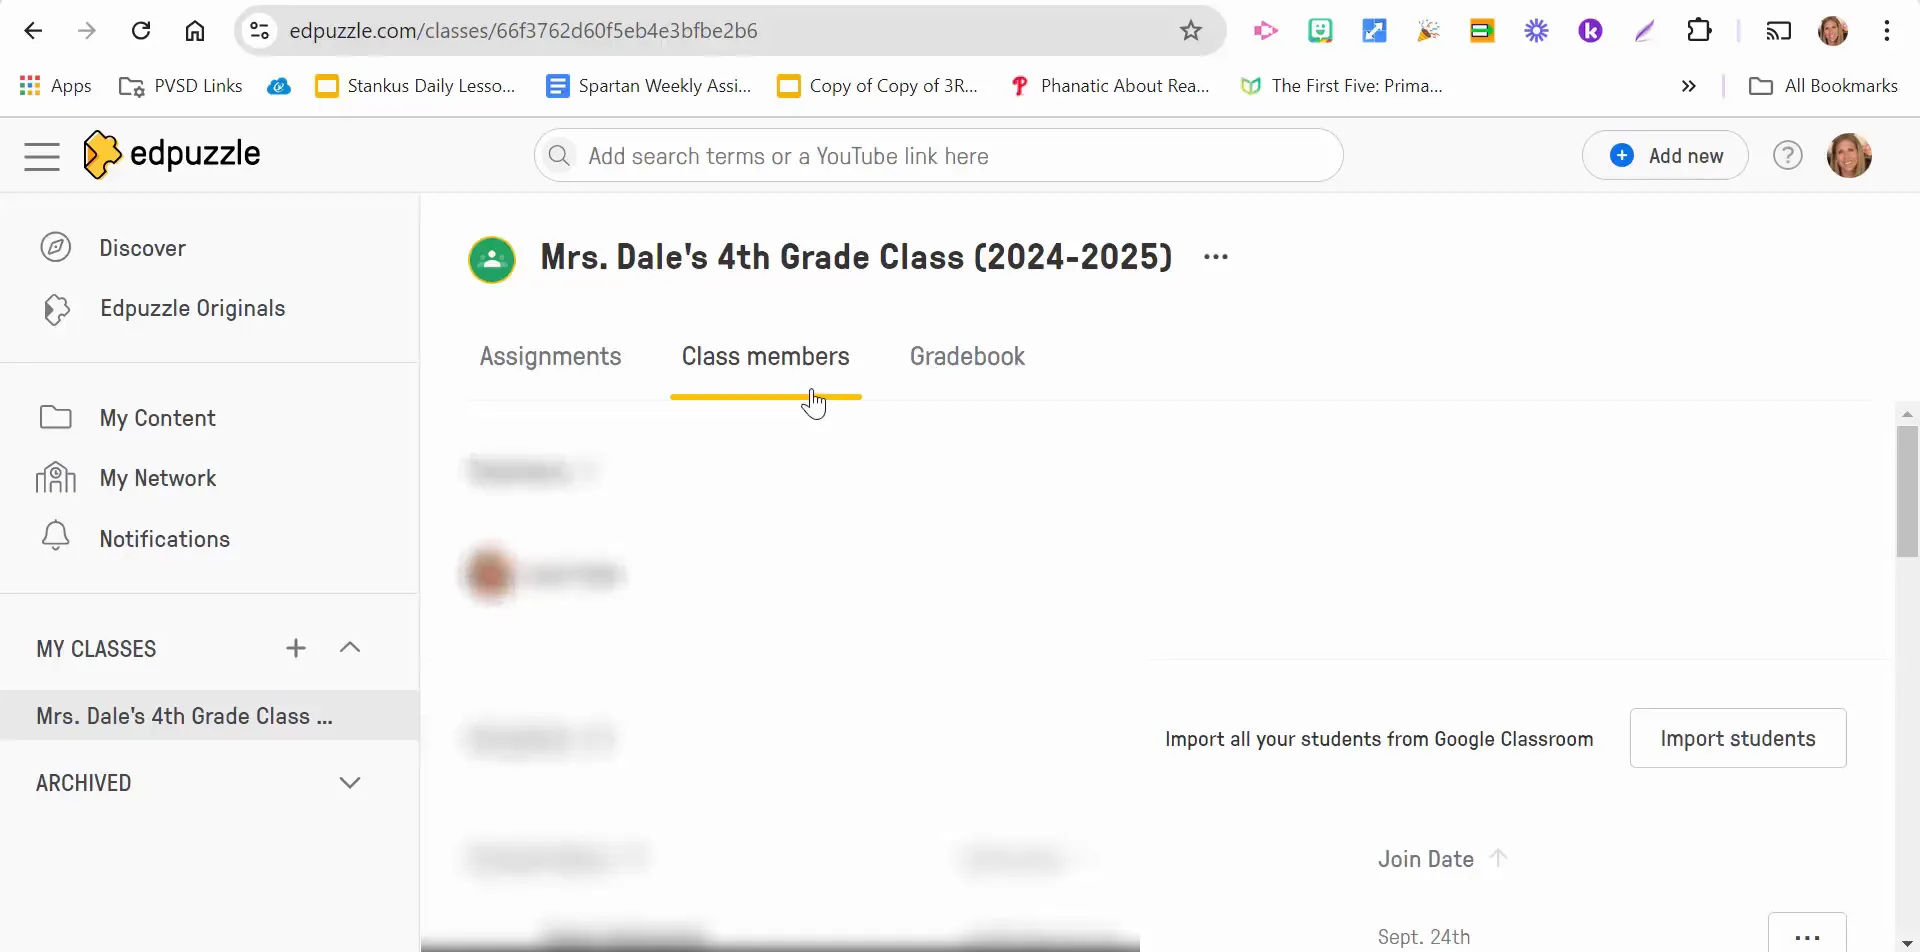
Once you navigate to the class members section, you can scroll through a list of all the students enrolled in your class. This feature enables you to quickly see who is participating and who might need a little extra attention.

Class members list in Edpuzzle

Importing Students from Google Classroom

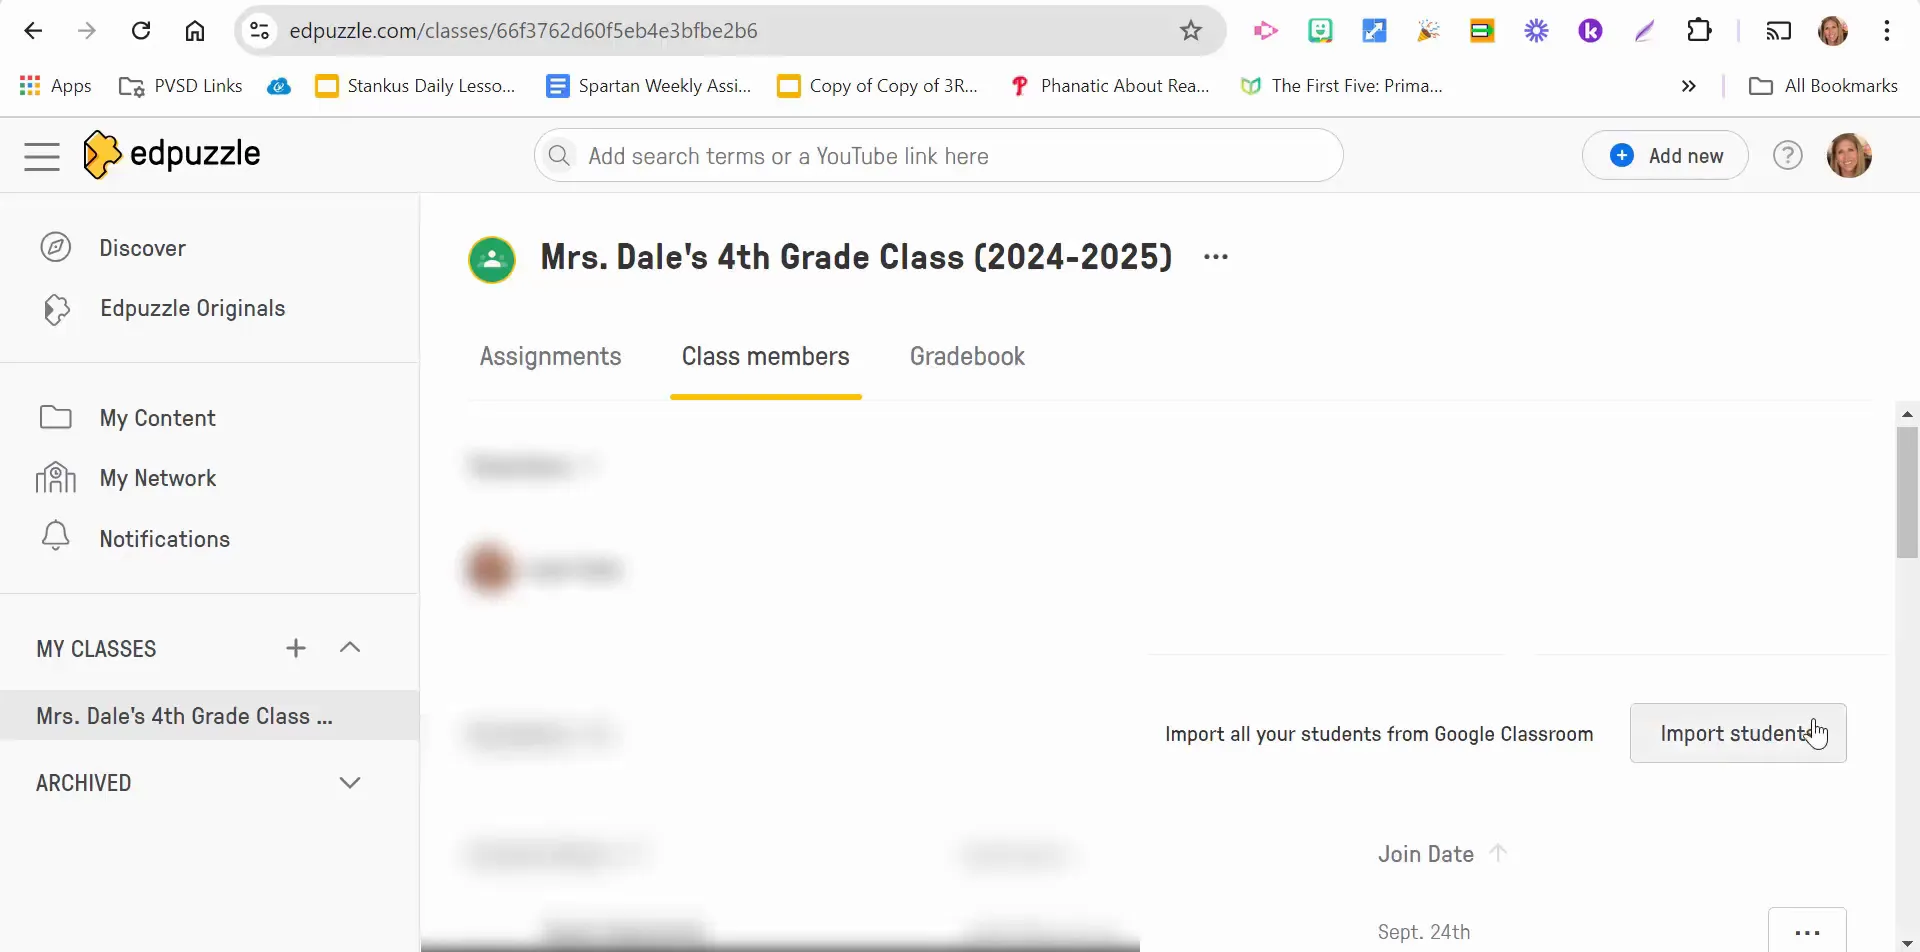
If you've recently added students to your Google Classroom, integrating them into Edpuzzle is a breeze. Simply select the option to import students, choose the specific classroom, and Edpuzzle will import those new students automatically.

This seamless integration saves you time and helps ensure that all your students are accounted for in Edpuzzle. It’s an efficient way to keep your rosters up to date without manual entry.

Importing students from Google Classroom

Exploring the Gradebook Feature

The Gradebook in Edpuzzle is a valuable resource for tracking student performance and assignment completion. It provides a comprehensive overview of how each student is doing in your class.

Accessing the Gradebook

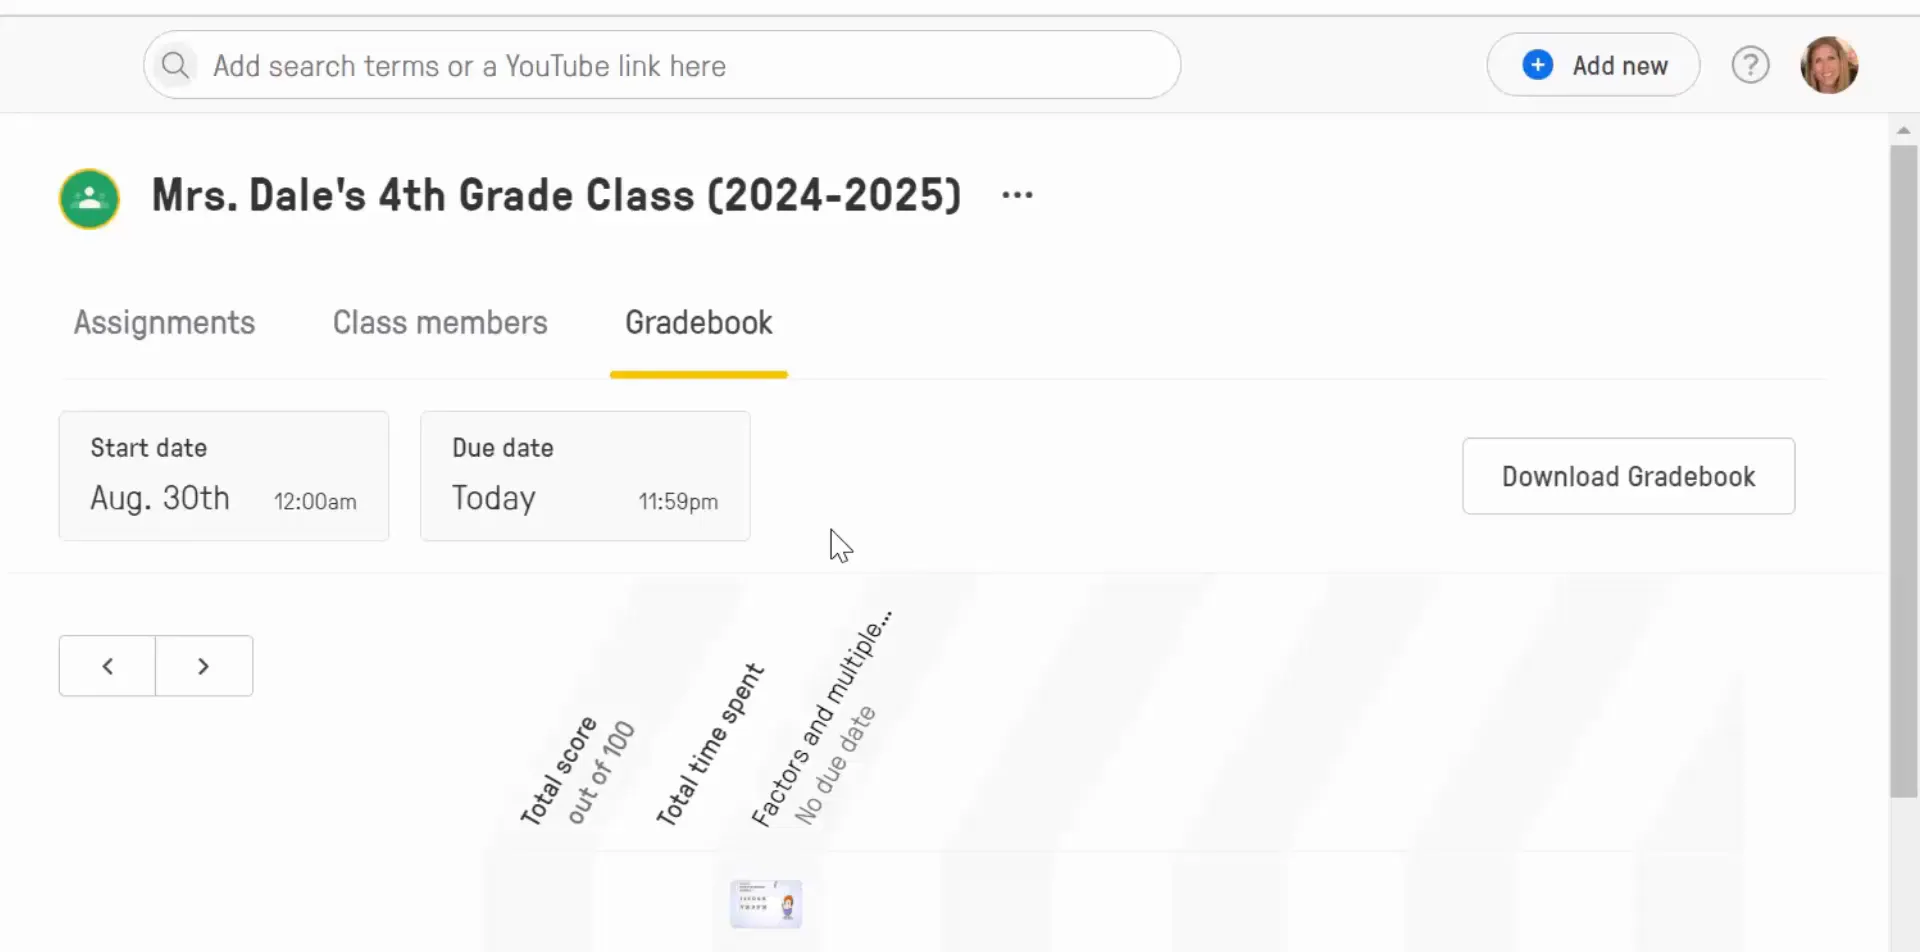
To access the Gradebook, simply select the Gradebook option within Edpuzzle. Here, you will find an overview of all the assignments you have assigned to your students. This includes their total scores, the time they spent on each assignment, and how they performed overall.

This feature is particularly useful for identifying which students may need additional support or which assignments may need to be revisited in class.

Gradebook overview in Edpuzzle

Downloading Your Gradebook

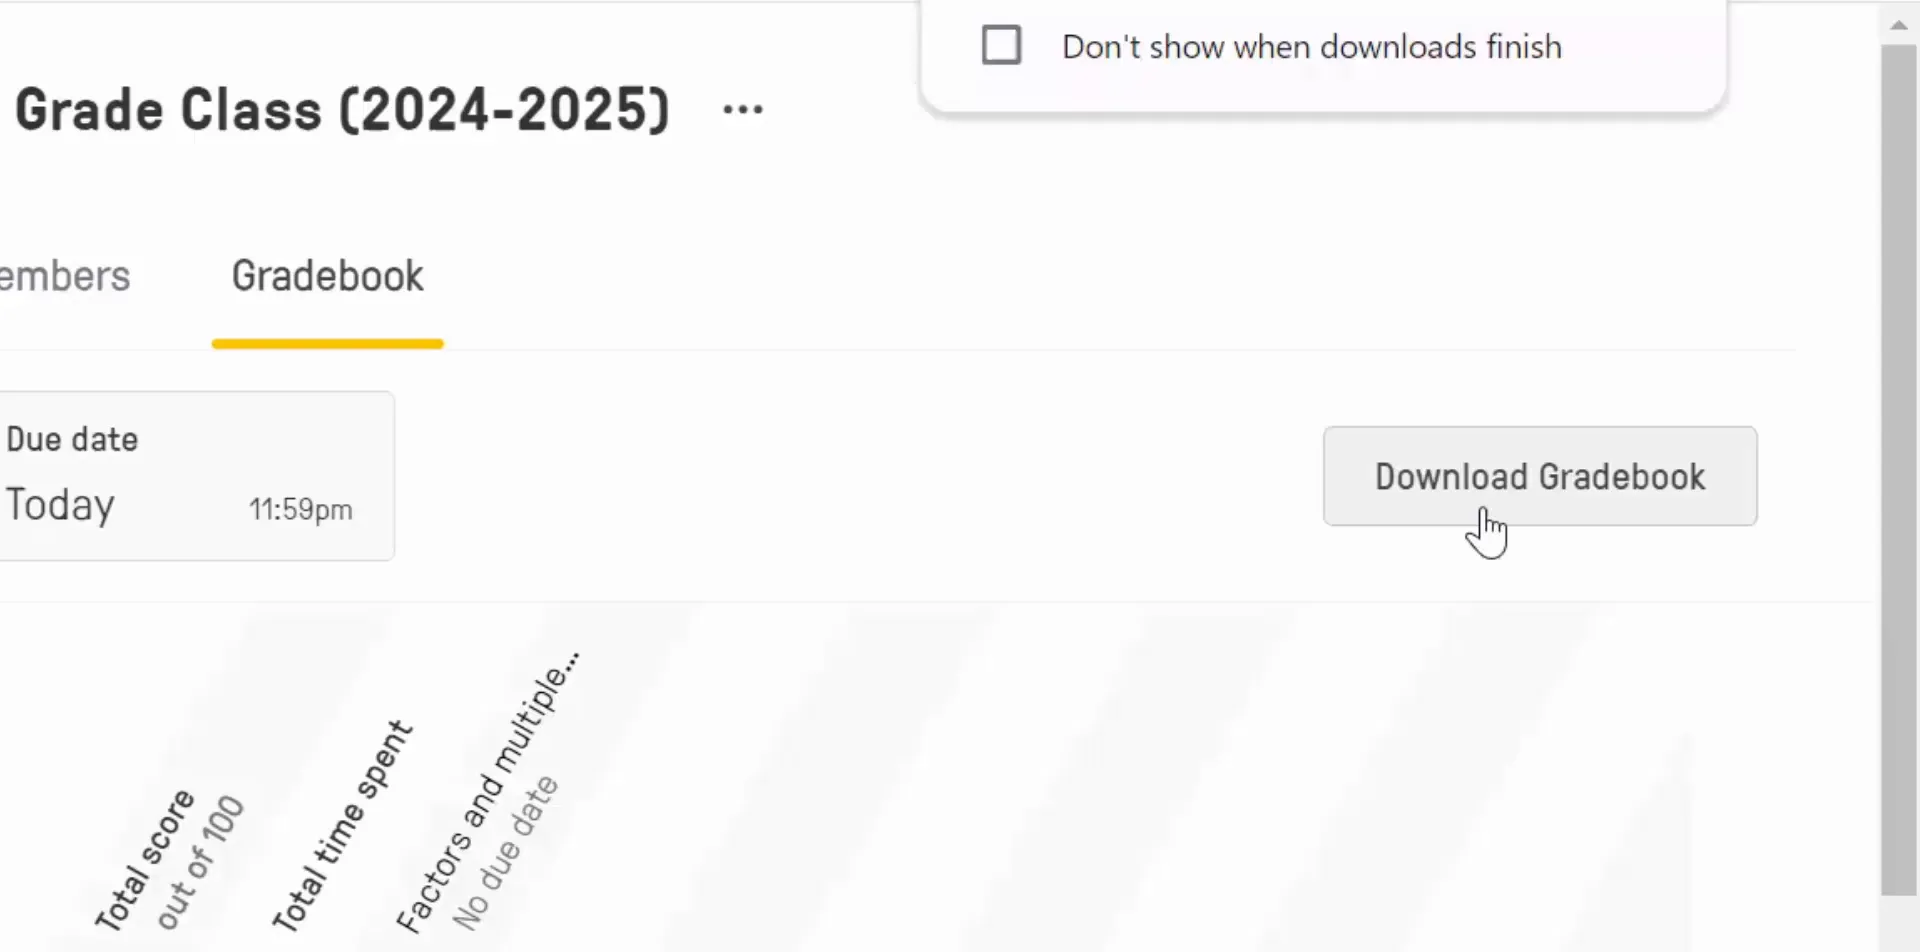
One of the best features of the Gradebook is the ability to download your data. You can export the Gradebook in Excel format, allowing you to manipulate the data as needed. This can be incredibly useful for generating reports or for keeping a record of student progress outside of the Edpuzzle environment.

Downloading your Gradebook also provides a way to maintain a backup of your student’s performance data, ensuring you have access to it whenever you need it.

Downloading the Gradebook in Edpuzzle

Conclusion

Managing class members and utilizing the Gradebook in Edpuzzle is essential for any educator looking to enhance their teaching with video content. By understanding how to import students from Google Classroom and effectively track their performance, you can create a more engaging and organized learning environment.

If you have any questions or need further assistance with Edpuzzle, feel free to reach out! Happy teaching!

Tuesday, August 20, 2024

Track Student Success with Edpuzzle: Progress, Grades, Attempts, and Submission Insights!


In today's digital learning environment, tracking student progress is essential for effective teaching. Edpuzzle offers a powerful platform to manage assignments, grades, and student submissions efficiently. This blog post will delve into how to navigate Edpuzzle’s features for monitoring student success, using real examples and practical tips.

Getting Started with Edpuzzle

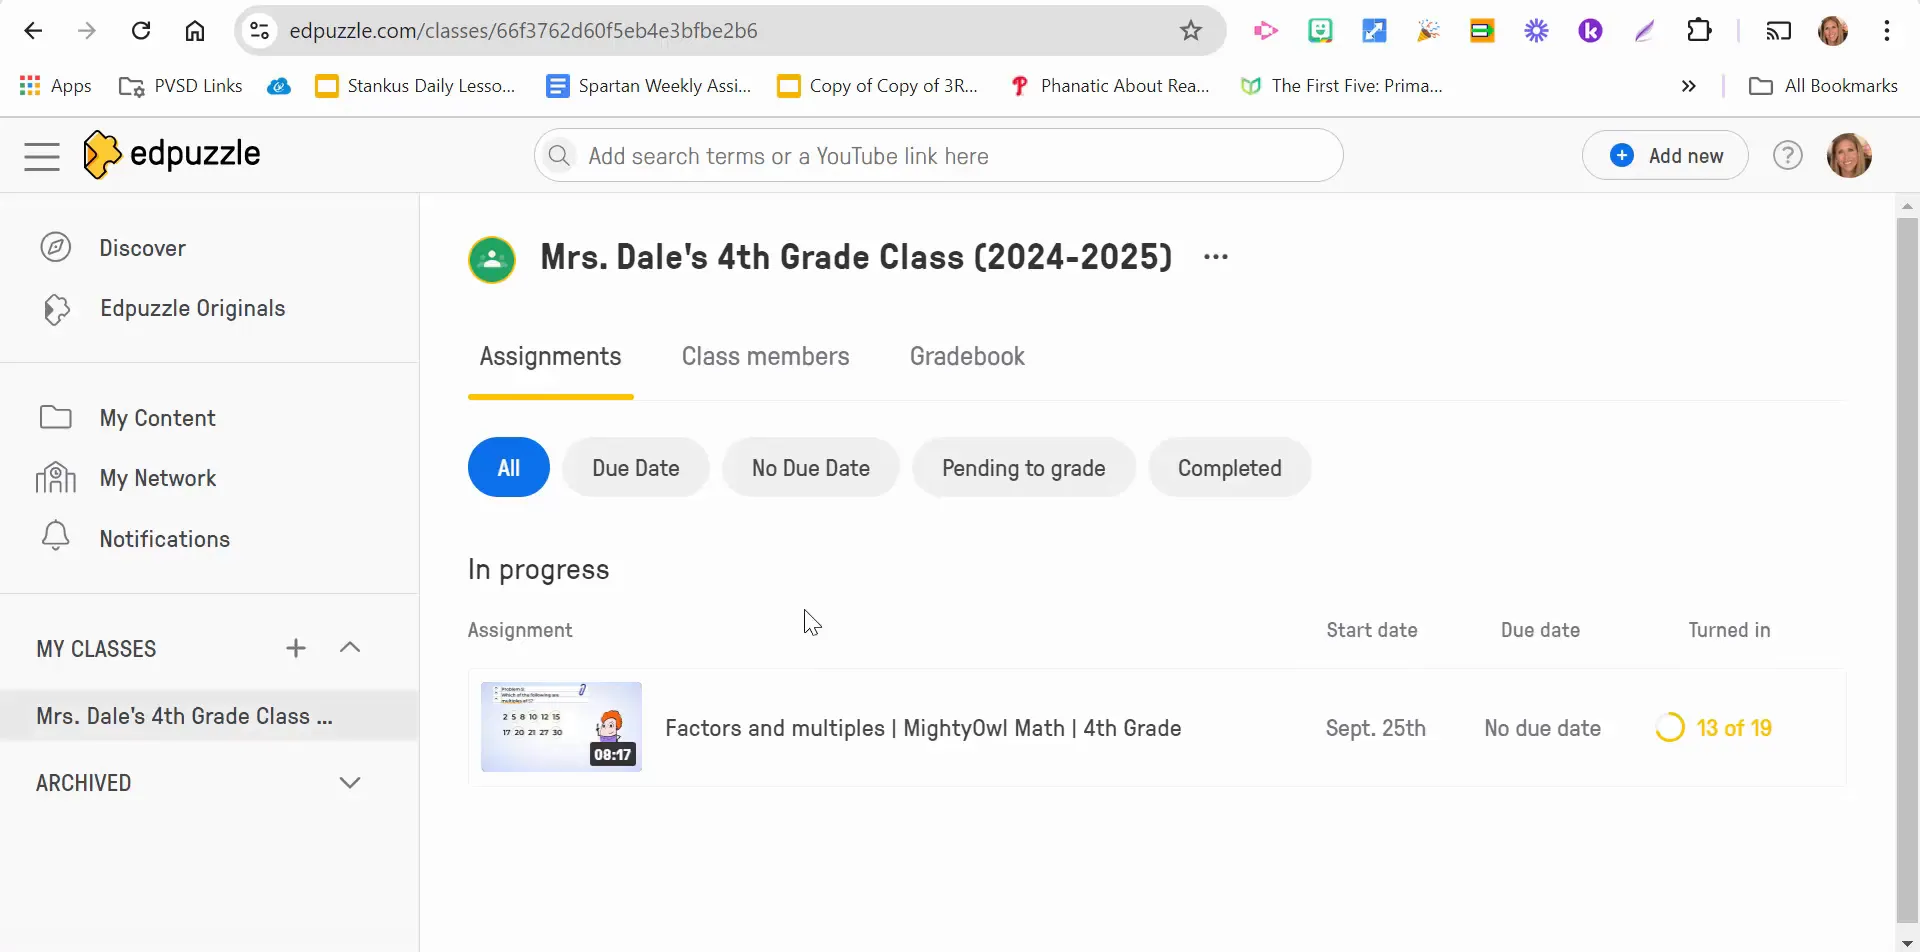
Edpuzzle allows teachers to create interactive video lessons that engage students while providing valuable insights into their learning progress. When you log into your Edpuzzle account, you’ll find a dashboard displaying your classes, assignments, and gradebook. Each of these components plays a crucial role in managing your students’ educational experience.

Edpuzzle dashboard overview

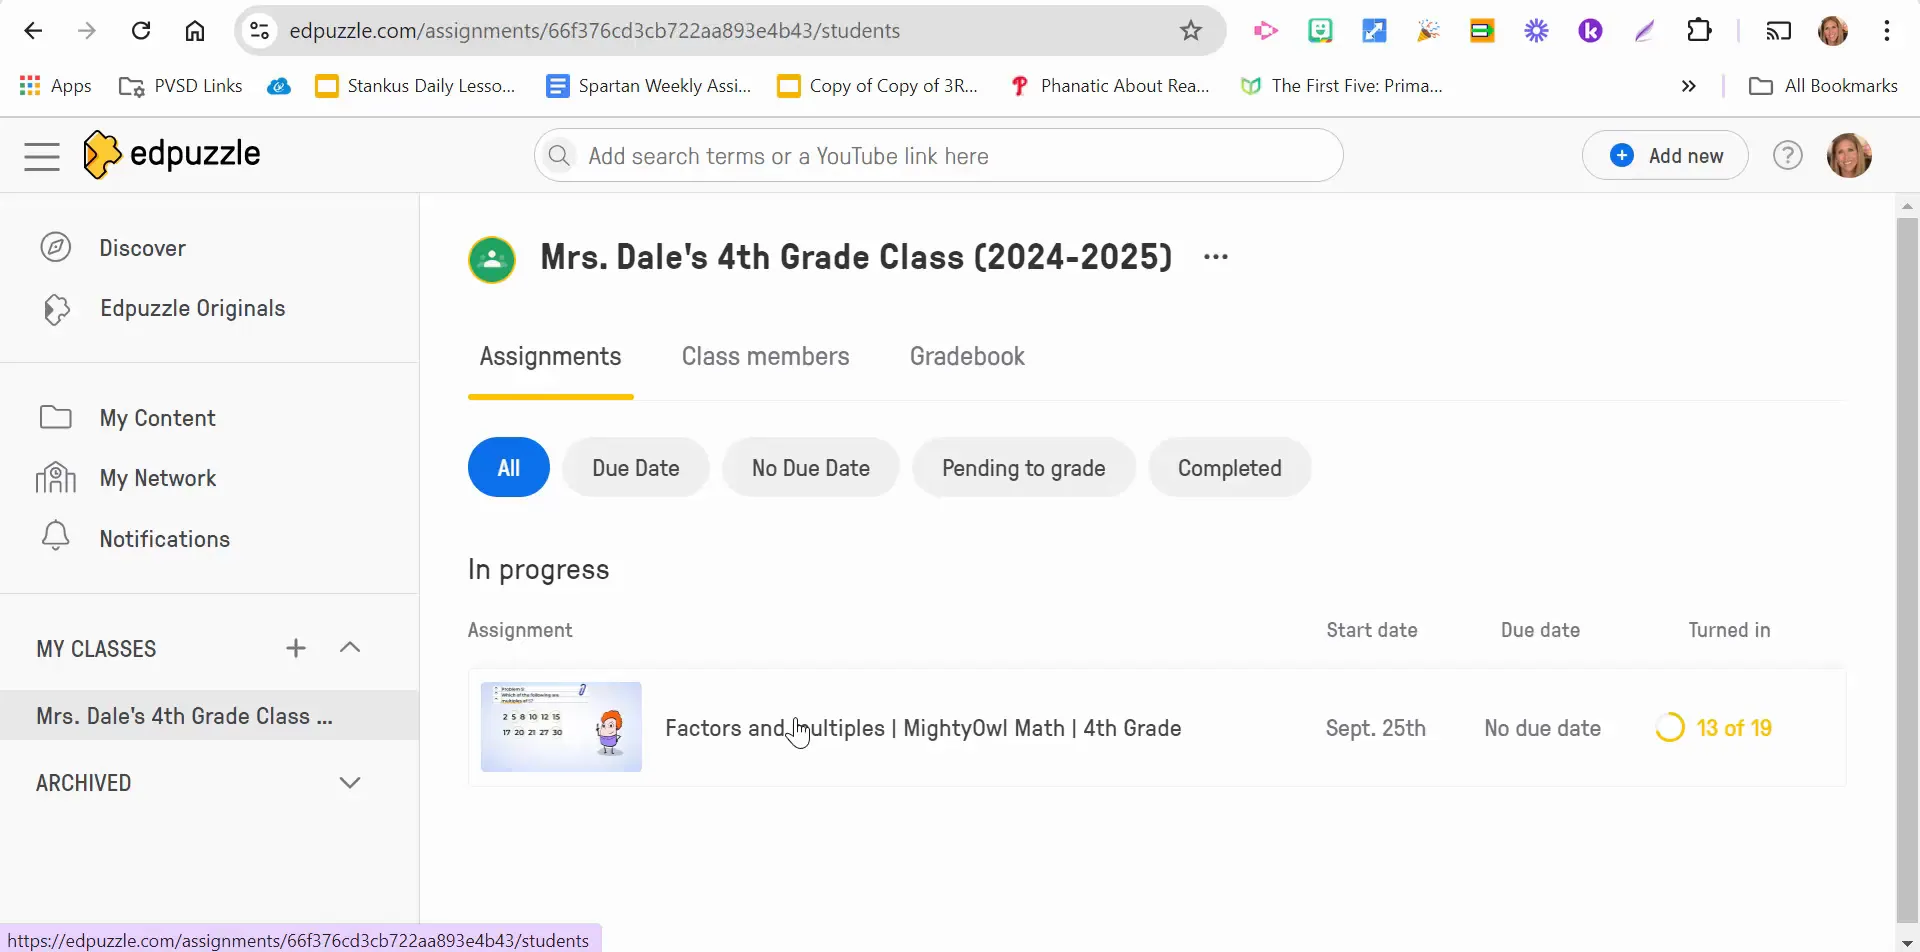
To illustrate, let’s take a look at a specific class setup. In this example, we’ll explore an assignment focused on the topic of factors and multiples. The interface is user-friendly, enabling teachers to easily navigate through various options. You can filter assignments based on due dates, which is helpful when managing multiple tasks simultaneously.

Exploring Assignments and Class Members

Once you select an assignment, you can view detailed information about your students. On the left side of the screen, you’ll see a list of all enrolled students, along with their submission statuses and grades. This feature allows you to monitor who has completed the assignment and who still needs to submit their work.

Assignment overview in Edpuzzle

Grades are displayed in order, from those who have not yet attempted the assignment to those who have completed it successfully. This real-time updating is particularly beneficial for keeping track of student engagement and performance. You’ll also find information on the number of attempts each student has made, which can indicate their understanding of the material.

Understanding Submission Statuses

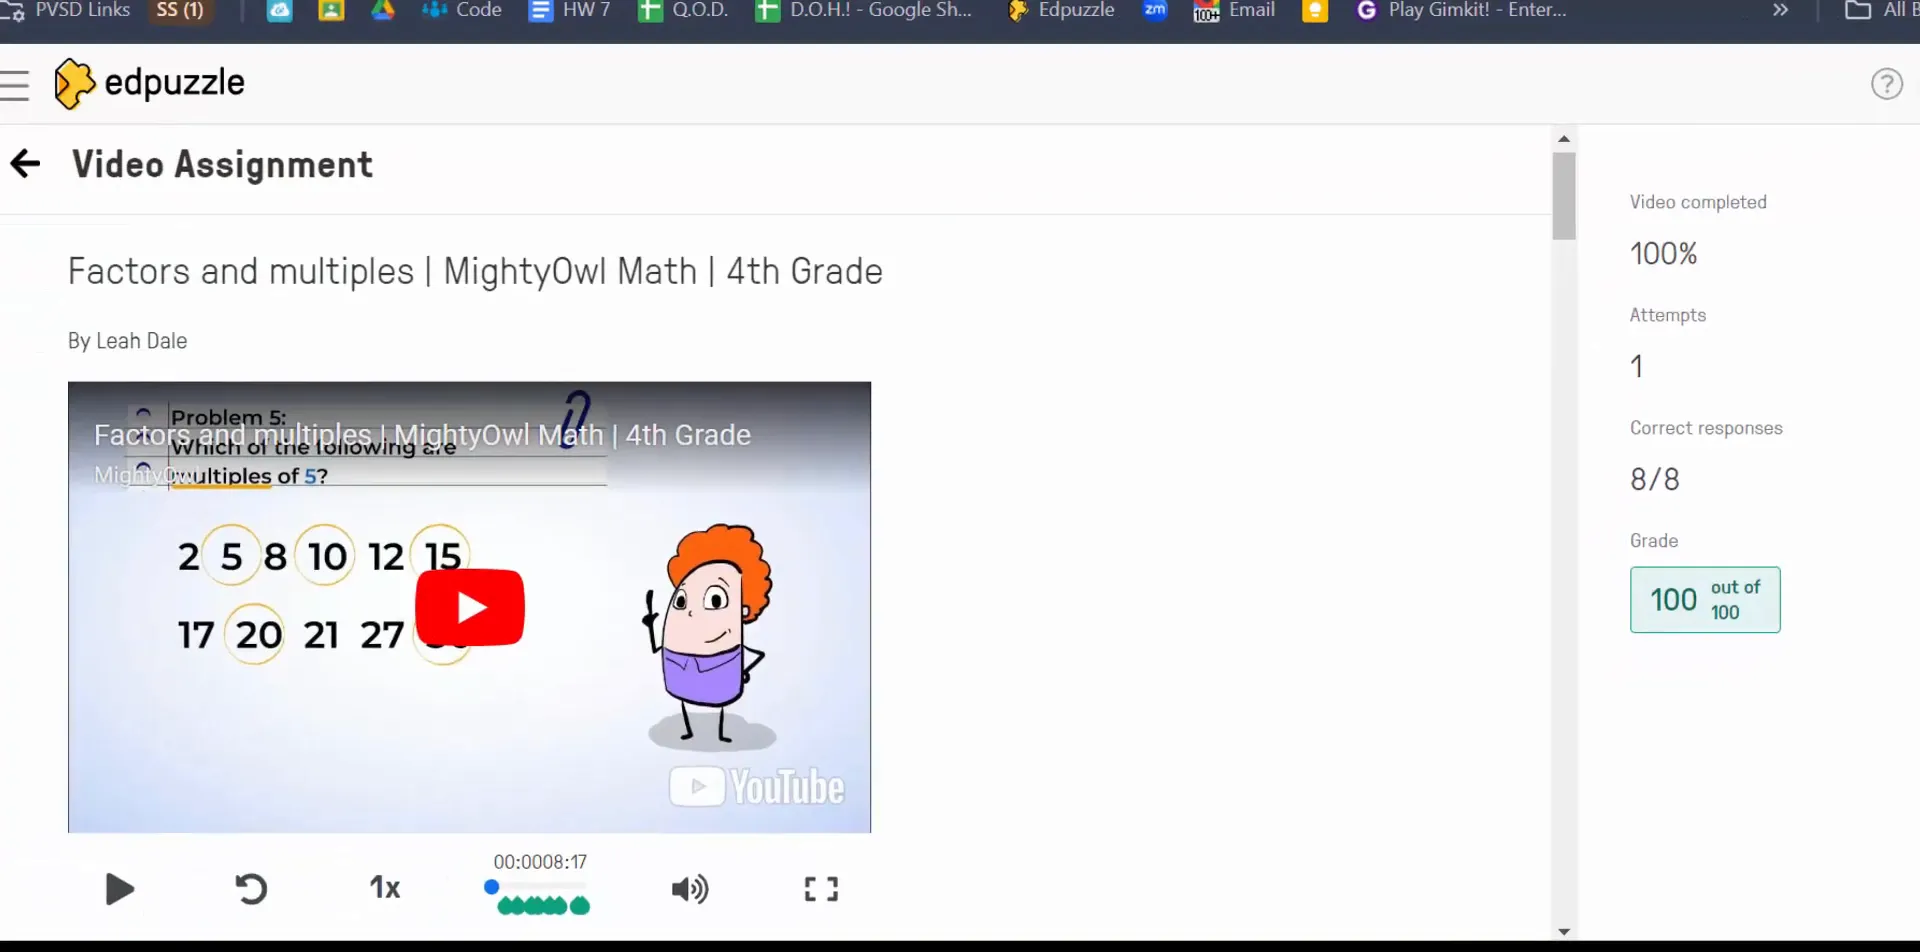
As students engage with the assignment, their progress is reflected in the system. For instance, if a student achieves a score of 100 out of 100, it’s essential to remind them that they need to watch the entire video to officially submit their work. This ensures that they fully engage with the material before finalizing their submission.

Student submission status and grades

Teachers can easily refresh the page to see updates in real-time. For example, if a student named Jax submits his work, the system will indicate the exact date of submission. This transparency helps both teachers and students keep track of deadlines and progress.

Resetting Student Progress

There may be times when a student needs to redo an assignment. Edpuzzle allows teachers to reset progress, which erases previous answers and watch history. This feature is particularly useful if a student feels they need to revisit the material for better understanding.

When resetting a student’s progress, they can start fresh and engage with the content again. This flexibility supports a growth mindset, encouraging students to learn from their mistakes and strive for improvement.

Viewing from the Student’s Perspective

To further understand the student experience, it’s helpful to visualize what happens when a teacher resets their progress. Upon logging back in, the student will find the assignment ready for them to retake. This seamless transition enhances the user experience and promotes ongoing learning.

Student view after resetting progress

Conclusion

Edpuzzle is a dynamic tool that helps teachers manage student assignments and track their progress effectively. By utilizing its features, educators can foster a more engaging learning environment while ensuring that each student receives the support they need to succeed. Whether you’re resetting progress for a student or monitoring grades, Edpuzzle provides the insights necessary for informed teaching decisions.

For any questions or additional tips on using Edpuzzle, feel free to reach out. Happy teaching!

Monday, August 19, 2024

Edpuzzle Live Mode! Transform Your Class with Edpuzzle Live Mode: Engage, Interact, Learn!


In today's educational landscape, engaging students effectively can be a challenge. However, tools like Edpuzzle's Live Mode are changing the game. This feature allows educators to create interactive video lessons that promote real-time engagement. In this post, we will explore how to utilize Edpuzzle Live Mode, its benefits, and provide a step-by-step guide to help you get started.

What is Edpuzzle Live Mode?

Edpuzzle Live Mode is an interactive way for teachers to present video content while allowing students to answer questions in real-time. This tool connects students' devices to a shared video experience, making learning more dynamic and engaging.

Setting Up Edpuzzle Live Mode

Getting started with Edpuzzle Live Mode is simple. Here’s a quick guide to help you through the process:

  1. Select Your Video: Choose a video that you want to use for your lesson. For instance, a video on the water cycle can be an excellent choice to illustrate the concept effectively.
  2. Assign the Video: Assign the video to your class by selecting the class from your Edpuzzle dashboard. Ensure you prevent skipping the video to keep students engaged.
  3. Post to Google Classroom: Share the assignment via Google Classroom. This integration allows for seamless communication and organization.
  4. Start Live Mode: Once everything is set, select the Live Mode option. Inform your students to open their devices and access the class.
Setting up Edpuzzle Live Mode

Engaging Students in Real-Time

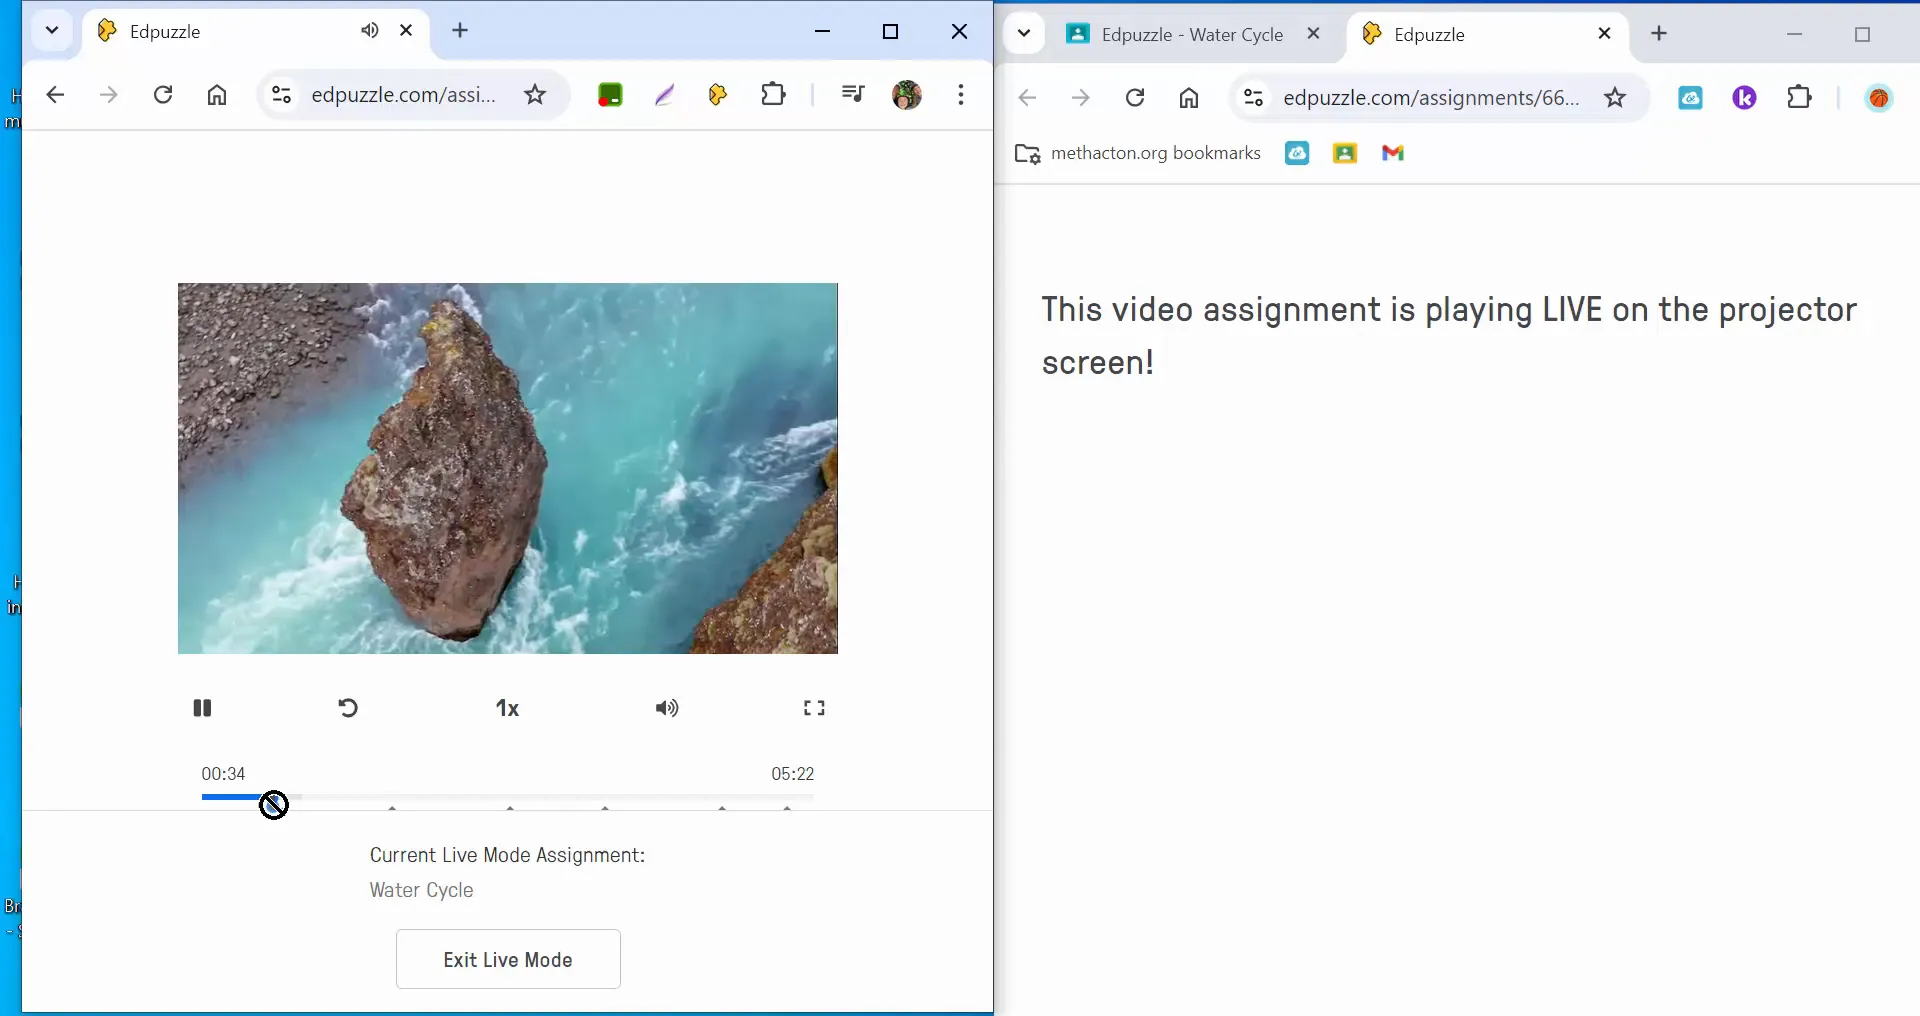
Once you start Live Mode, your students will see the video on their devices while you control the playback from your screen. Here’s how to engage them effectively:

  1. Begin Playback: Start the video and pause at relevant moments to discuss the content. This allows students to digest the information before moving on.
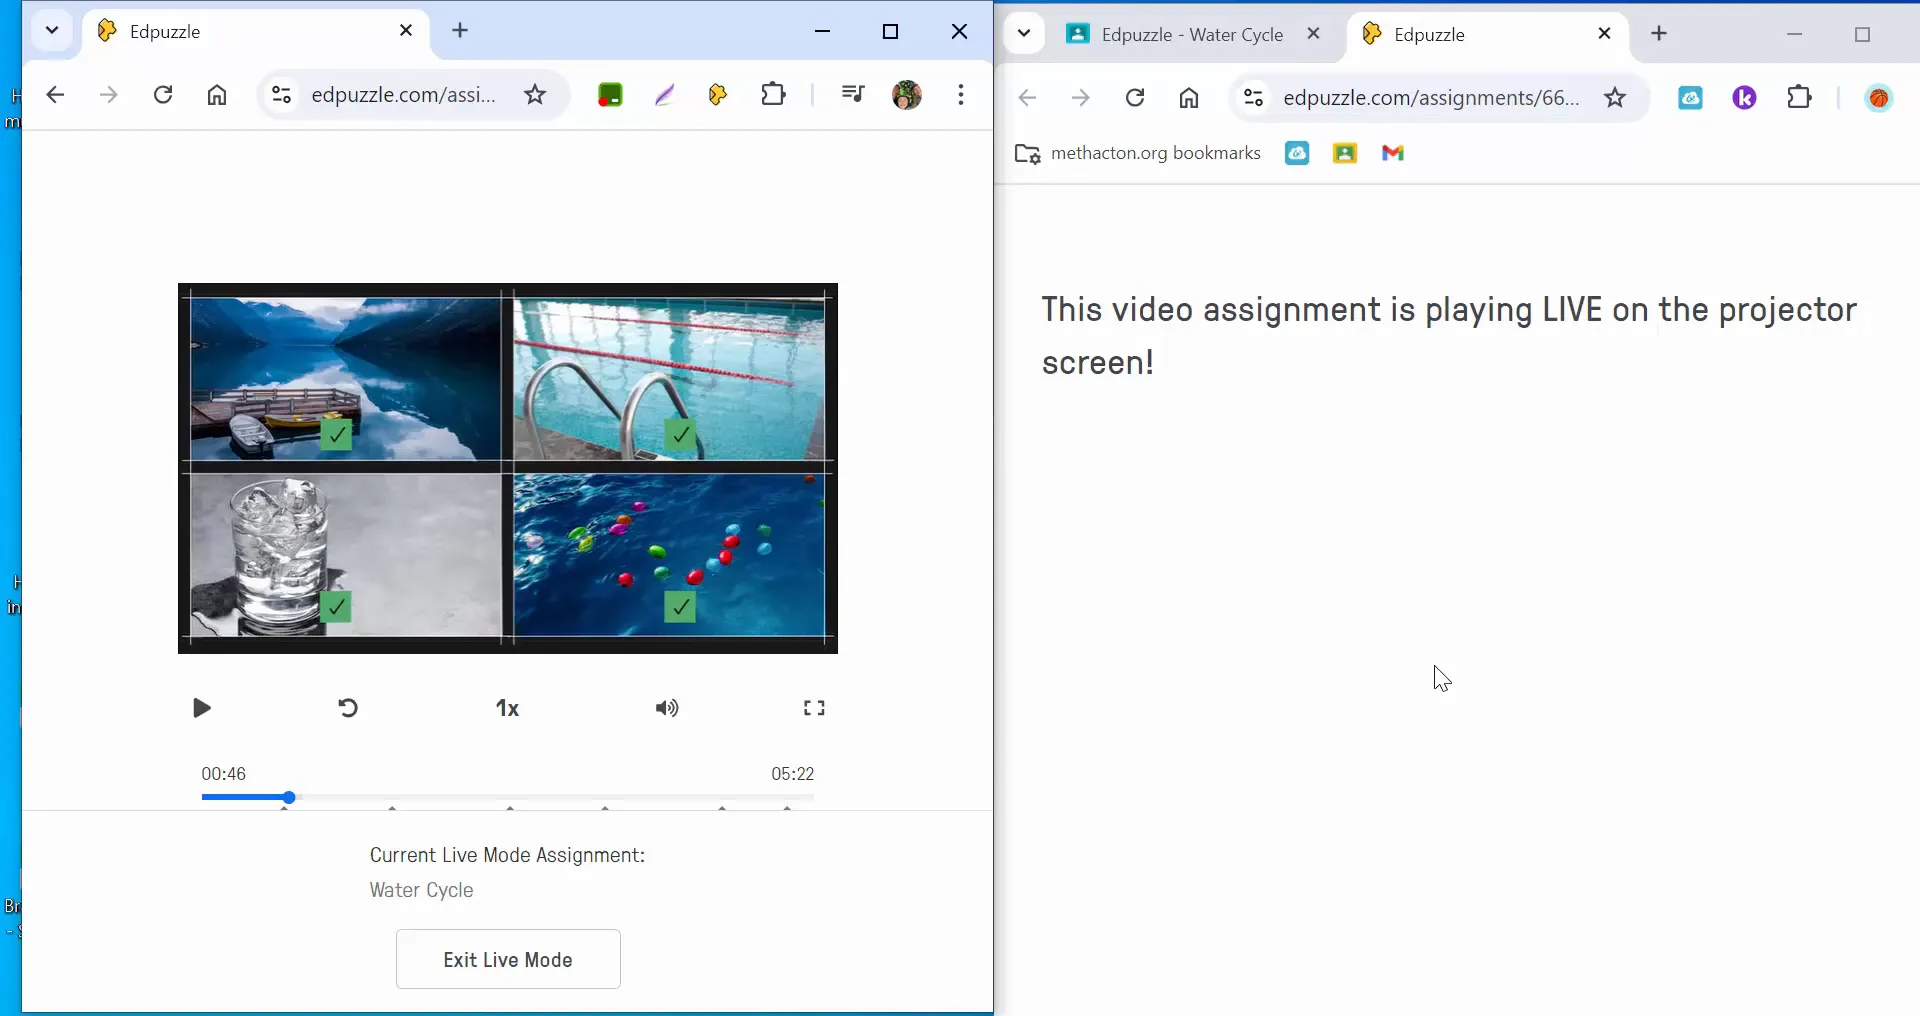
  2. Pose Questions: As the video plays, questions will pop up on students’ screens. Encourage them to think critically and submit their answers.
  3. Monitor Responses: After each question, review the responses as a class. You can highlight the percentage of correct answers without revealing individual student identities.
  4. Revisit Content: If many students struggle with a question, consider rewatching that segment of the video for better understanding.
Engaging students in real-time with Edpuzzle Live Mode

Benefits of Using Edpuzzle Live Mode

Edpuzzle Live Mode offers numerous advantages for both teachers and students:

  • Increased Engagement: Interactive videos keep students focused and involved in their learning process.
  • Immediate Feedback: Teachers can provide instant feedback based on student responses, helping identify areas that need reinforcement.
  • Collaborative Learning: Students can work in pairs or groups, promoting teamwork and discussion around the topic.
  • Flexible Learning Environment: The ability to pause and discuss allows for a more personalized learning experience.

Best Practices for Implementing Edpuzzle Live Mode

To maximize the effectiveness of Edpuzzle Live Mode, consider these best practices:

  1. Choose Relevant Content: Ensure the videos you select are relevant to your curriculum and engaging for your students.
  2. Prepare Questions Ahead of Time: Craft thoughtful questions that promote critical thinking and discussion.
  3. Encourage Participation: Foster a classroom culture where students feel comfortable sharing their thoughts and asking questions.
  4. Reflect on Lessons: After each session, take time to reflect on what worked well and what could be improved for next time.

Conclusion

Edpuzzle Live Mode is a powerful tool that can transform your classroom experience. By engaging students with interactive video lessons, you can enhance their understanding of complex topics while fostering a collaborative learning environment. As you implement this tool, remember to adapt your approach based on student feedback and learning outcomes.

If you have any questions or need further assistance, feel free to reach out. Happy teaching!

Conclusion and summary of Edpuzzle Live Mode benefits

Sunday, August 18, 2024

Edpuzzle How to create and share a playlist.


Edpuzzle is a fantastic tool for educators looking to create interactive video lessons. One of its most useful features is the ability to create playlists, which allows teachers to curate a series of videos that students can watch in a sequence or at their own pace. In this post, we’ll explore how to effectively create and manage playlists in Edpuzzle, ensuring your students have an engaging learning experience.

Getting Started with Playlists

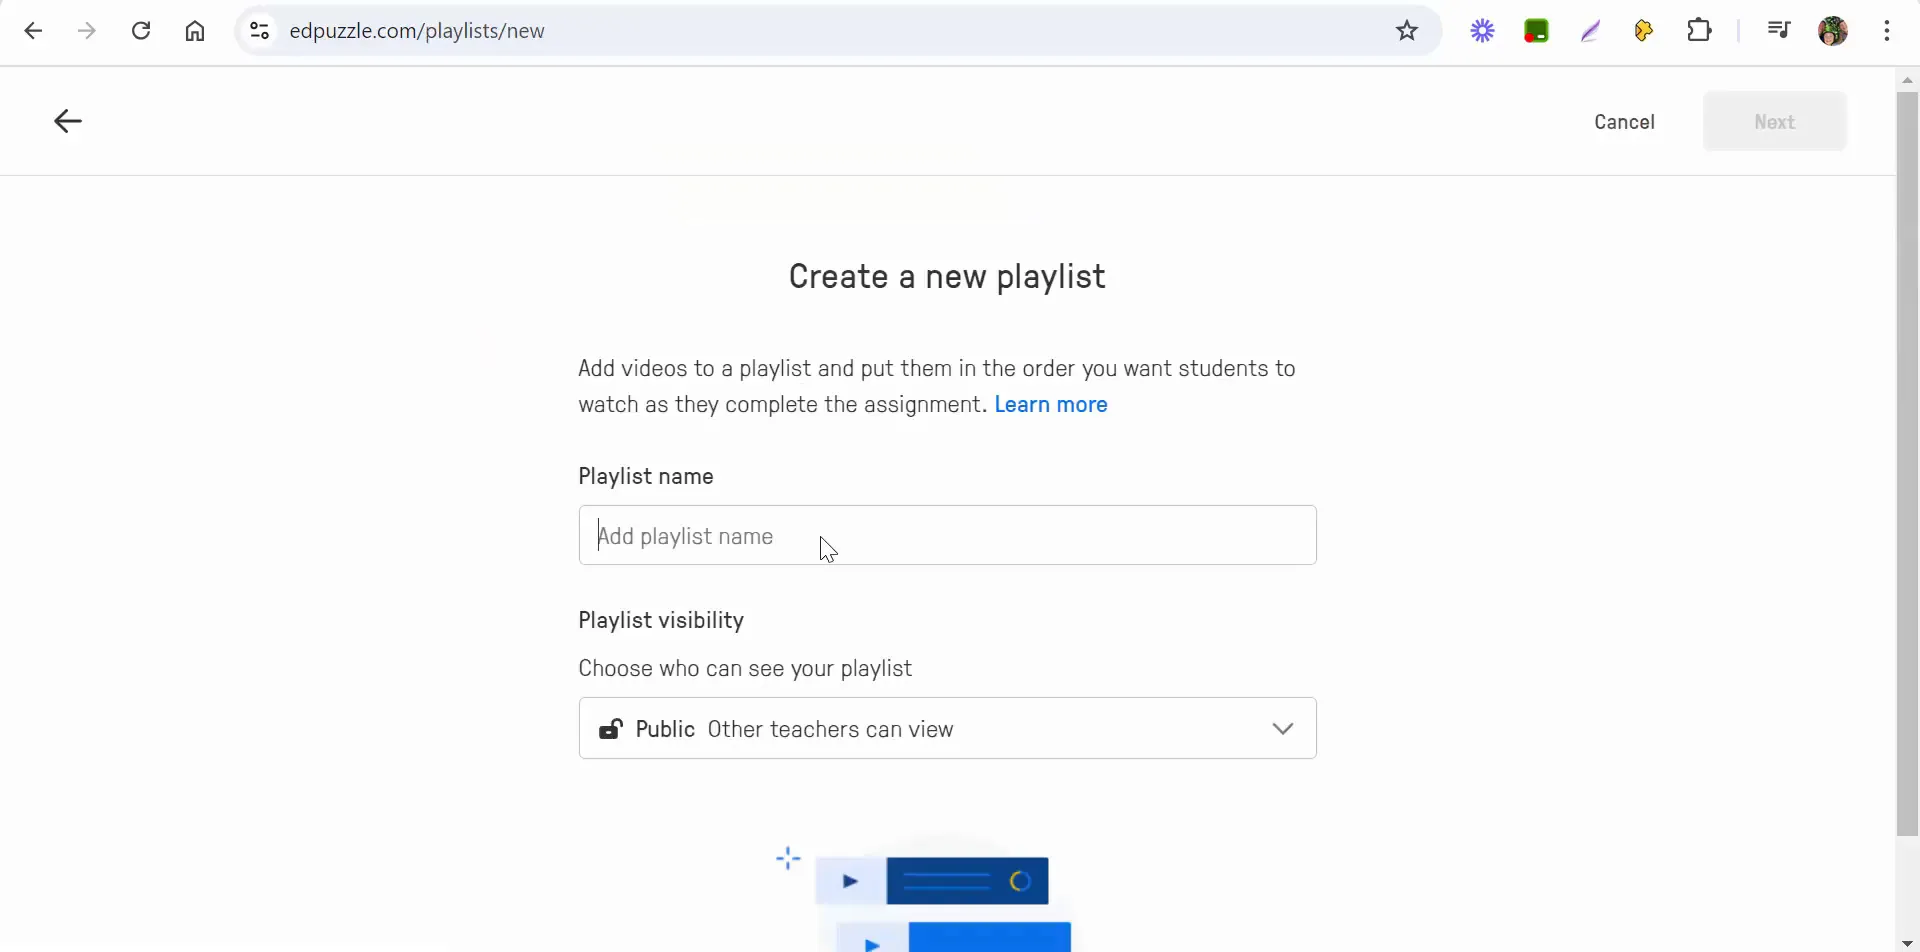
To begin, log into your Edpuzzle account and navigate to "My Content." This is where you can create your playlists. Click on the "Create a Playlist" button, and you’ll be prompted to name your playlist. For this example, we’ll name it “Revolutionary War.” You also have the option to keep it public or private. Keeping it public allows other educators to find and utilize your playlist.

Creating a new playlist in Edpuzzle

Organizing Your Playlist

Once you’ve named your playlist, you can start adding videos. You can sort through your content by newest, oldest, or search for specific videos. This makes it easy to find the videos you want to include in your playlist. Select the videos you want, and then click on "Create a Playlist."

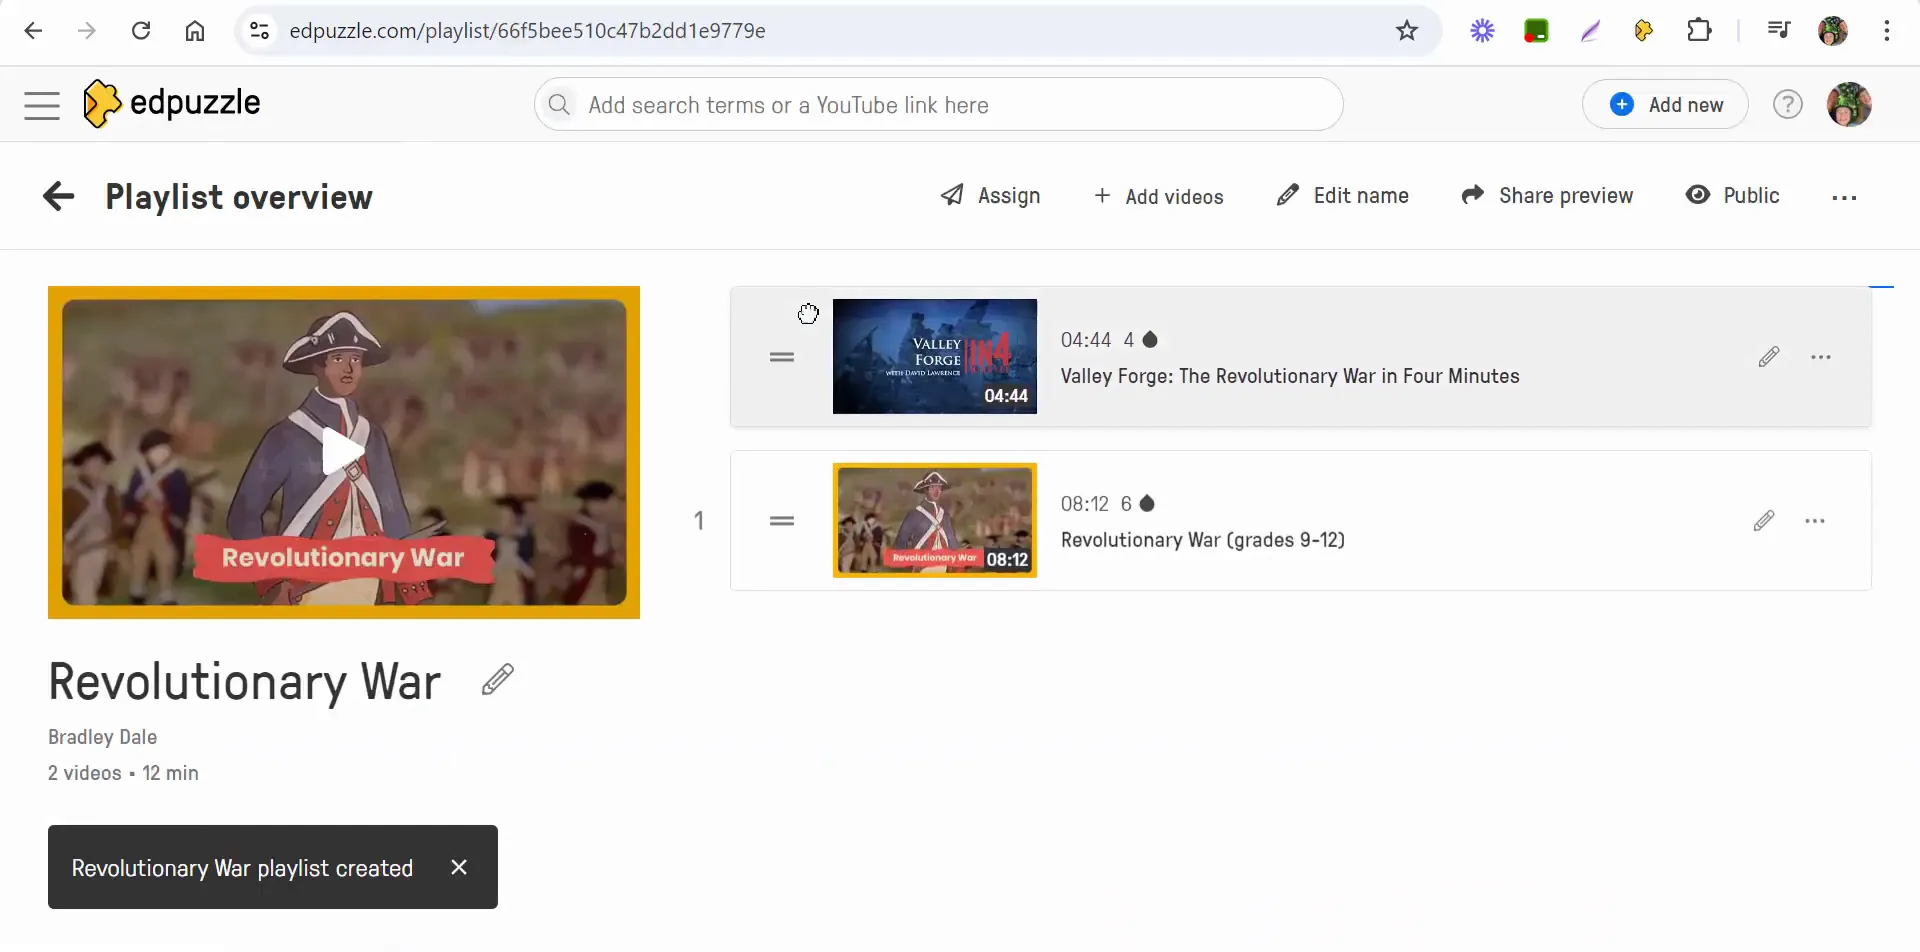
After you create the playlist, you can further organize your videos. You can move videos around to set the order in which students will view them. This flexibility allows you to tailor the learning experience to best fit your educational goals.

Organizing videos in a playlist

Editing Your Playlist

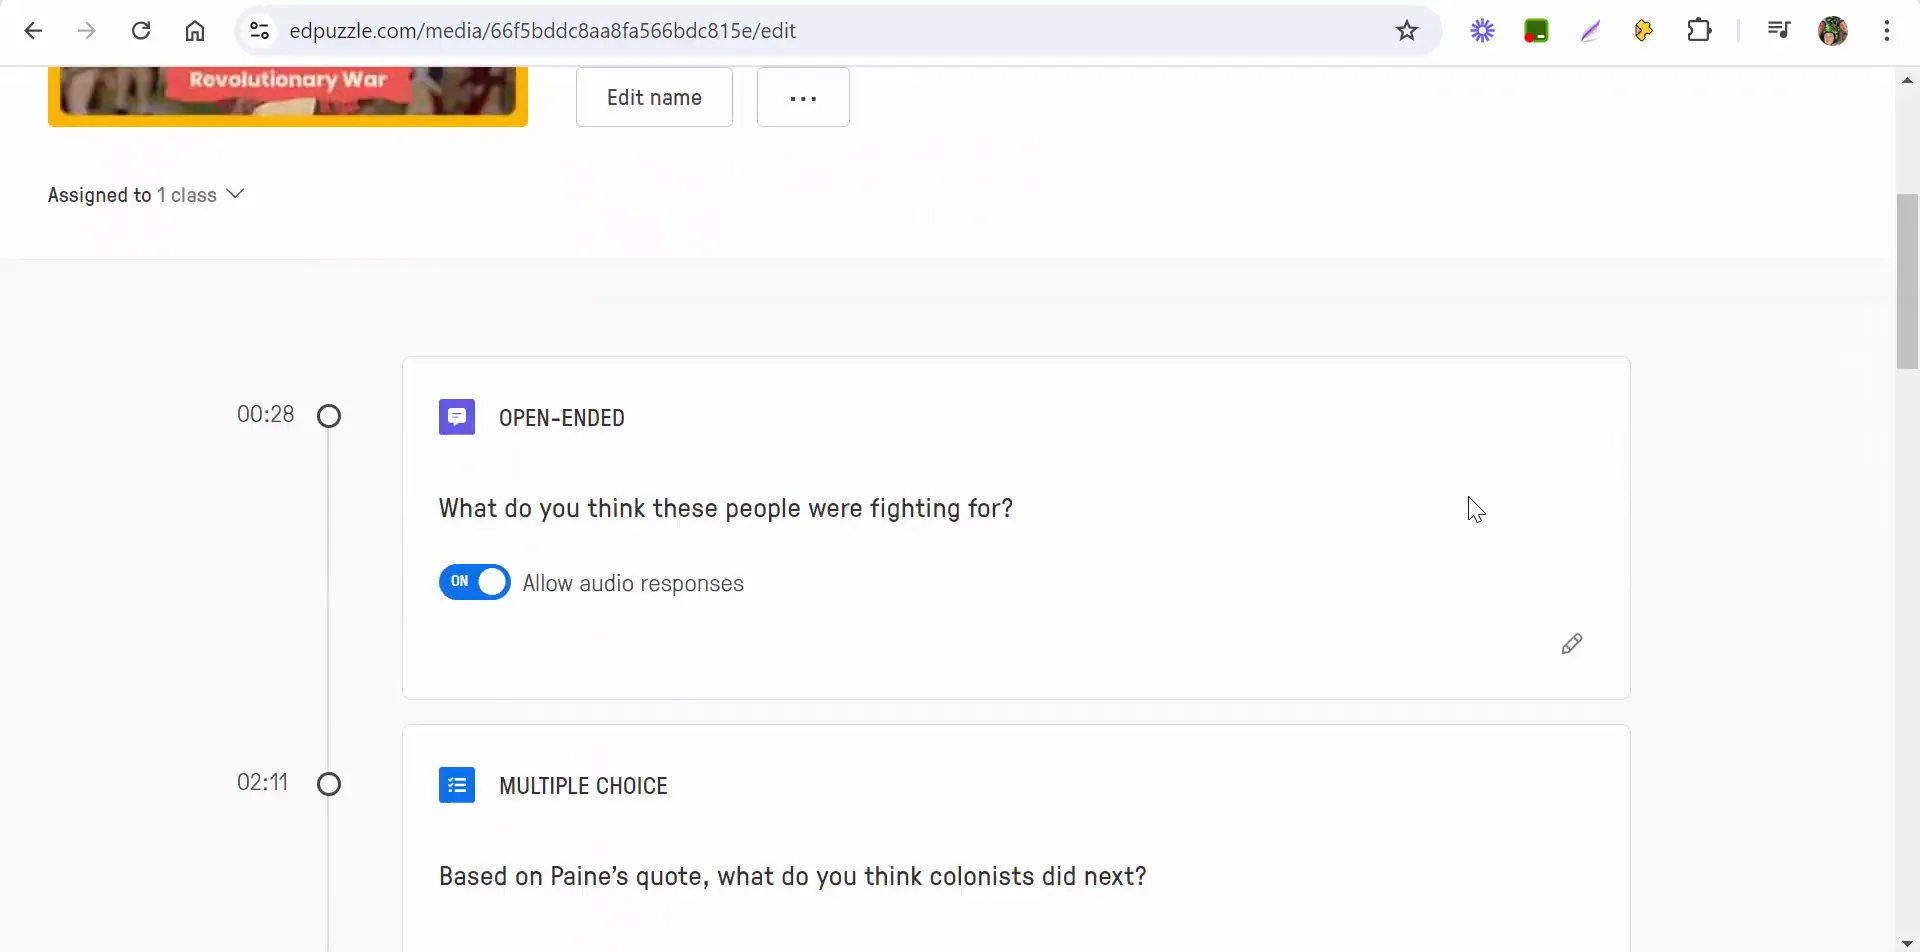
Edpuzzle allows you to edit your playlist at any time. If you want to make changes, simply click on the edit button. Make sure to scroll down to see all the editing options available. Once you’ve made your edits, don’t forget to select "Finish" to save your changes.

Editing a playlist in Edpuzzle

Assigning Your Playlist to Students

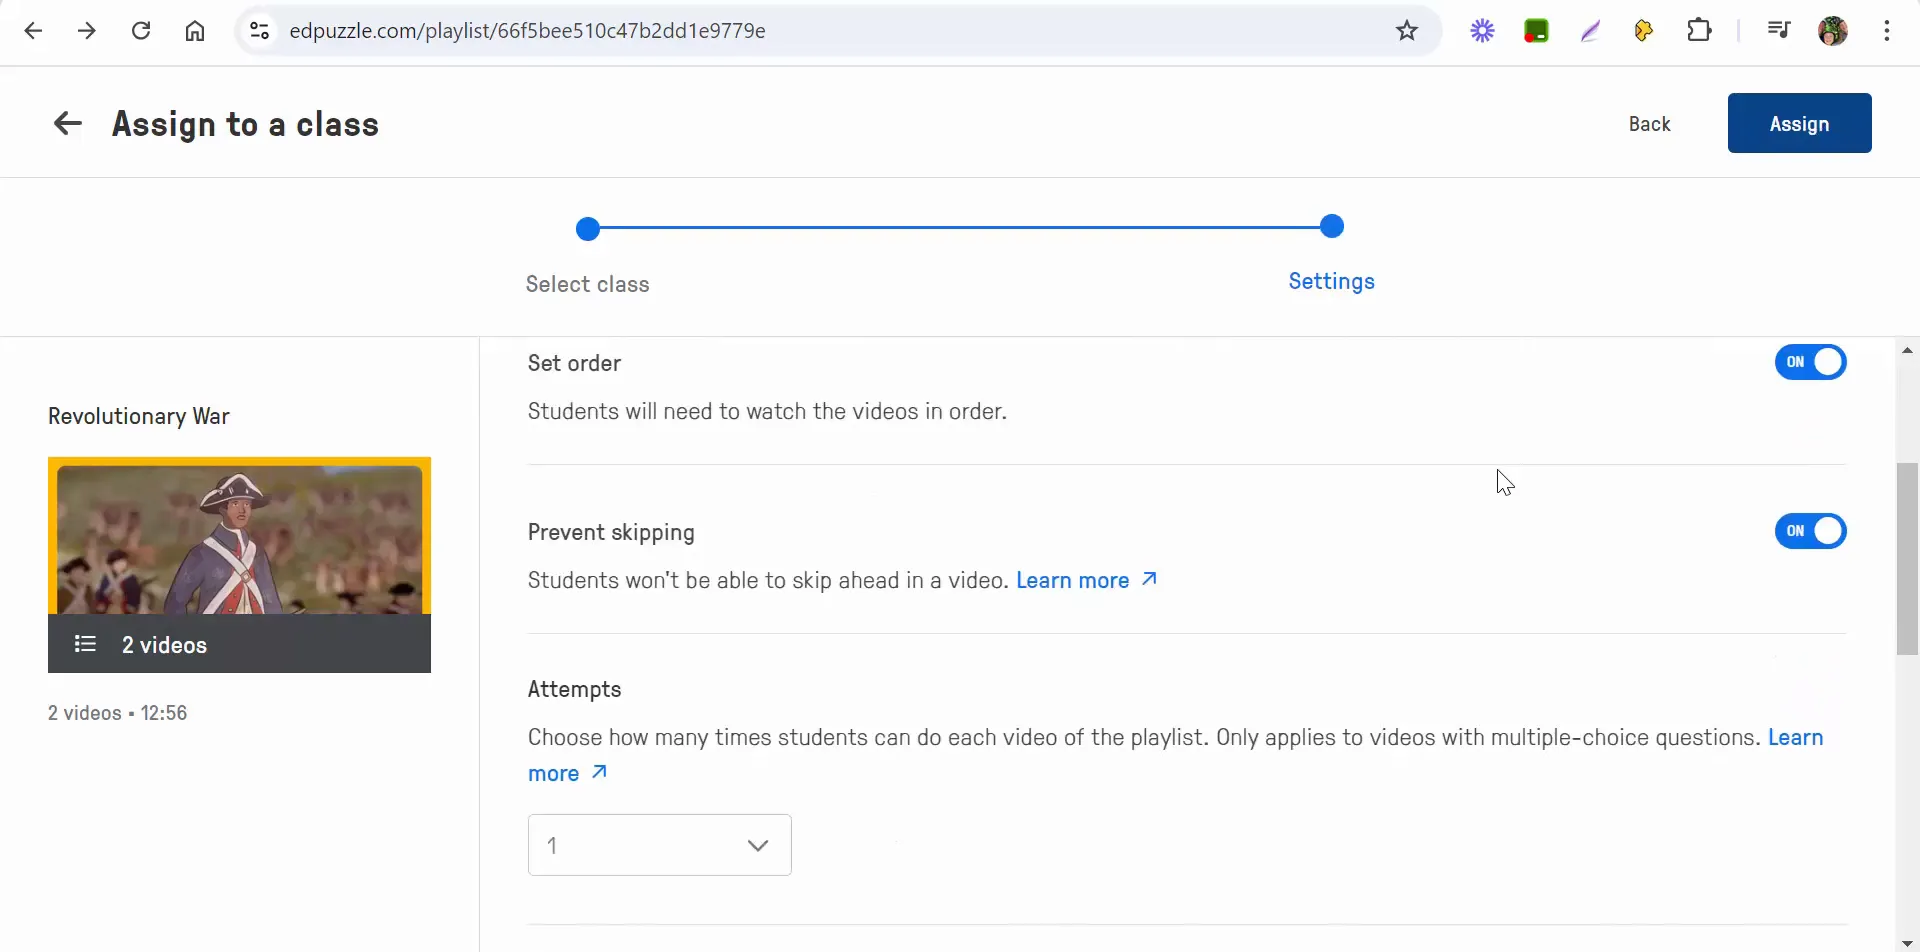
After finalizing your playlist, it's time to assign it to your students. Click on the "Assign" button, which will take you to a page where you can set the start and end dates for the assignment. You can also choose whether students can watch the videos in any order or if they need to follow a specific sequence.

Another important feature is the ability to prevent skipping. This ensures that students watch the entire video and engage with the content fully. You can also allow multiple attempts for students to view the videos, which can be helpful for reinforcing learning.

Assigning a playlist to students

Enhancing Video Engagement

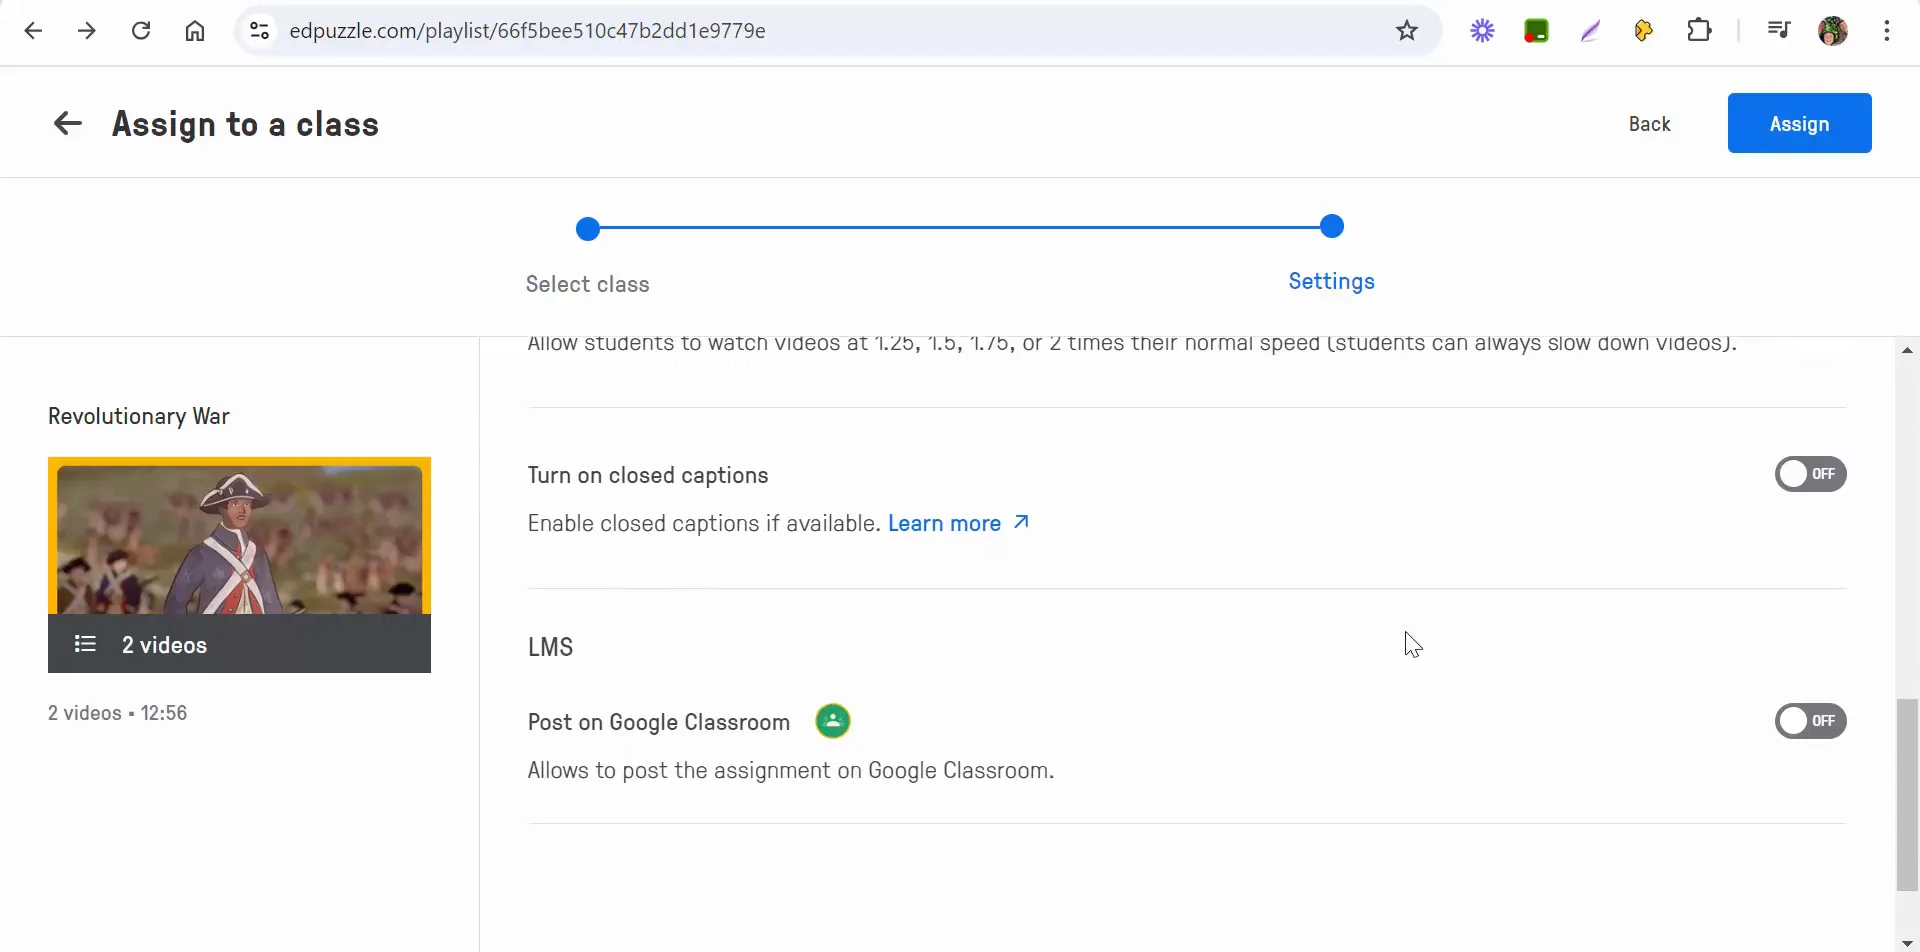
As an educator, you have the option to speed up videos if you feel that certain sections can be condensed. Additionally, turning on closed captioning can help students who may benefit from reading along while watching the video. Once you’ve set everything up, you can post the assignment directly to Google Classroom for easy access.

Enhancing video engagement settings

Final Thoughts

Creating and managing playlists in Edpuzzle is a straightforward process that can significantly enhance your students' learning experiences. By carefully curating the content, organizing videos, and utilizing the assignment features, you can ensure that your students are engaged and learning effectively. If you have any questions or need assistance, don't hesitate to reach out. Happy teaching!
Saturday, August 17, 2024

Edpuzzle How to create a folder to organize Edpuzzle videos.


Managing video content effectively is crucial for educators, especially when utilizing platforms like Edpuzzle. This guide will walk you through the process of creating folders in Edpuzzle to organize your videos efficiently. By the end, you'll be able to categorize your content, making it easier for both you and your students to navigate through the material.

Getting Started with Edpuzzle

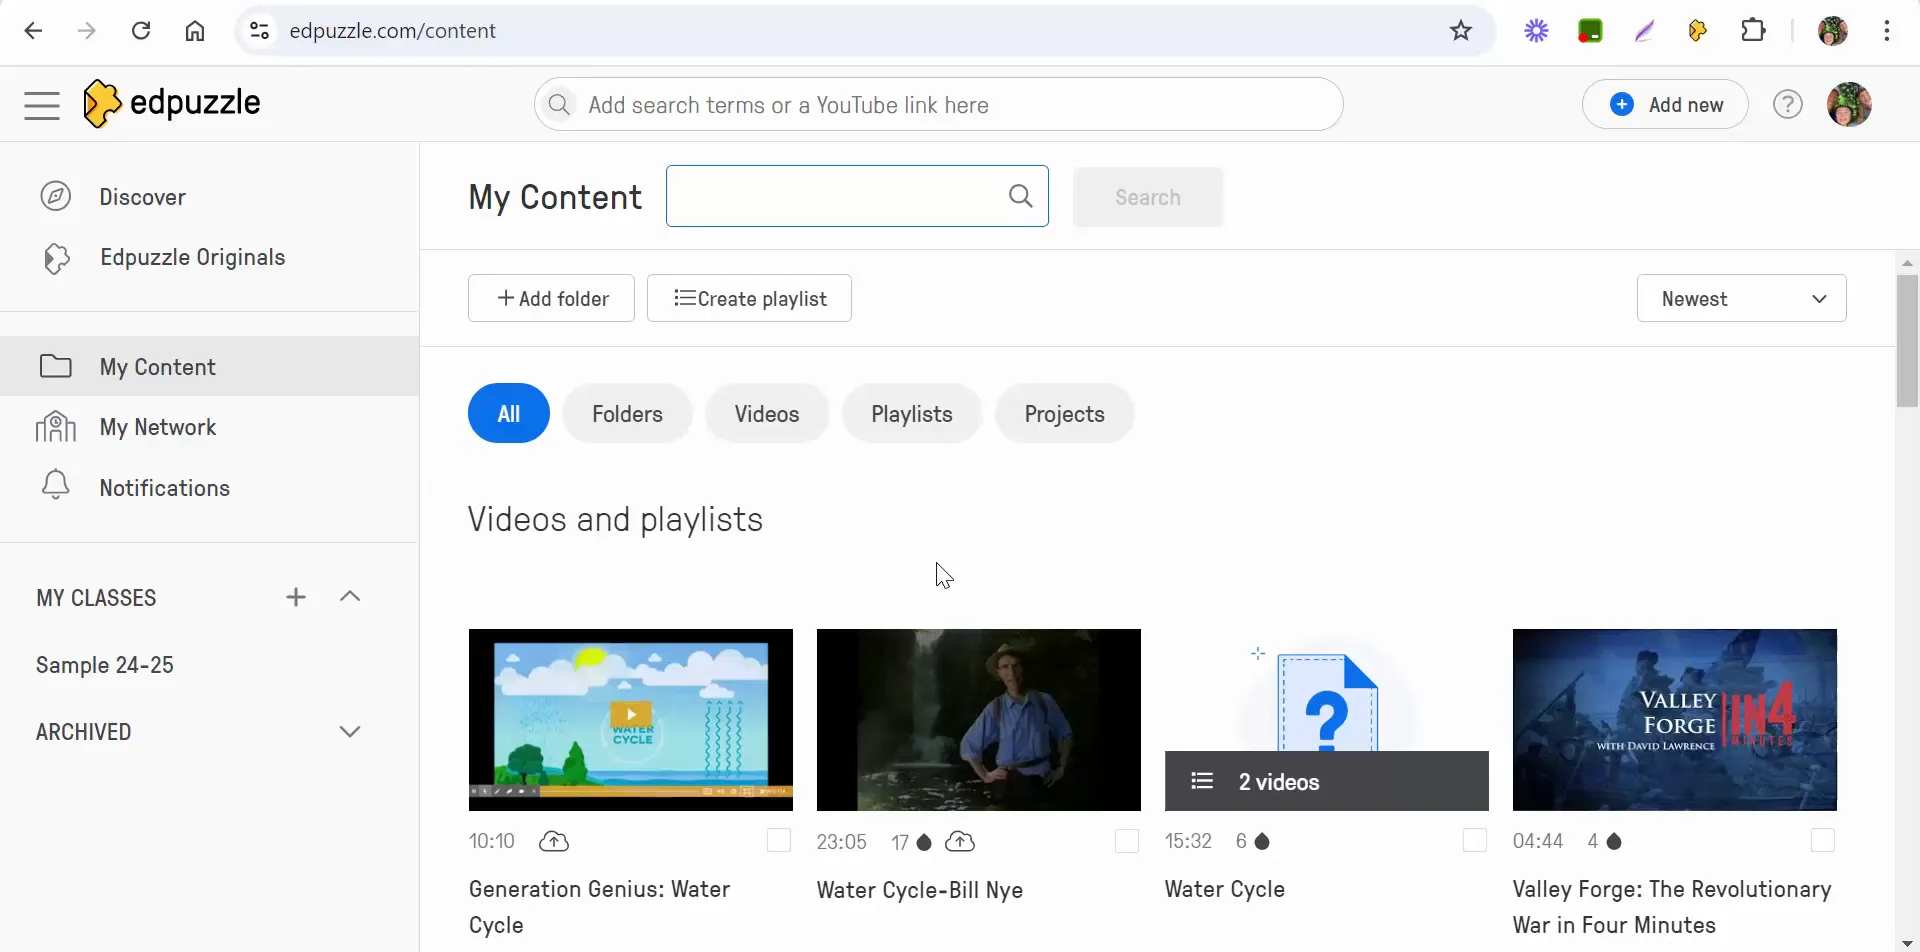
When you log into Edpuzzle, the first thing you want to do is navigate to the "My Content" section. Here, you'll find all the videos that you have copied over to your account. This is the hub where you can manage your video resources effectively.

Navigating to My Content in Edpuzzle

Creating a New Folder

To create a new folder, simply look for the option that says "Add Folder." This feature allows you to start organizing your videos into specific categories. For example, you might want to create a folder for different subjects or grade levels.

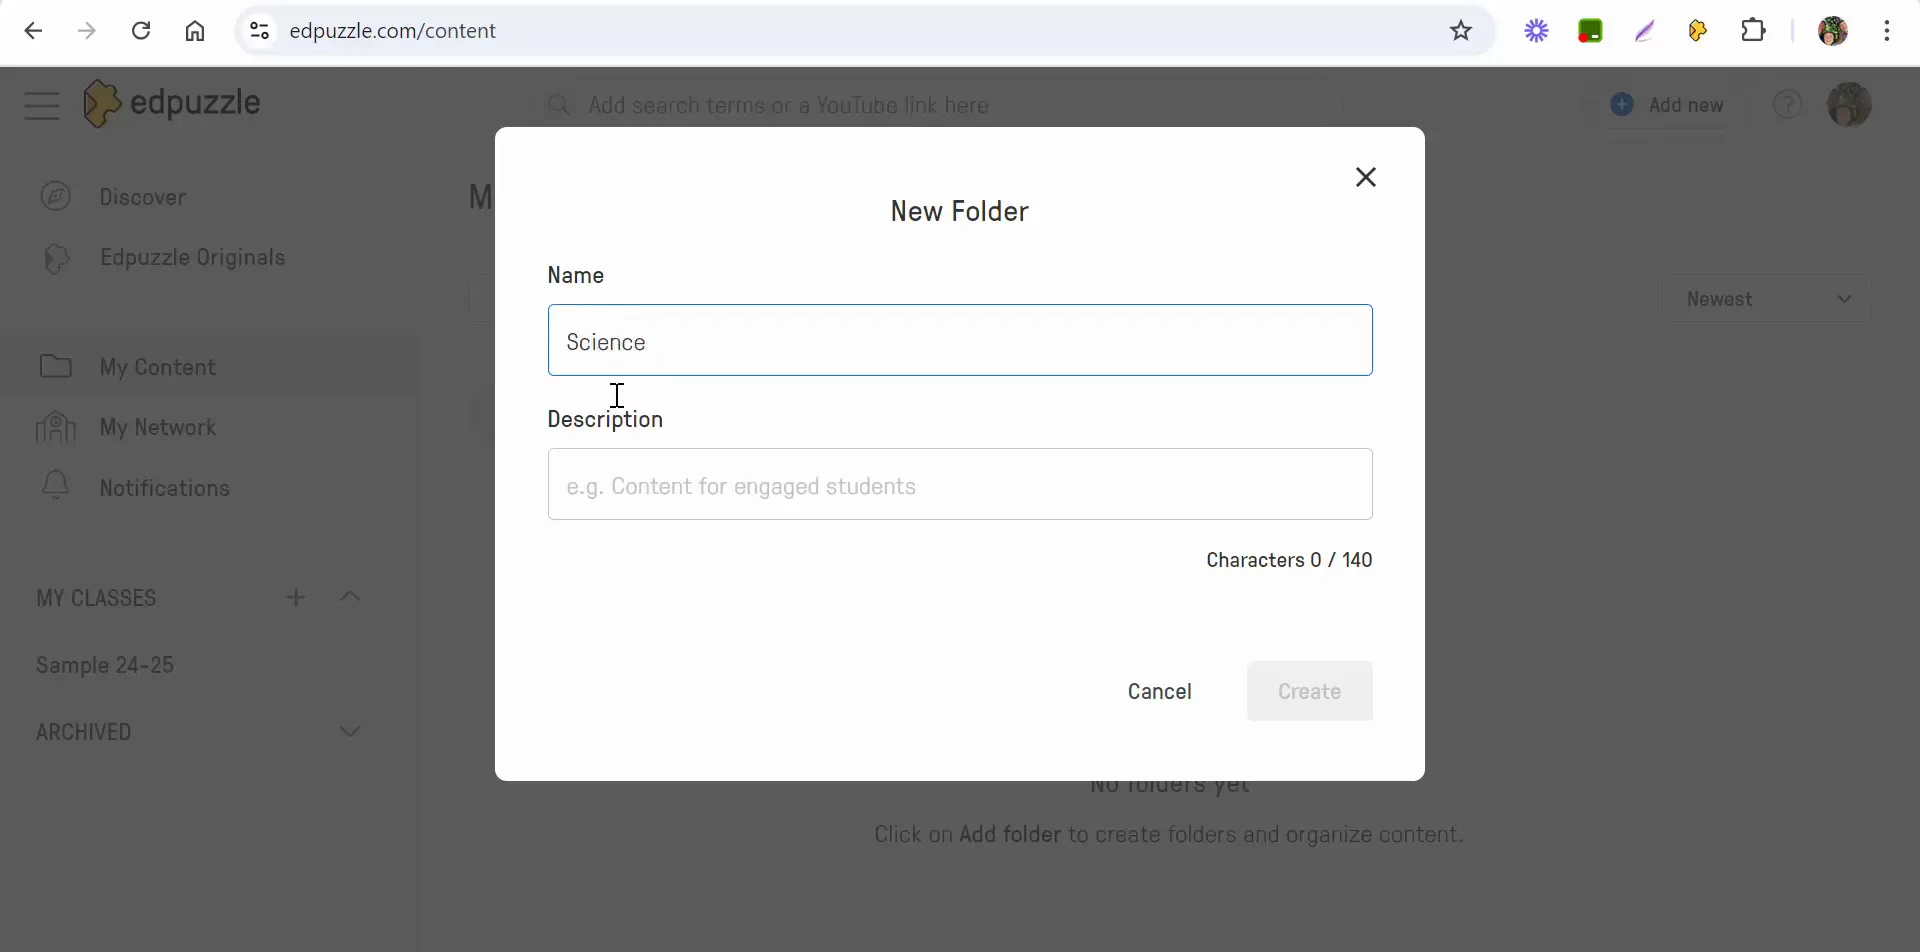
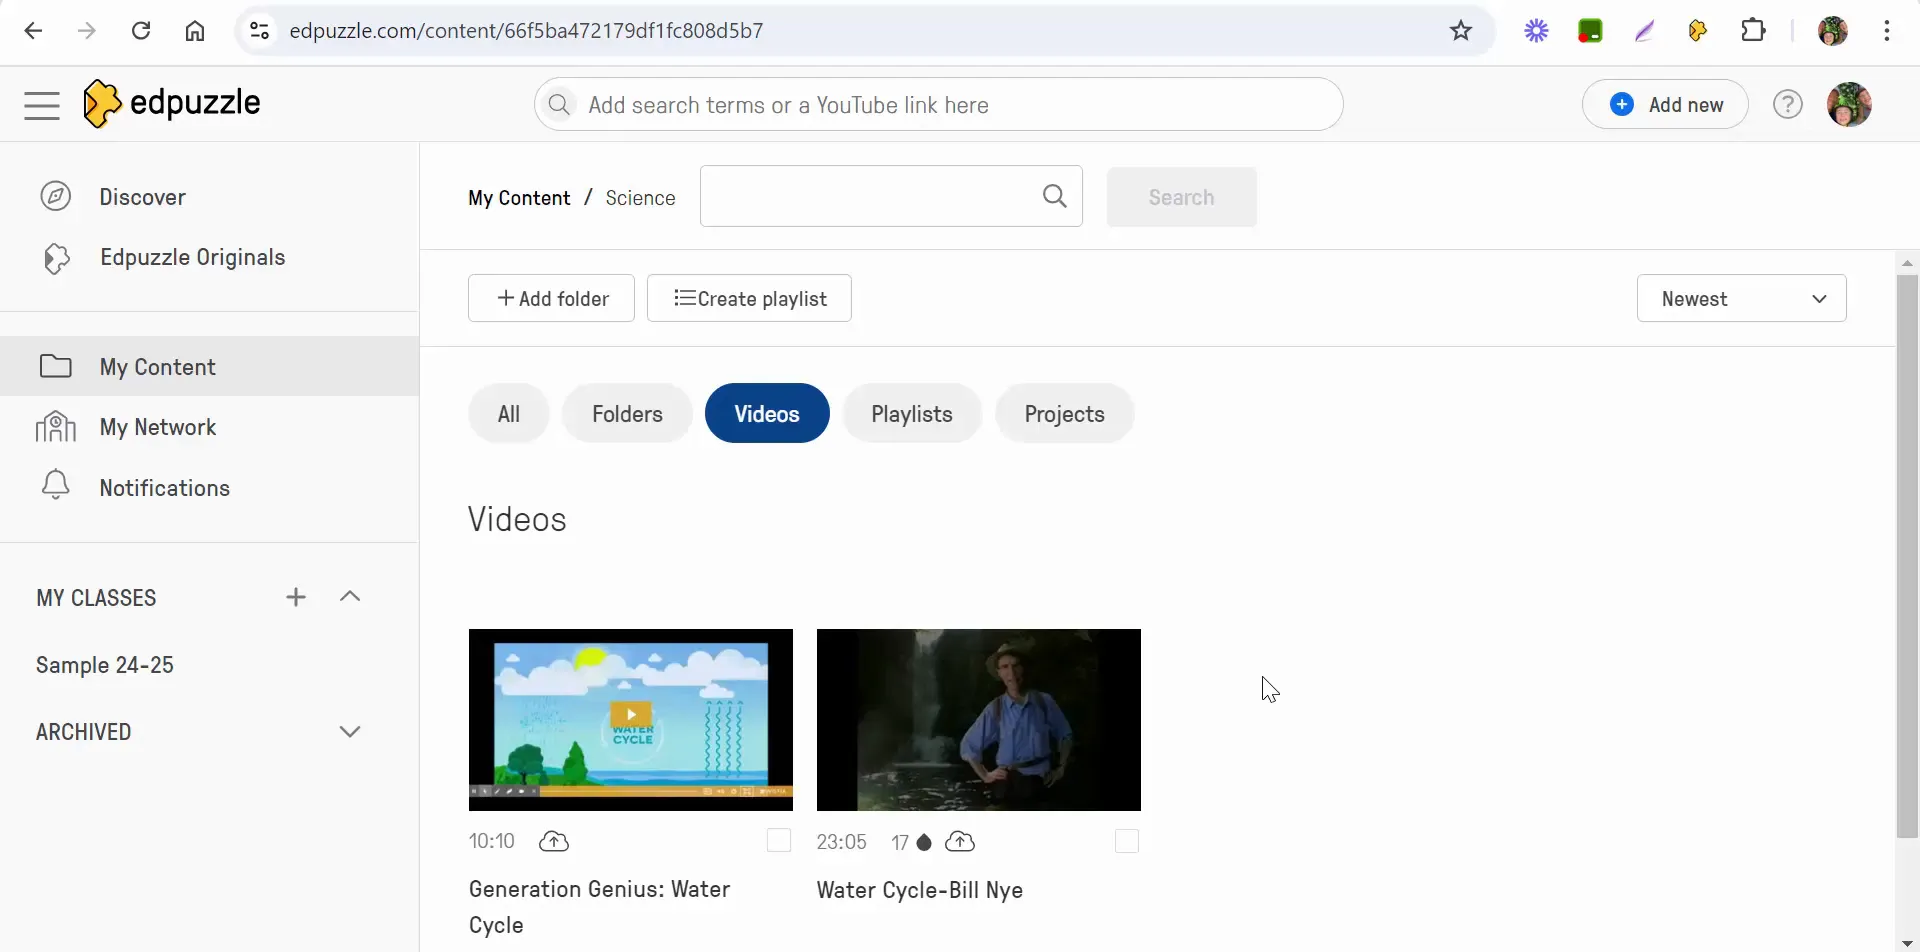
Let’s create a folder for science videos. Click on "Add Folder," then enter a name for your folder. In this case, we'll call it "Science" and add a description like "Science Videos 2024-2025." After entering the details, select "Create."

Creating a new folder in Edpuzzle

Arranging Your Folders

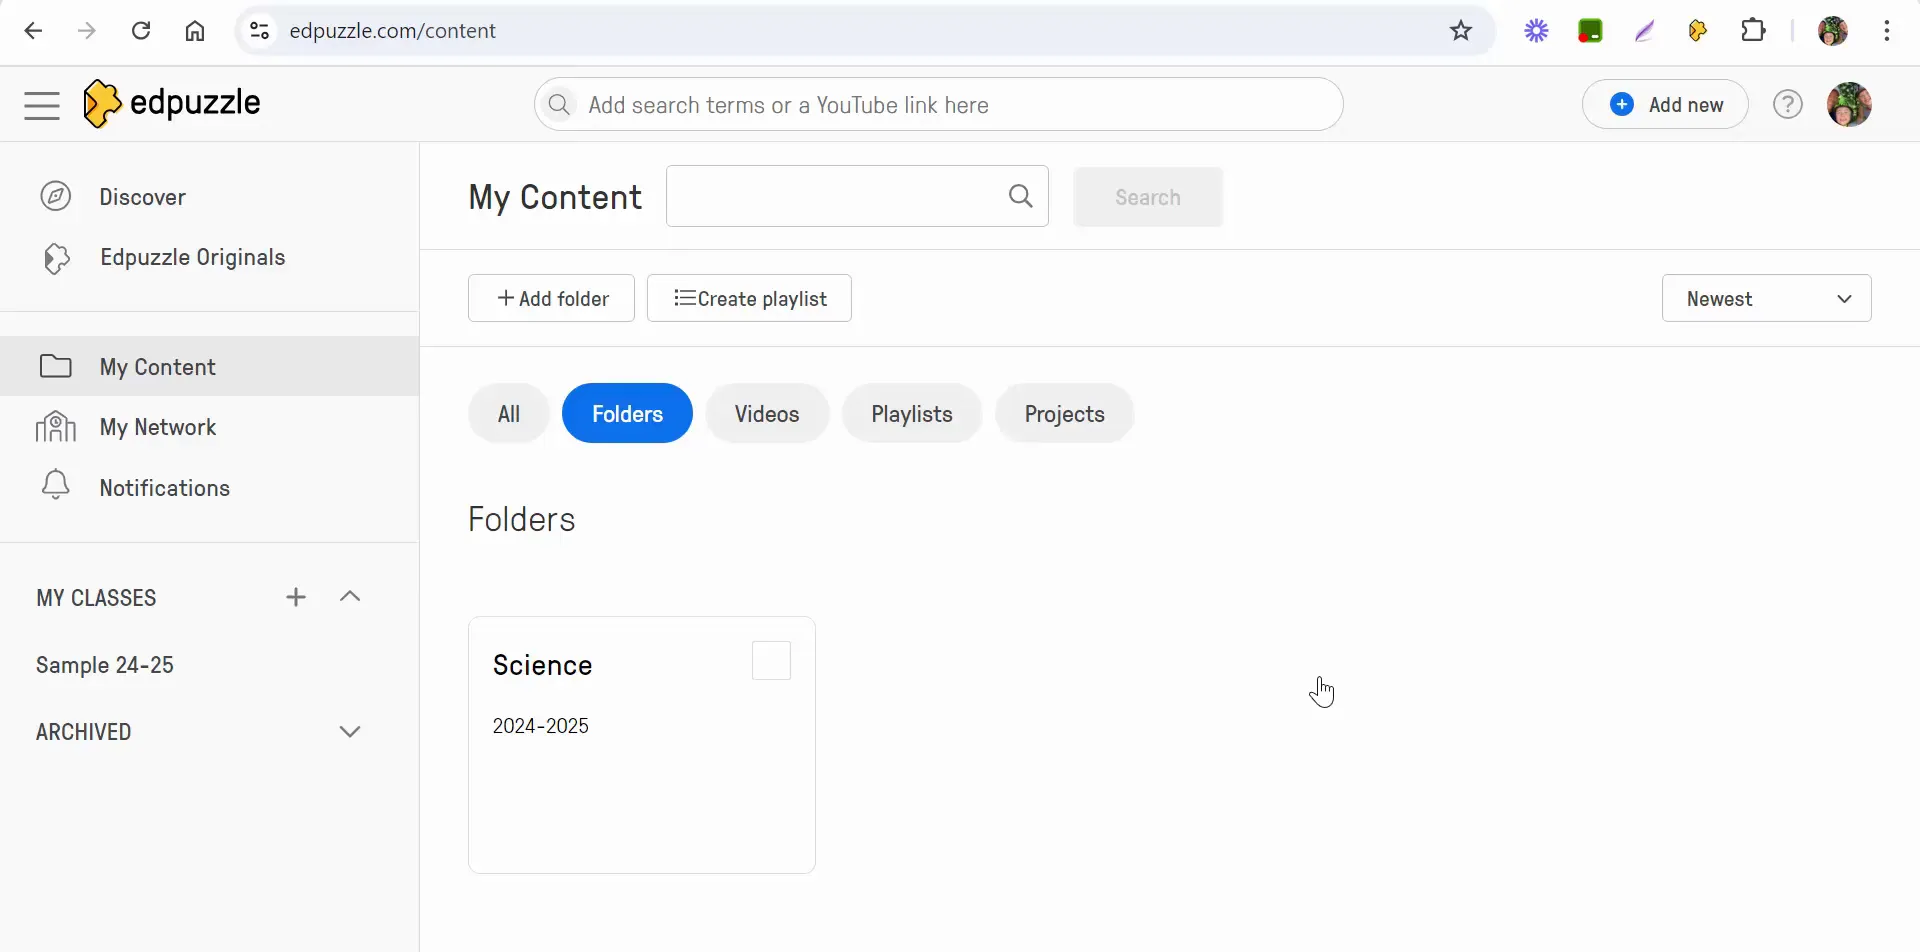
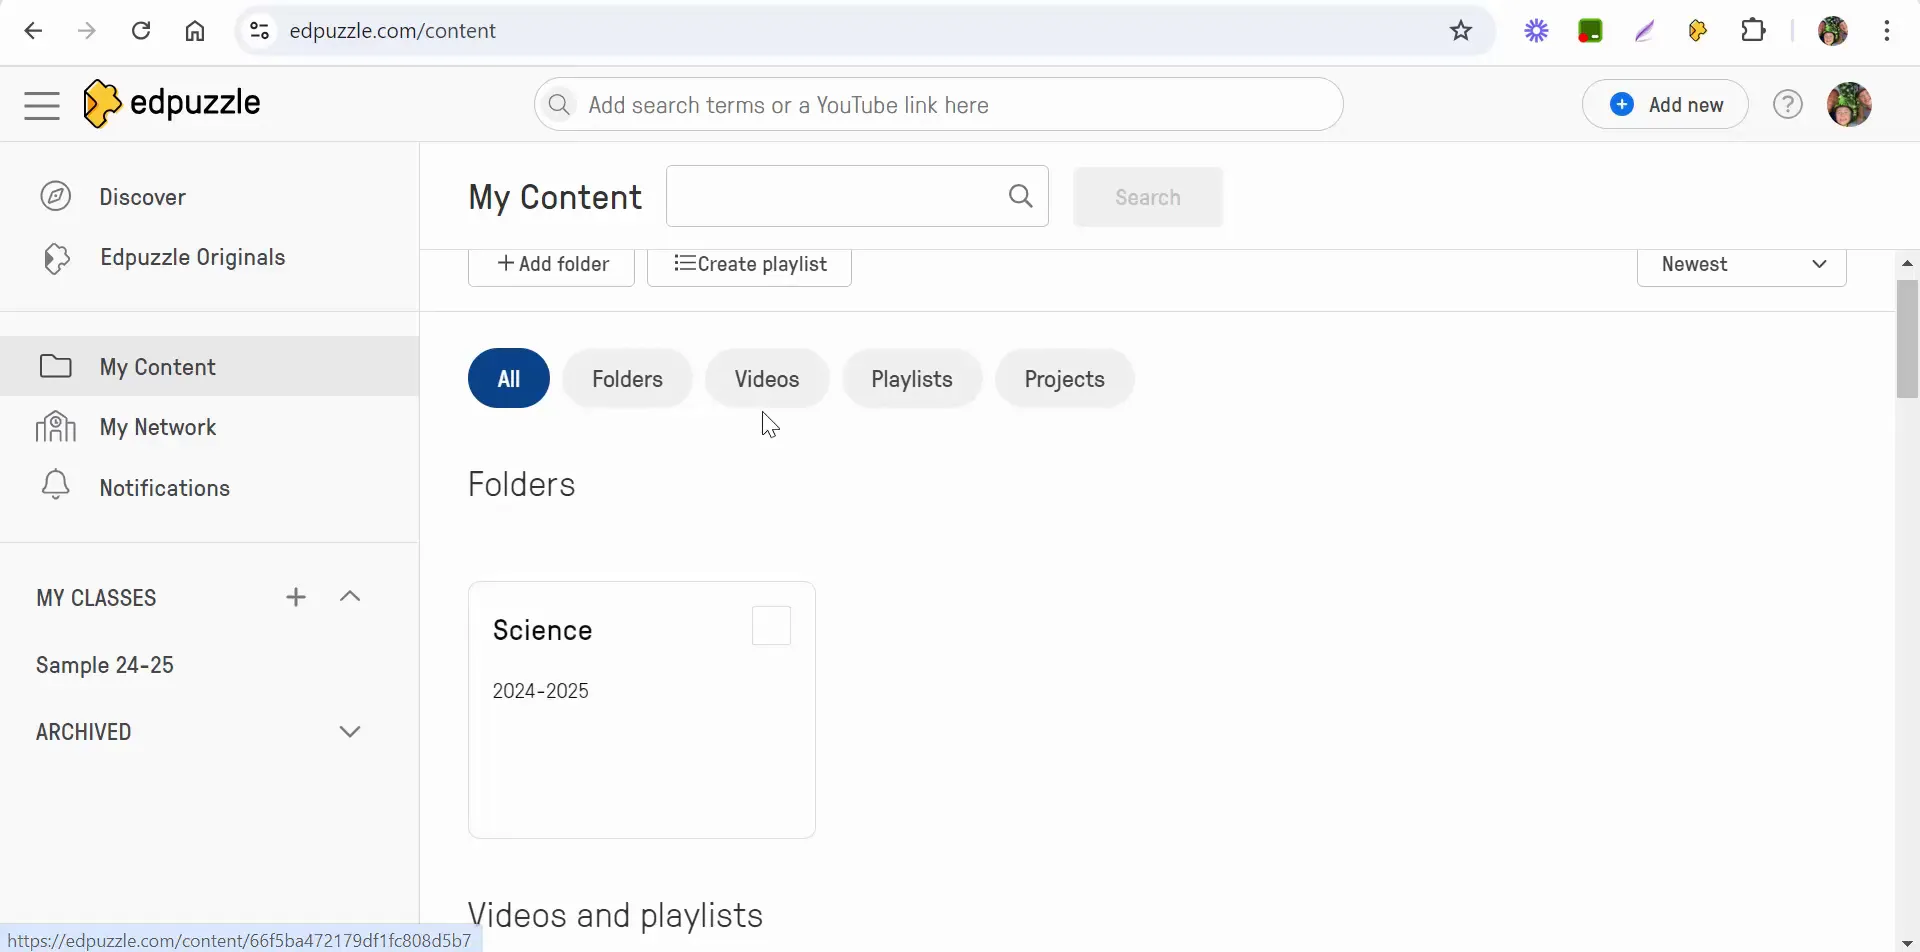
Once you've created your folder, it will appear at the top when you select "All" in the content area. The organization of your content will follow this order: folders, videos, playlists, and projects. This hierarchy makes it easy to find what you need quickly.

Viewing newly created folder in Edpuzzle

Adding Videos to Your Folder

Now that you have your folder set up, it’s time to add videos to it. You can do this in a couple of ways. First, navigate to the "Videos" section within your content area. Select the videos you want to include in your new folder.

For instance, let’s say you want to add a couple of science videos. Simply select those videos, and then look for the option to "Move to Folder." Choose the "Science" folder you just created and move the selected videos there.

Selecting videos to move to a folder

Accessing Your Organized Content

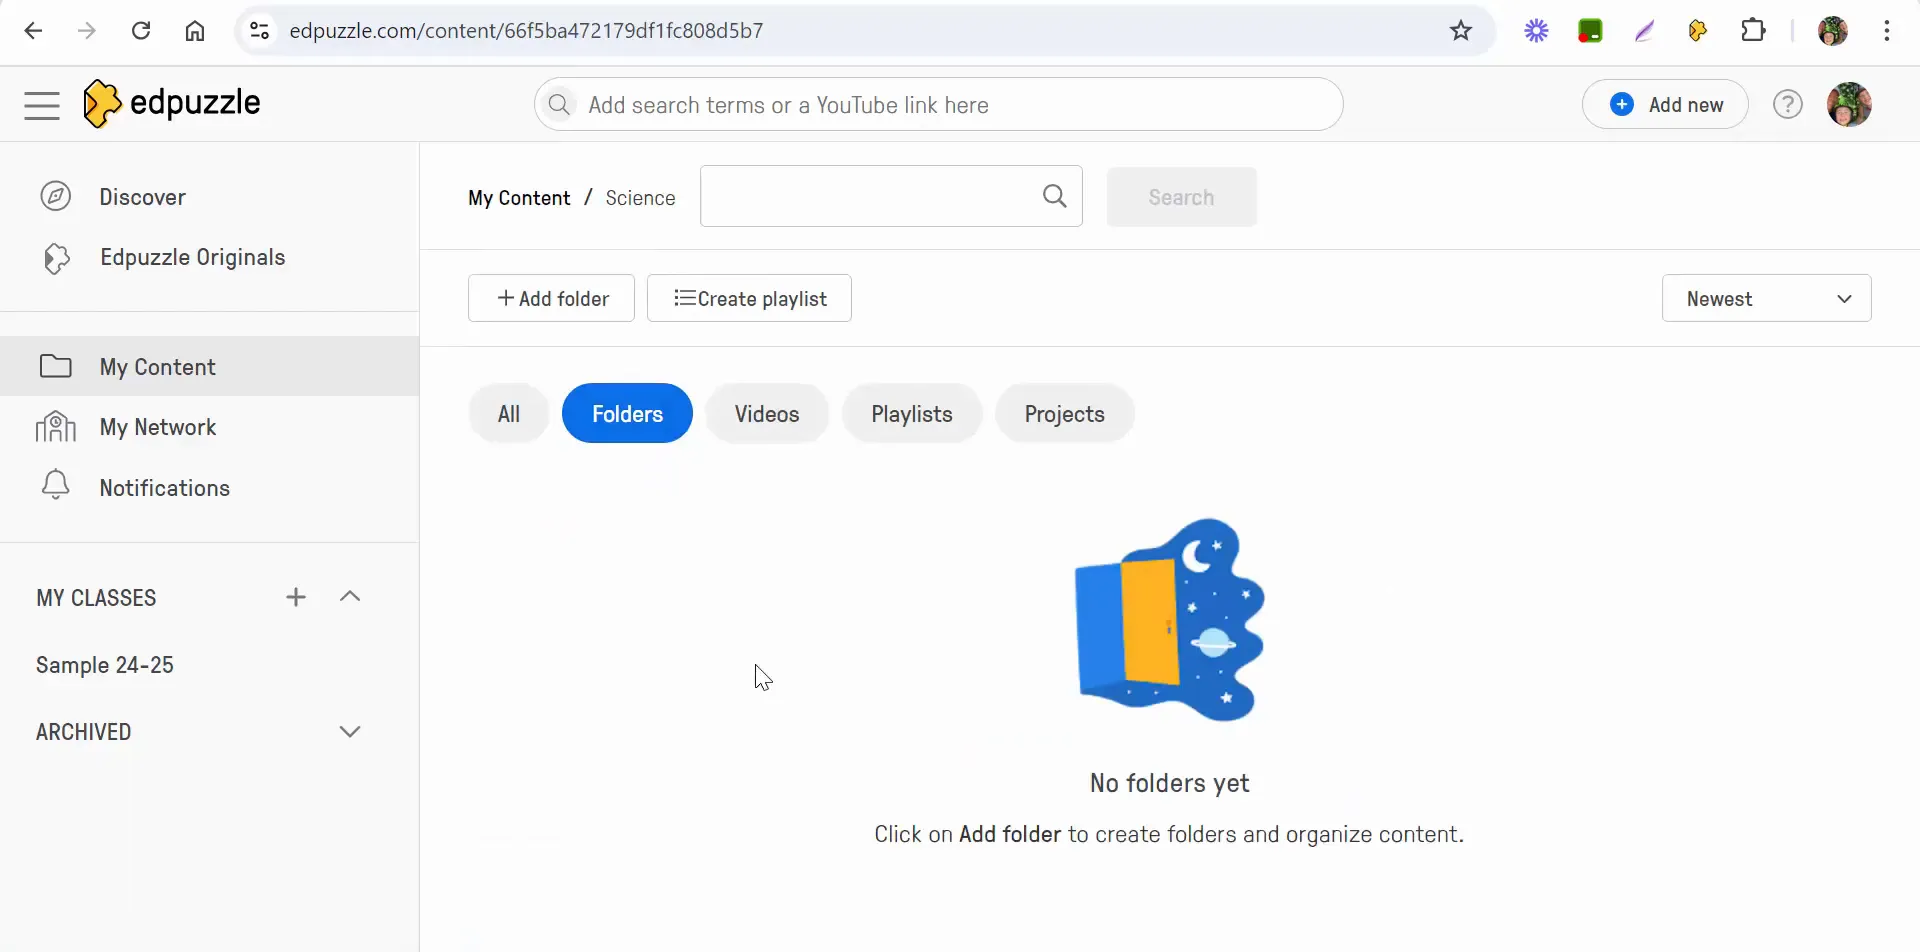
To view your organized content, go back to the "Folders" section. Click on your "Science" folder, and you’ll see all the videos you just moved. This organization not only helps you keep track of your resources but also allows for a more streamlined teaching experience.

Viewing videos in the Science folder

Conclusion

Creating folders in Edpuzzle is a straightforward process that can significantly enhance your ability to manage video content. By categorizing your videos, you can ensure that both you and your students can easily access the materials needed for effective learning.

If you have any questions about organizing your Edpuzzle content or need further assistance, feel free to reach out. Happy teaching!
Final thoughts on organizing content in Edpuzzle